Osmosis special, part 5: The secrets of the professionals - effective osmosis prevention
YACHT-Redaktion
· 17.03.2023


You can read about this in the osmosis special:
- Part 1: The development of osmosis
- Part 2: Recognising osmosis reliably
- Part 3: DIY osmosis remediation
- Part 4: Osmosis remediation from a professional
- Part 5: Professional osmosis prophylaxis
If the yacht has been in the wake for 20 or more seasons and has many layers of paint on the hull, repainting is no longer enough. To get a smooth and stable surface again, the old anti-fouling protection must be completely removed and rebuilt - a tedious job, at least when working with a scraper and sander. Rusty keels and the troublesome rubber joint at the transition to the hull cannot be dealt with using this technique. After all, sanding and cup brushing always leaves behind pockets of rust, and corrosion cannot be stopped permanently.
The professionals from Peter Wrede Yacht Refits use the sandblasting process for this preparation. Prepared in this way, the underwater hull can be substantially refurbished and the new anti-fouling protection reapplied and the submarine looks like new.
This type of thorough pre-treatment is also a basic prerequisite for osmosis prevention, which essentially consists of applying an epoxy barrier coat. This type of osmosis prophylaxis can be particularly useful for yachts that do not yet have any osmosis damage in order to effectively prevent the development of osmosis and avoid a later, significantly more expensive restoration.
When applying the new osmosis protection, it is important that it is applied to at least six centimetres above the floating line. "Then the hull is optimally protected from penetrating moisture and the harbour dirt remains on the antifouling and therefore the waterline remains clean," says Florian Brix, refit specialist at Wrede.
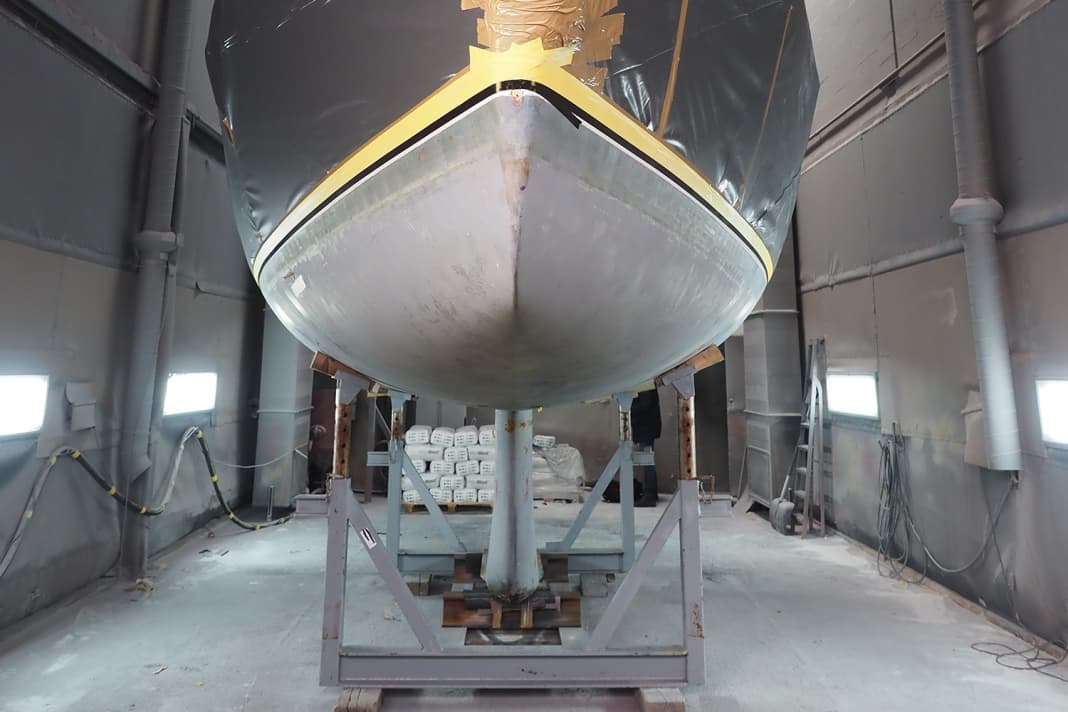
The assessment of the actual condition of the underwater hull is carried out in the blasting hall, where it is not only warm, dry and bright, but the necessary tools are also ready to hand.
Inventory
Once the above-water hull has been packed dust-tight and the new upper edge of the new underwater hull coating has been masked, the survey begins. Four methods are used for this: the sanding test, the wipe test, the test with UV light and a blasting test using the Roto-Blast method. For the professional, each of these tests has its own specific purpose in order to assess the actual condition of the hull.
The sanding and wiping test procedures described in this article can also be used by every owner to get a basic idea of whether and to what extent his boat is affected by osmosis.
The beam sample
This requires professional tools and experience. To assess the condition of the gelcoat, the boat is blasted in several places using the roto-blast method, i.e. the old coating is removed down to the gelcoat. "With our sandblasting technology, we can work very sensitively, right down to the removal of individual layers of antifouling," says Florian Brix.
The partially exposed gelcoat is then checked once more and if there are no defects, the entire underwater hull is stripped down to the gelcoat. "Finally, every square centimetre of the underwater hull is checked again," says Brix, "to ensure that no defects remain in the substrate."
Particular attention is also paid to the keel-hull transition, which is why the area in front of and behind the keel is sandblasted. The primary aim is to eliminate cracks caused by grounding and hidden by the old paint. The refit professionals can also repair such structural damage, but the additional work required goes beyond a normal overhaul of the underwater hull. Rust plays a subordinate role in the preliminary inspection, as it is removed down to the pores during the blasting process anyway.
The Roto-Blast process
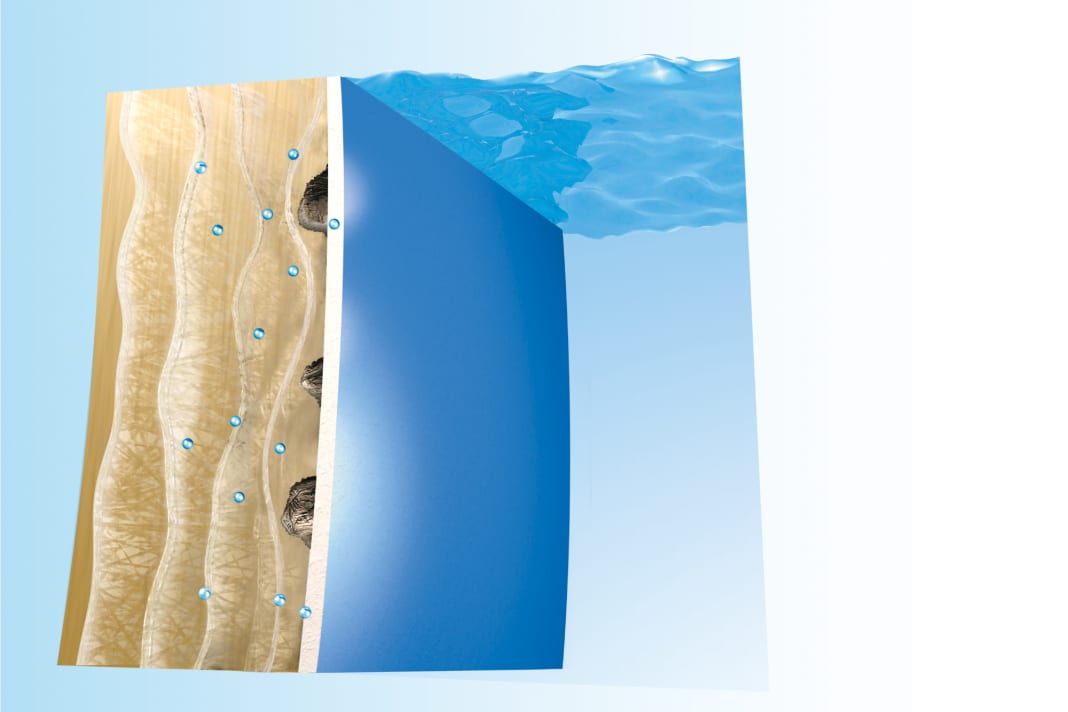


Remove old coating
If the gelcoat is intact and free of osmosis damage, the underwater hull is rebuilt using the Roto-Blast process. The complete removal of the old coating is a quick process; on an Etap 38i, for example, it takes just two hours until the gelcoat is bare.
However, if there are a lot of pores in the exposed surface, Brix recommends a rougher approach. "Every air pocket is a potential osmosis nest, even if we put a thick layer of epoxy over it, there can be problems later on. In such cases, we use the more abrasive shot-blast method to open up as many pores as possible," says Brix.
The shot-blast process
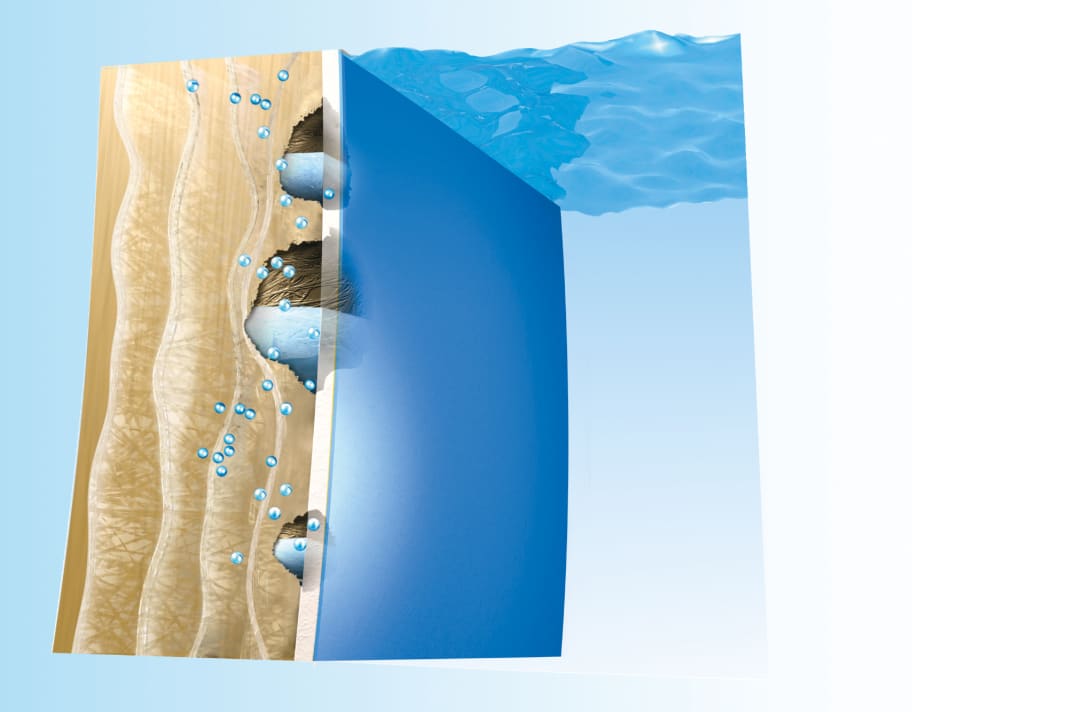


After both blasting methods, the underwater hull is dried for twelve hours at 40 degrees Celsius. After using the shot-blast method, the resulting holes in the gelcoat are filled with epoxy filler and the hull is sanded.
The osmosis protection
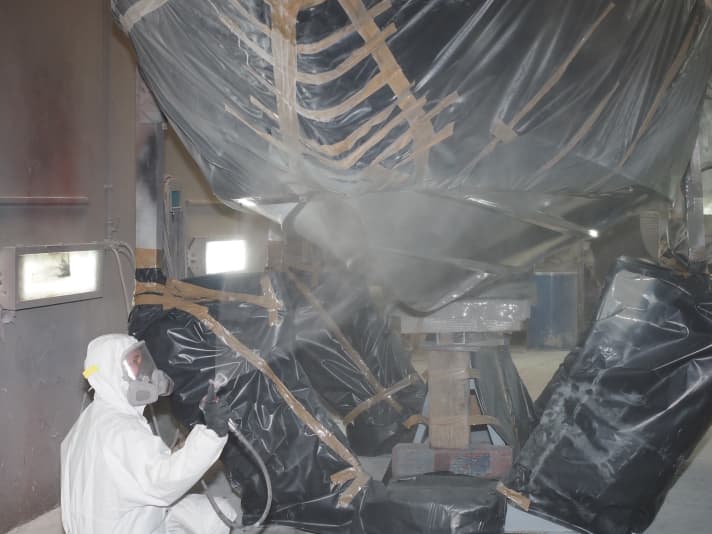
To permanently protect the polyester laminate, which is susceptible to hydrolysis, from osmosis, the underwater hull is given a moisture barrier made of epoxy resin. To achieve an even surface, the resin is sprayed on using the airless method. This allows very thick layers to be achieved. After six passes, a dry layer thickness of more than 350 micrometres is achieved, which corresponds to 12 to 15 layers applied with a roller. As the work is carried out wet on sticky, there is no need to sand between the layers. For complete curing, the hull is heated again to 40 degrees Celsius for 12 hours.
The epoxy "coating" is an effective barrier layer that significantly delays the penetration of moisture, but can never completely prevent it.
Long-term antifouling
After osmosis protection comes anti-fouling protection. For many years, Wrede has relied on a self-polishing antifouling solution that is sprayed on in two thick layers of different colours. "This is the optimum solution for 95 per cent of our customers. We also offer customised antifouling solutions, such as hard antifouling, for particularly fast motorboats or regatta yachts," says Brix. The advantage of self-polishing antifouling is the service life, as long as there is still colour, the fouling protection is also effective. This means that it does not have to be repainted every winter.
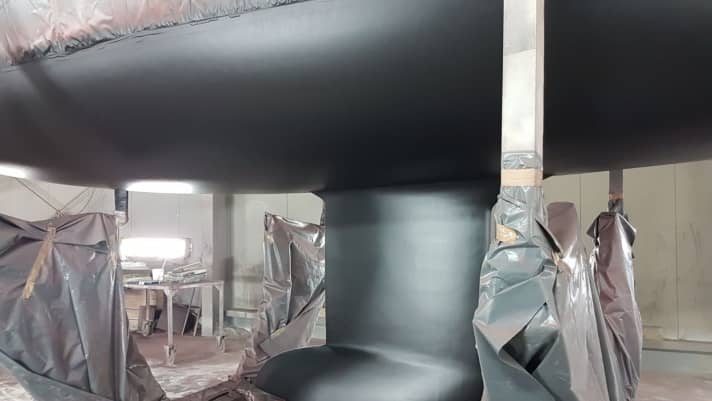
In order to better assess whether the antifouling will last for the next season, the first coat can be sprayed in a contrasting colour if desired, for example red under black antifouling. If it starts to show through, it is time for a new coat, whereby basically only the areas where the indicator coat is visible need to be reworked. This saves a lot of work and material in subsequent years and prevents unnecessarily thick layers of paint on the hull.
And what does it all cost?
Example: The overhaul of the underwater hull of an Etap 38i costs around 6,000 euros, with around a third of the costs being accounted for by the material used. The refurbishment of the wet and osmosis-infested rudder blade adds around 4,500 euros. The corrosion repair of the keel costs around 2,200 euros.
You can read about this in the osmosis special:
- Part 1: The development of osmosis
- Part 2: Recognising osmosis reliably
- Part 3: DIY osmosis remediation
- Part 4: Osmosis remediation from a professional
- Part 5: Professional osmosis prophylaxis

