Osmosis special, part 4: How osmosis remediation works with a professional
YACHT-Redaktion
· 17.03.2023


You can read about this in the osmosis special:
- Part 1: The development of osmosis
- Part 2: Recognising osmosis reliably
- Part 3: DIY osmosis remediation
- Part 4: Osmosis remediation from a professional
- Part 5: Professional osmosis prophylaxis
Sandblasting is very effective and reliably opens up all osmosis esters, but it also generates a lot of dust, which is why it can only be carried out in special blasting halls with extraction and filter systems. "The shot blast method reliably removes the osmosis damage while protecting the intact hull substance," says Florian Brix from Peter Wrede Yacht Refits. "After blasting, the hull is ready for the next work steps without any additional work." This saves time and therefore costs.
Refurbishment in four steps
The necessary work can be roughly divided into four steps:
- Removal of antifouling, gelcoat and the damaged laminate.
- Temper at 40 degrees to reduce the moisture content of the laminate.
- Laminate to restore the old material thickness.
- Trowel to achieve a clean line.
- Epoxy coating as a moisture barrier.
Depending on the blasting material and process used, it can be used to remove only an old underwater hull coating or the gelcoat and damaged laminate. The so-called shot-blast system is used for refurbishment.
Sandblasting
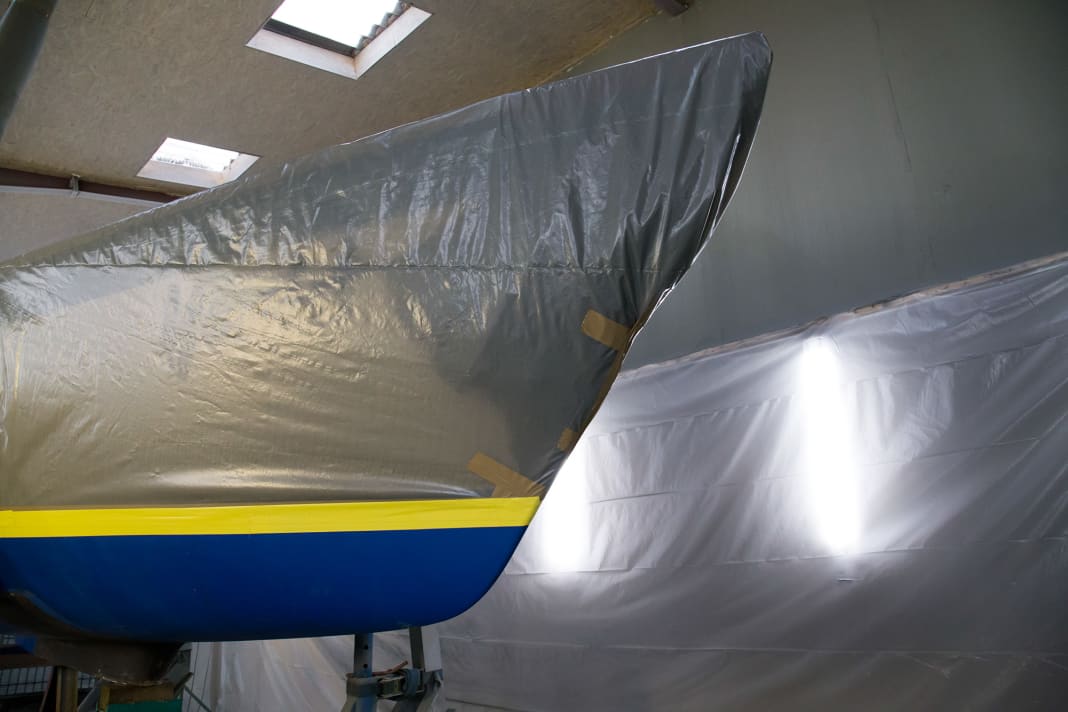
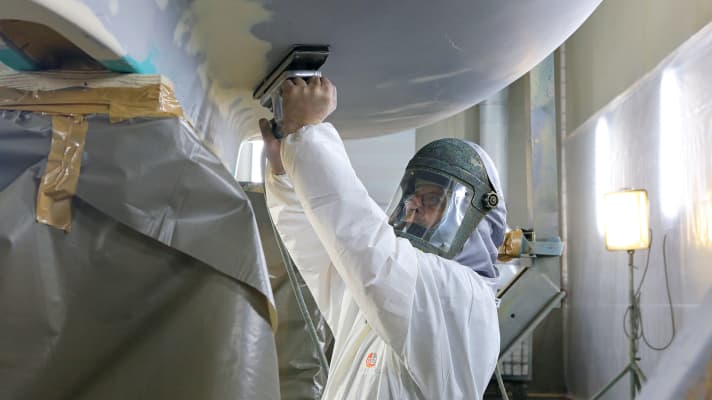
Before the jet compressor is started, all surfaces that are not to be processed must be protected. The surface vessel therefore has to be packed dust-tight, all of the on-board passages are sealed with plugs and the water passage is taped with robust adhesive tape. Then it gets loud and dusty. The jet operator's protective suit therefore resembles that of a diver. In fact, he is supplied with breathing air via a hose. Old antifouling, primer, gelcoat and damaged laminate are removed in a single work step, and very quickly at that - just two hours are needed for a 38-foot yacht.
Unlike machine sanding or planing, sandblasting also penetrates the pores and removes acid residues, so the hull does not need to be washed after sandblasting.
Laminating
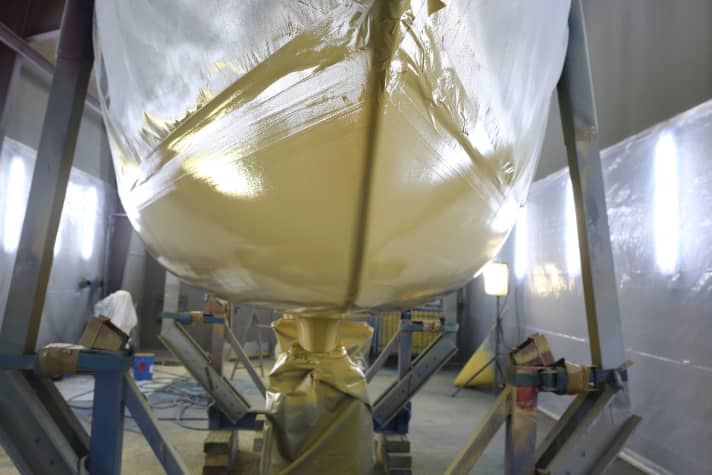
Blasting creates a very rough surface. The open osmosis nests and production-related air pockets appear as craters and blowholes. They are filled with thickened resin. This special bonding resin levels out unevenness, but primarily ensures optimum bonding in the existing roughness of the blasted laminate. To restore the hull to its former material thickness and strength, layers of glass fibre mat are then laminated on wet-on-wet. Hydrolysis-resistant vinyl ester resin is used to minimise the risk of renewed osmosis. The laminate is also carefully deaerated.
Filling & sanding
As a rule, the osmosis attack is not uniform, which is why different amounts of material are removed during blasting due to osmosis, but without affecting the shape of the boat in the case of construction-related details. In addition, the glass fibre mat does not have a smooth surface. A thick gelcoat is applied in order to achieve a cleanly blasted underwater hull. After curing, a layer of thin gelcoat is applied from the spray gun. Both systems are vinyl ester-based. Rotary and random orbital sanders are used for the coarse sanding work. The main work on the surface is carried out by sanding boards driven by compressed air. This technology is the only way to achieve a clean, ripple-free finish.

The protective layer
By using vinyl ester resin, the newly applied laminate is much more water-resistant than the polyester hull. To prevent osmosis in the long term, the hull is nevertheless given a moisture barrier made of epoxy resin. This involves spraying on six layers, which results in a material thickness of at least 350 micrometres and corresponds to 12 to 15 passes with the paint roller. This osmosis protection is followed by antifouling primer and anti-fouling protection.

You can read about this in the osmosis special:
- Part 1: The development of osmosis
- Part 2: Recognising osmosis reliably
- Part 3: DIY osmosis remediation
- Part 4: Osmosis remediation by a professional
- Part 5: Professional osmosis prophylaxis

