You can read about this in the osmosis special:
- Part 1: The development of osmosis
- Part 2: Recognising osmosis reliably
- Part 3: DIY osmosis remediation
- Part 4: Osmosis remediation from a professional
- Part 5: Professional osmosis prophylaxis
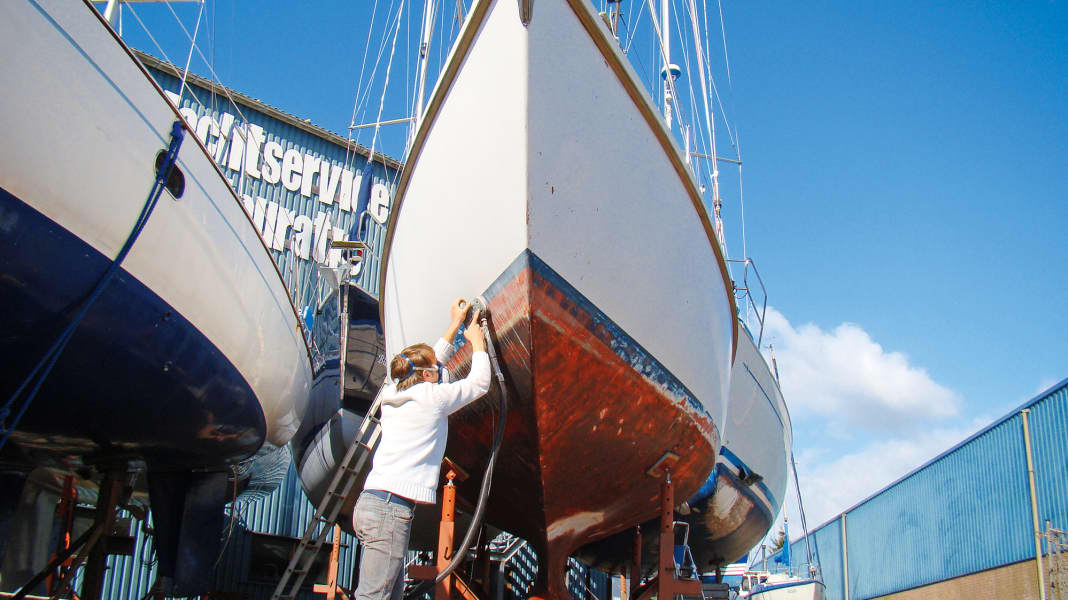
If the osmosis diagnosis is clear, the next step is to repair the damage. This involves removing the antifouling, gelcoat and the affected laminate. The hull then has to dry. The outer skin of the underwater hull is then rebuilt and permanently sealed with a barrier layer. Without question, this is an unpleasant and time-consuming operation, but one that can certainly be carried out by the owner.
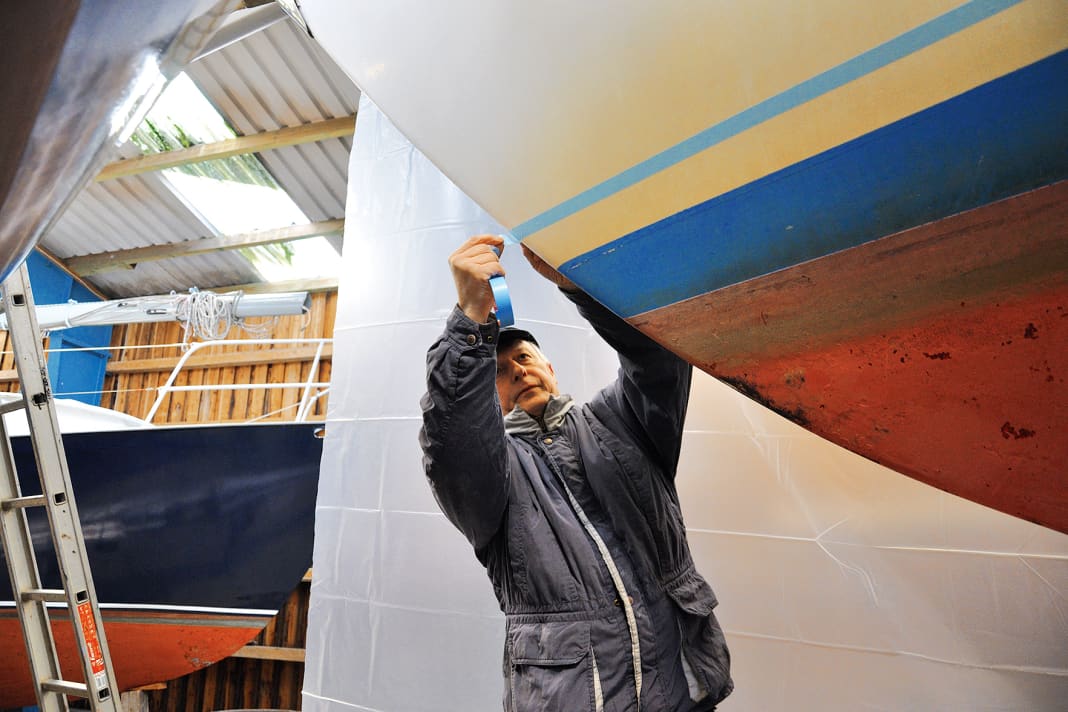
Preparations for the DIY osmosis renovation:


Realisation
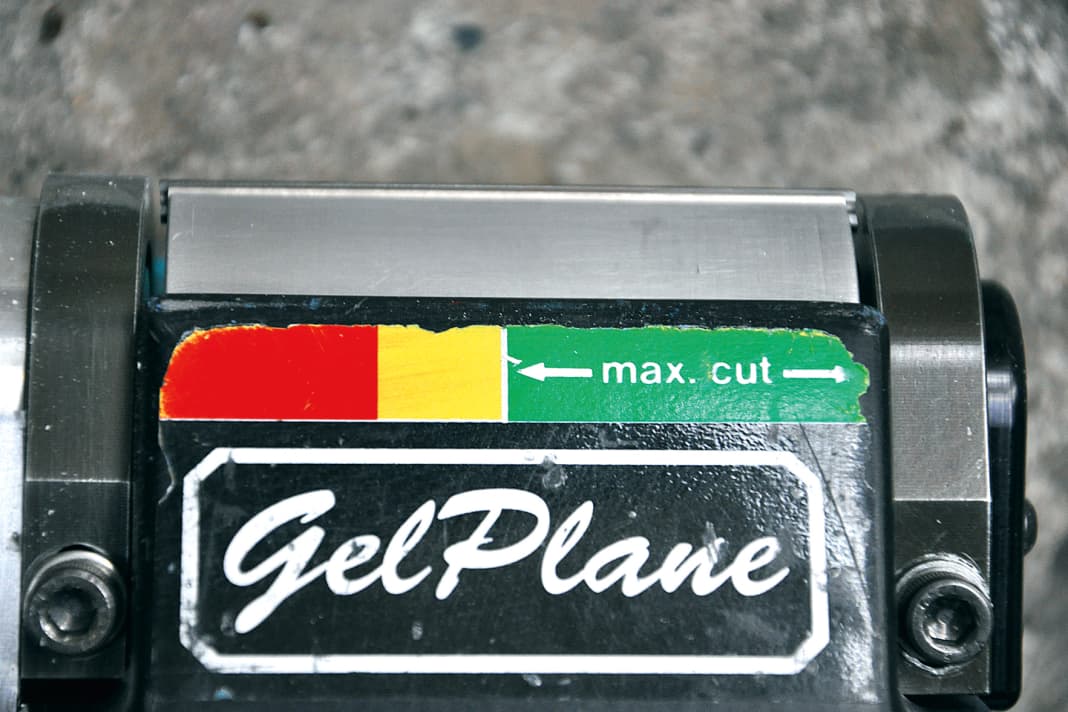
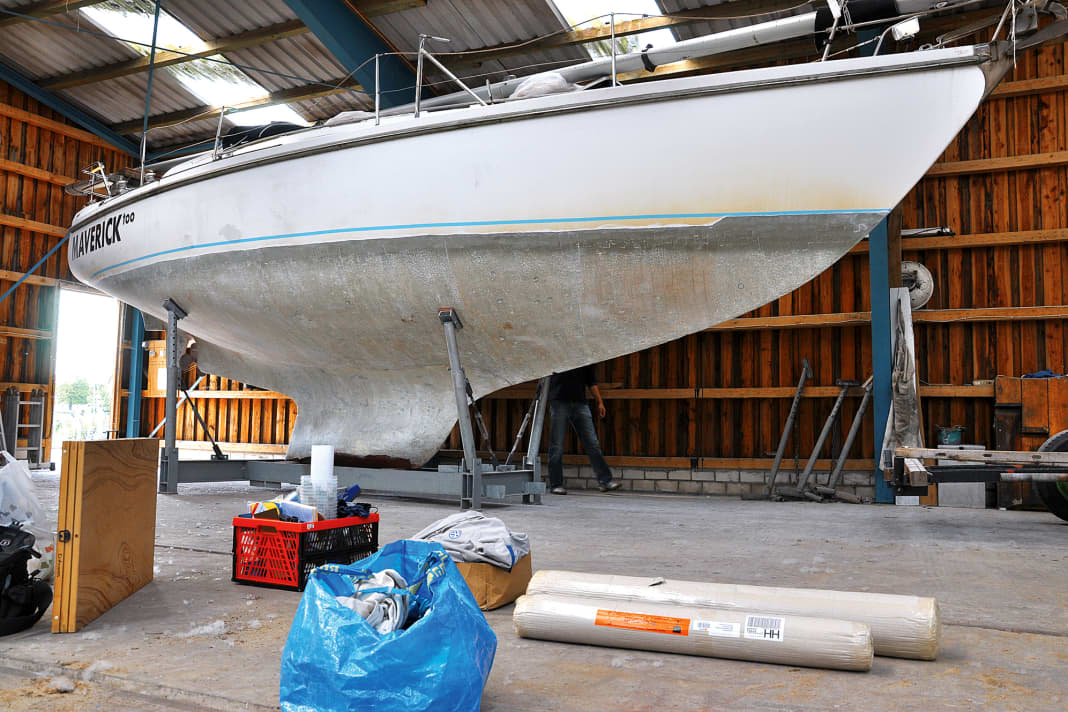
A GelPlane is suitable for removing antifouling, gelcoat and the first layer of laminate. This device, which weighs around 4.5 kilograms, was specially developed for osmosis restoration and works very efficiently. With a little practice, the material can be removed evenly. The integrated suction system produces very little dust. As several millimetres of GRP can be removed in one operation, a suitably powerful industrial vacuum cleaner with the thickest possible hose is required. Hearing protection must also be worn. The drive of the blades, which rotate at around 11,000 revolutions, generates a lot of noise, which is amplified when cutting the hull.
You have to invest around 2,700 euros for a GelPlane, so it's hardly worth buying for a single refurbishment. Rental equipment is available for as little as 180 euros per weekend. Two people, suitably prepared, can complete the work on a 30-foot boat in this time. You should take your own fatigue into account, especially when working overhead with the device.


Osmosis: The water must come out!
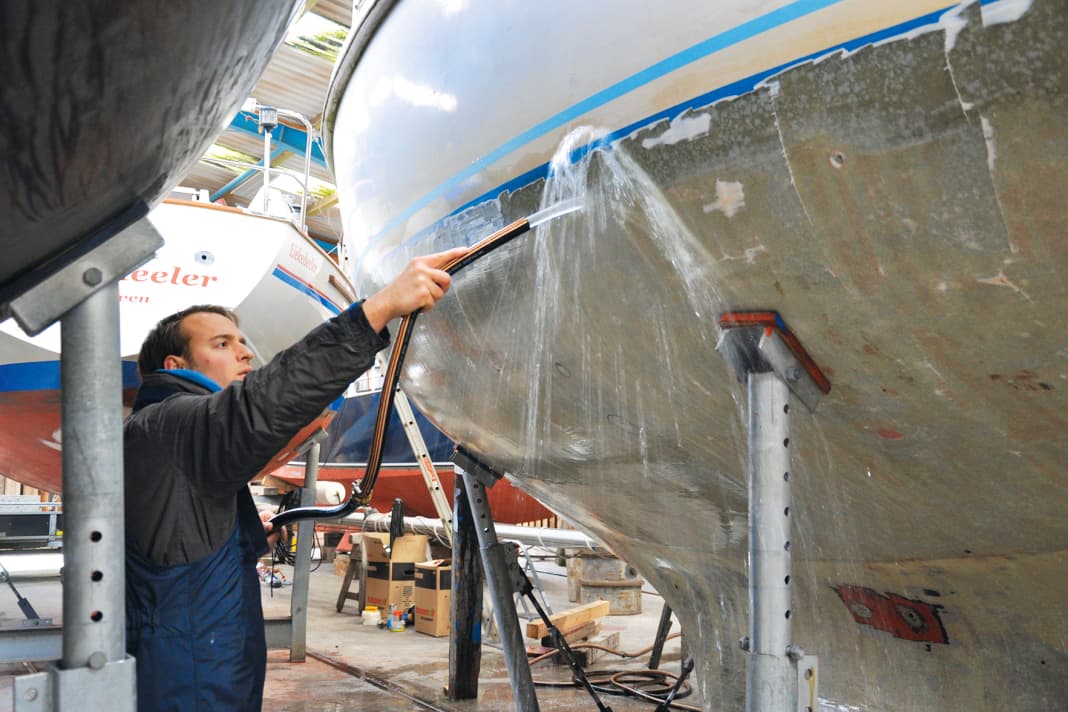
Once the affected laminate layers have been removed, patience is required, as the hull must dry out before further renovation. The easiest and cheapest way is air drying. To do this, the boat must be left on land for a few months and be well ventilated. Covered against rain or snow, the natural drying process works better in open-air storage than in a sheltered hall.
Even if a lot of laminate has been planed off, acid residues may remain in the hull. The underwater hull should therefore be rinsed several times with fresh water during the drying phase. This may sound counterproductive at first, but the laminate actually releases moisture much more quickly once acid residues and salts have been washed off.
The best way to determine when the drying process is complete is to use a moisture meter. To do this, mark measuring points in an even grid across the hull and record the values every few weeks. If the measurements on the underwater hull correspond to those on the above-water hull, you can start rebuilding.
If you have less time, you can also suck the moisture out of the hull using a vacuum. However, this requires a lot of effort and very expensive equipment.


The next steps in osmosis remediation
The subsequent work process depends on how advanced the osmosis was and how much material was removed. If only gelcoat and the first, thin layer of laminate have been removed, it is usually sufficient to smooth the hull with epoxy filler and then seal it with a barrier coat. If the laminate is very thin overall or had to be planed deeper, lamination is required.


To restore the fuselage to its original material thickness and strength, one or more layers of fibreglass are laminated on in slightly overlapping strips. We applied a thin layer of levelling compound to the fresh laminate to even out the unavoidable unevenness at the overlaps. A compound mixed with Microlight filler is very suitable for this. It can be spread finely and is very easy to sand.
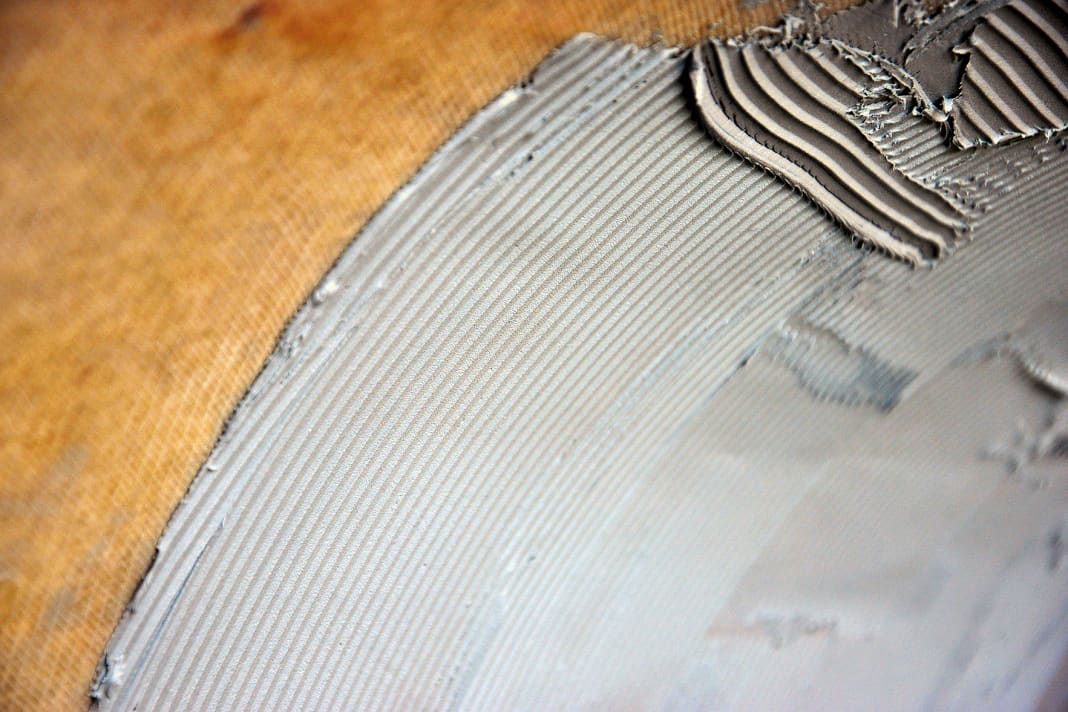


The filler is followed by peel ply. This nylon material does not bond with the resin and, as the name suggests, can be removed once the laminate has hardened. Even if only sanding is required: a worthwhile step.
It leaves an even surface on which work can continue without pre-treatment. It also saves you the tedious task of removing any amine blush that would quickly stick to the sandpaper.
How much effort is required for the subsequent straightening of the underwater hull depends on your personal requirements. As the planer has removed the material very evenly, the new laminate is already quite good. However, for a perfectly smooth underwater hull, several levelling and sanding passes are necessary. This makes it the most time-consuming stage of the osmosis refurbishment and can take five to six weekends. If you fill carefully, you have less sanding to do.



Keeping the water out - final work
All previous work has been carried out with epoxy resin, which means that the new laminate can no longer be decomposed by water. However, there is still a risk of moisture getting back into the polyester laminate underneath due to unavoidable pores and air pockets.
An additional barrier layer provides a remedy. Five additional layers of epoxy resin are rolled on to create a vapour barrier around 400 micrometres thick. To increase the waterproofness, a special filler is added to the resin from the second layer onwards.
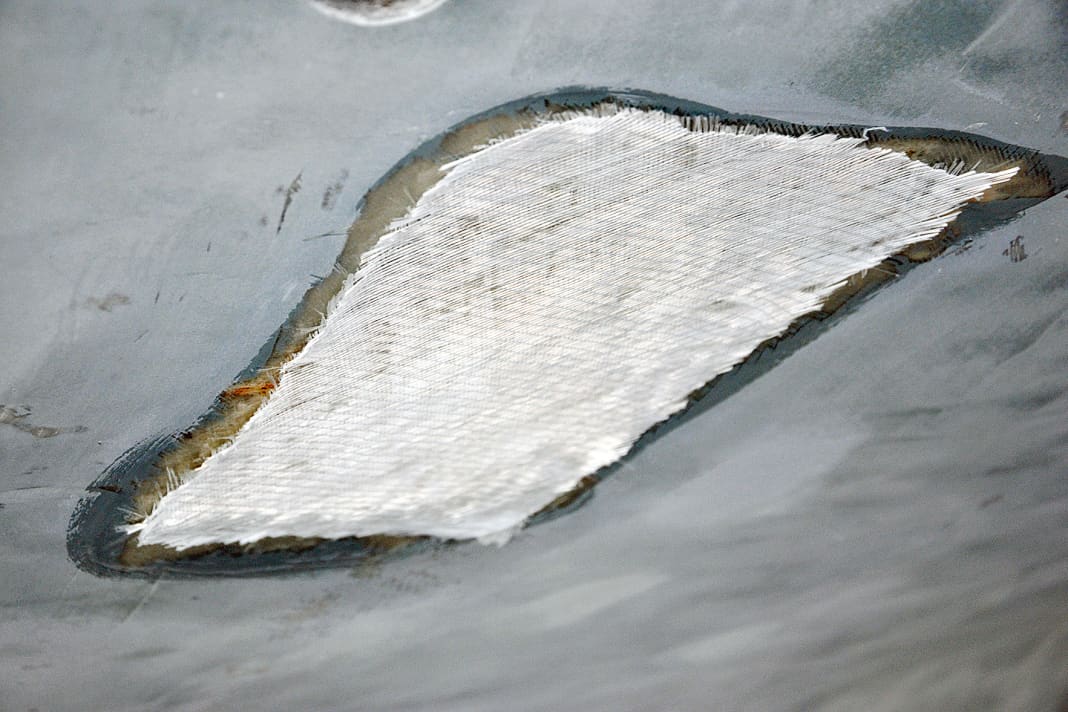


The practical thing about this is that no additional product is required apart from this barrier layer additive. In addition, the epoxy resin does not contain any solvents that need to flash off or leave pores, so you can work wet on wet.
This saves time, as the next layer can be applied as soon as the material has set slightly. With the right hardener for the temperature, about one coat per hour is possible. In practice, this means that once you have reached the stern, the next coat can be applied to the bow.
The only disadvantage of this method is that as the final coat hardens in the air, amine red can form on the surface. The hull must therefore be washed and sanded before the primer for the antifouling is applied.
You can read about this in the osmosis special:
- Part 1: The development of osmosis
- Part 2: Recognising osmosis reliably
- Part 3: DIY osmosis remediation
- Part 4: Osmosis remediation from a professional
- Part 5: Professional osmosis prophylaxis

