RiggingMaking a splice in braided cordage

Hauke Schmidt

 · 04.08.2023

Rigging: Making a splice in braided cordagePhoto: YACHT/K. Andrews
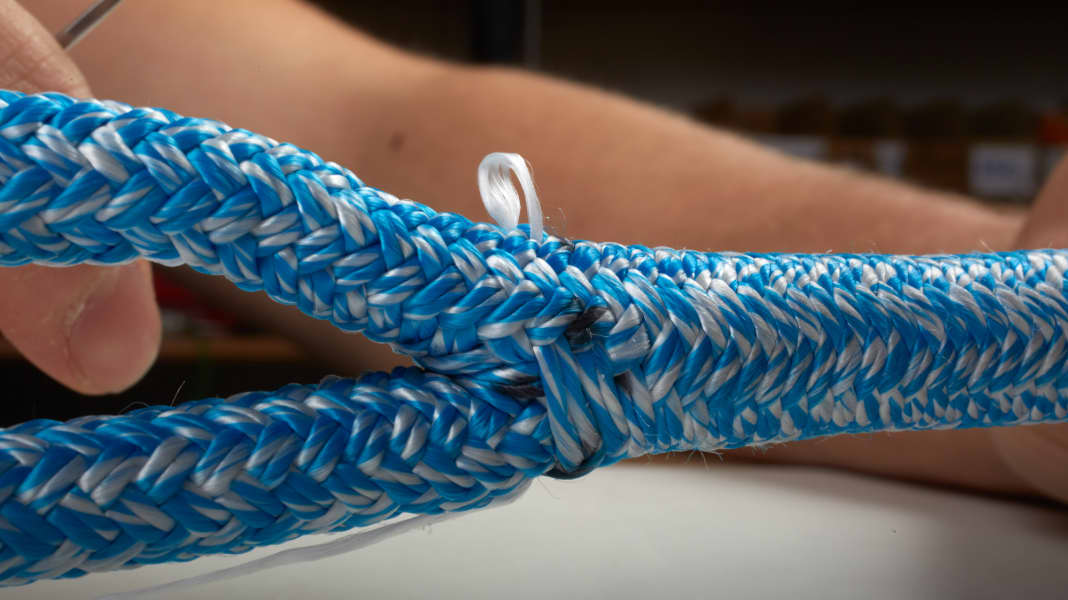
Instructions for making up modern Dyneema cordage. An eye with core and cover is made here

It is the rule on regatta yachts: ropes that are precisely adapted to their intended use. Not only the choice of material and diameter play a role here, but also the workmanship. Depending on the skill of the rigger, this results in very elegant and functional halyards, sheets and spreaders that would even look good on cruising yachts and performance cruisers. Nevertheless, these boats are dominated by knotted, standardised reel material. You don't have to be a professional rigger to splice the braids with Dyneema cores that are common today.

These instructions for making an eye in braided cordage explain the basics. We also show the tricks of the rigging pros in great detail.

The rope used is 10 millimetre thick DSK 78 Club Poly from Maffioli, which is suitable as a high-quality halyard or sheet for touring boats. The splice shown can be used for all core-sheath braids with Dyneema core without intermediate sheath. Depending on the manufacturer and cordage construction, the length allowances for shortening the sheathing may vary, so if in doubt you should estimate more than 13 centimetres. Excess braid is milked away at the end of the fall.

Making an eye step by step

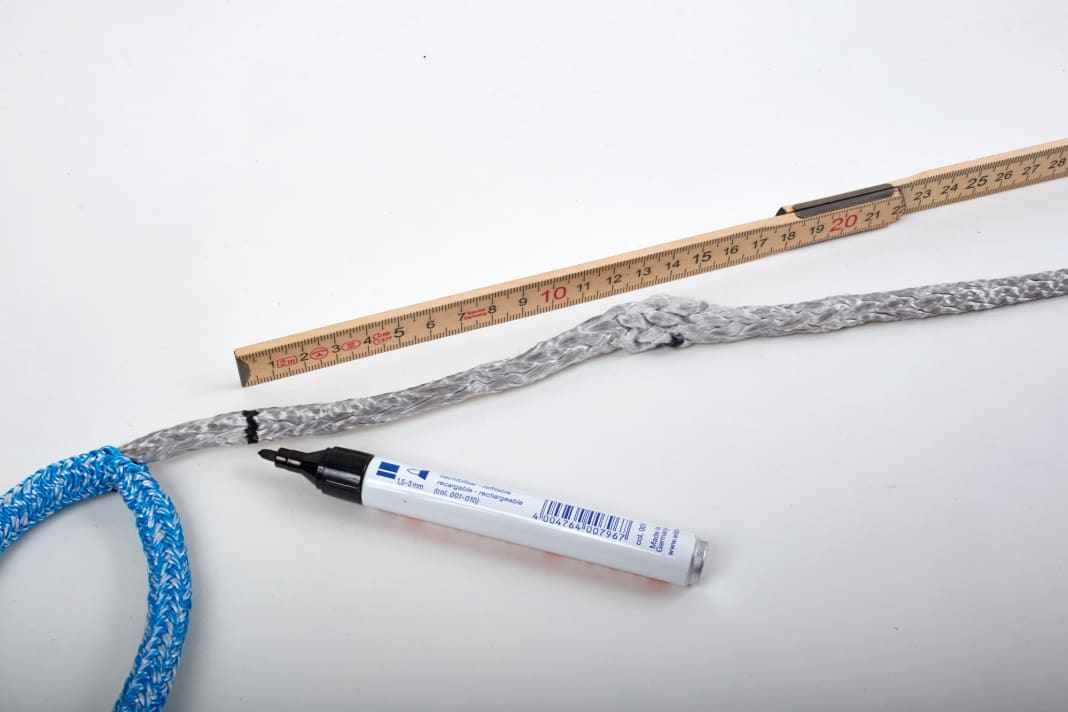
Open the coat
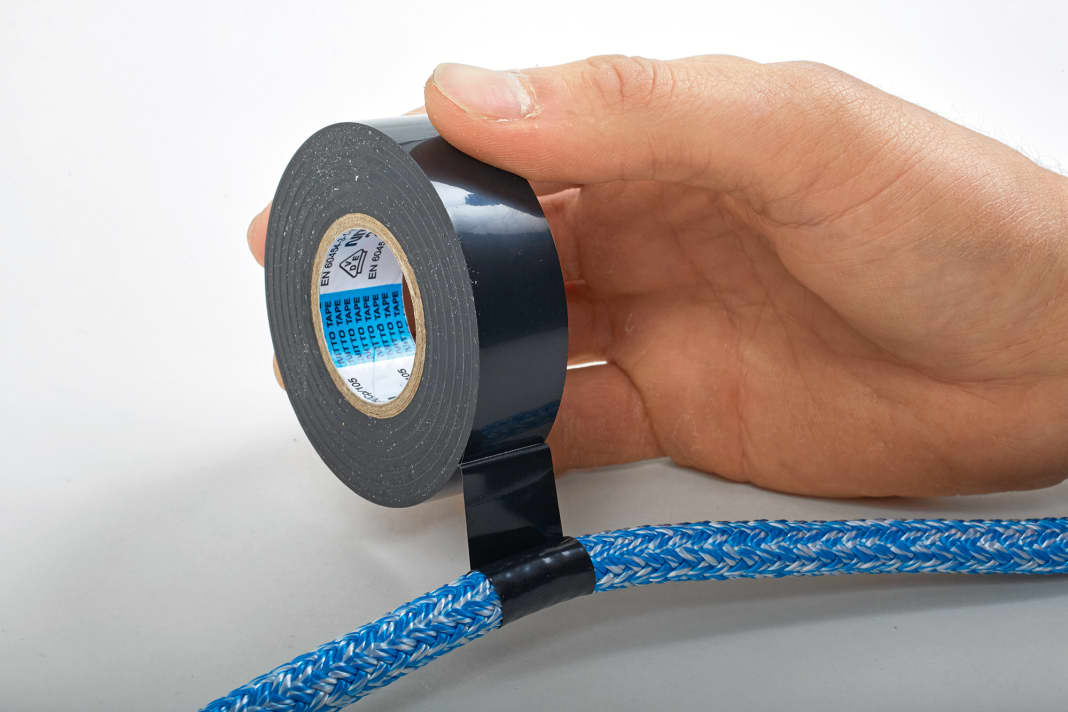
If the cordage is to be cut to length or the end that has been scorched by the hot cutter is to be trimmed, wrap the area tightly with PVC insulating tape. The flexible material adapts to the cordage structure, holds well and can be removed without leaving any residue
Photo: YACHT/K. Andrews

Rejuvenate the coat

Pull the core out of the short end at the 47 centimetre mark until the full splice length of 60 centimetres can be marked from the end
Photo: YACHT/K. Andrews

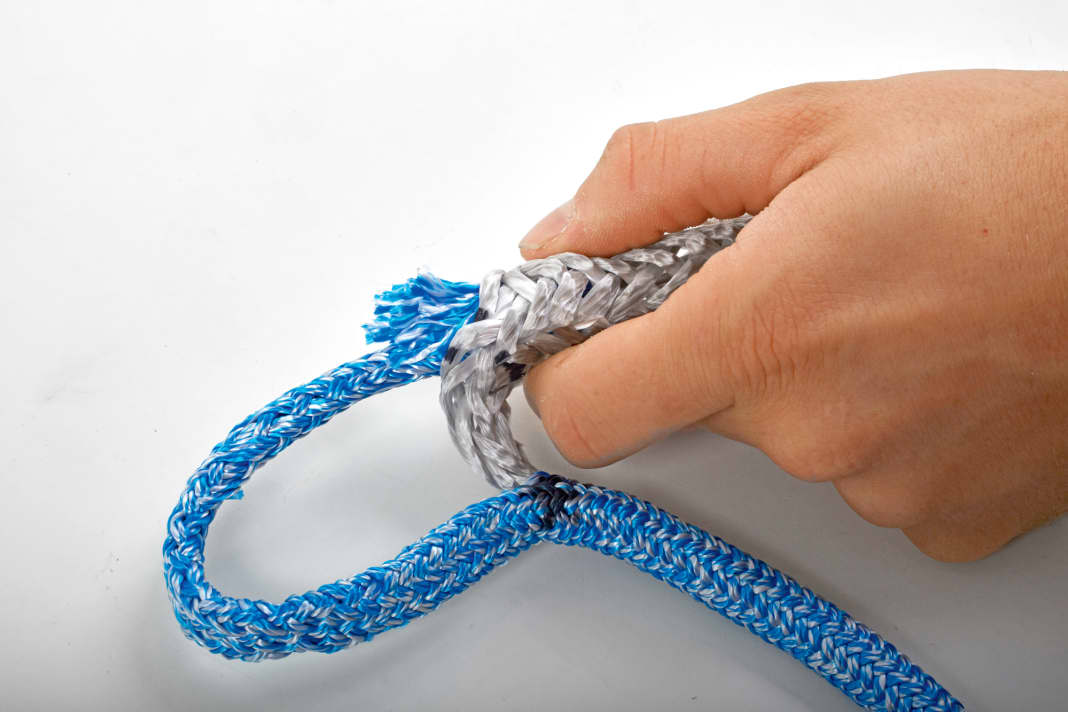
Fixing the transition

Pull the tapered cover into the core with the splicing needle. For very rigid braids, the end may need to be fanned out a little so that it fits better around the needle and slips through the core
Photo: YACHT/K. Andrews

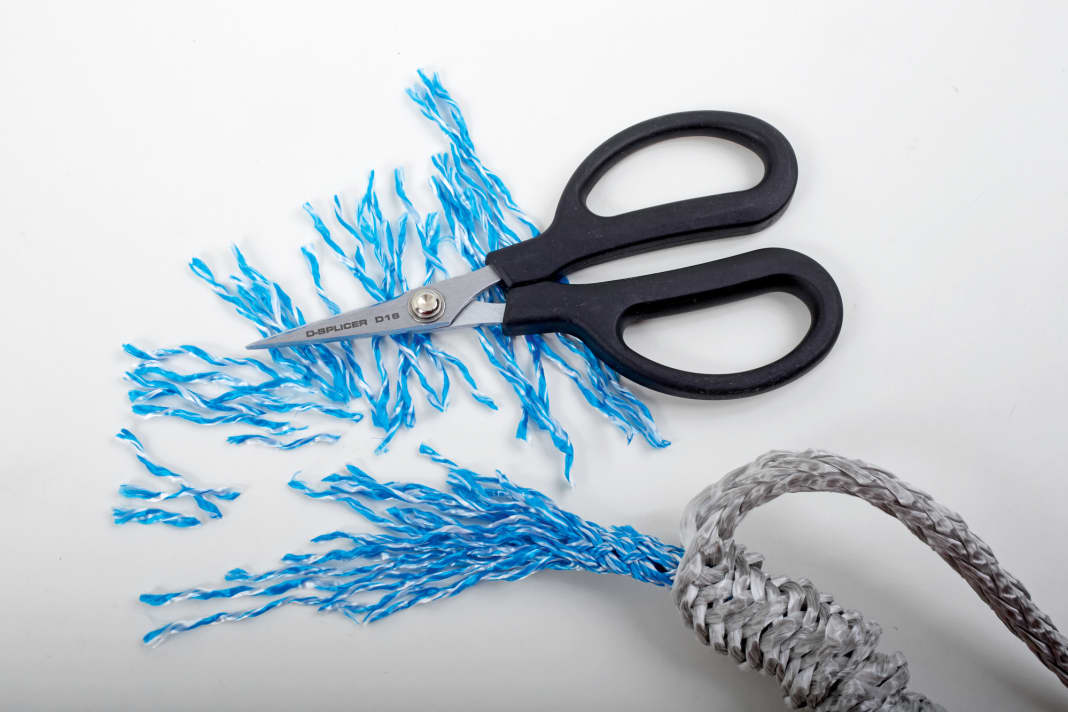
Forming the eye

The yarns of the sheath are graded evenly as described in tip 3 to create a clean taper. Then melt the core back until the sheath disappears completely
Photo: YACHT/K. Andrews

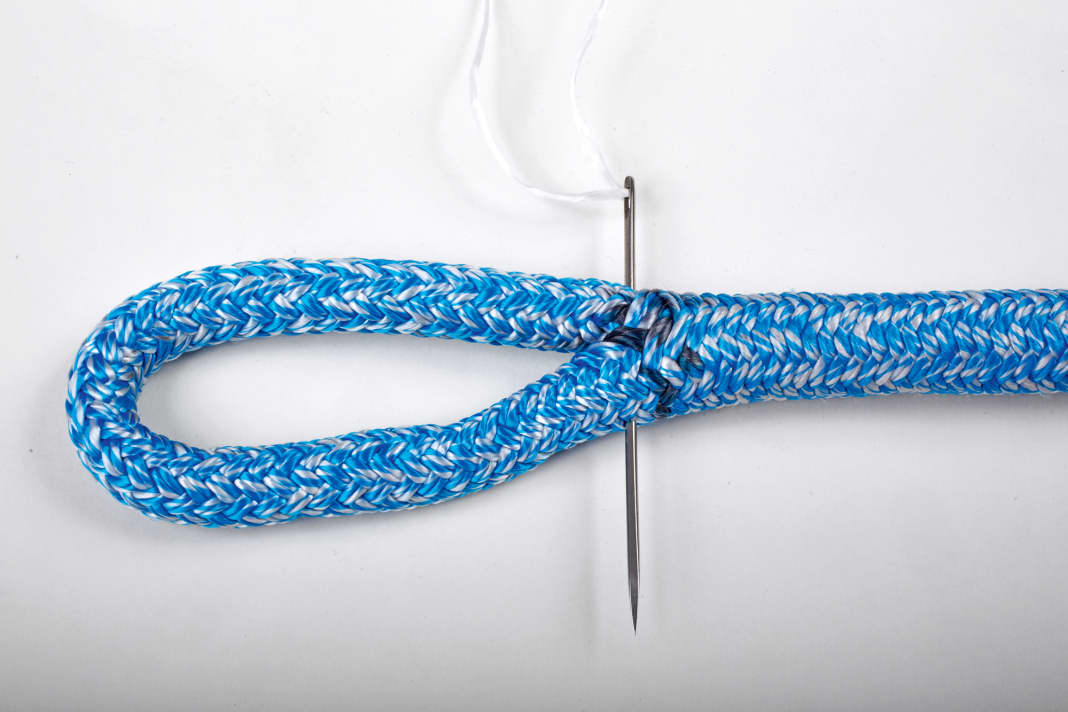
Secure the eye

Finally, the splice is secured with five to six stitches. Instead of rigging yarn, a yarn from the sheath offcut is used for this. It matches the colour perfectly and the fibres are parallel, so they fit together perfectly.
Photo: YACHT/K. Andrews

Further interesting instructions for cordage work


Most read in category Equipment