Painting: Paint better: Tips for the perfect result
For owners of both wooden and steel yachts, working with paint is part of the normal winter work, even if the entire outer skin does not have to be painted every year. There is always something to touch up. Anyone who doesn't constantly handle a roller and brush is much more sceptical about a complete paint job, because just as a flawlessly shiny hull improves the appearance of the yacht, a failed paint job can ruin the look.
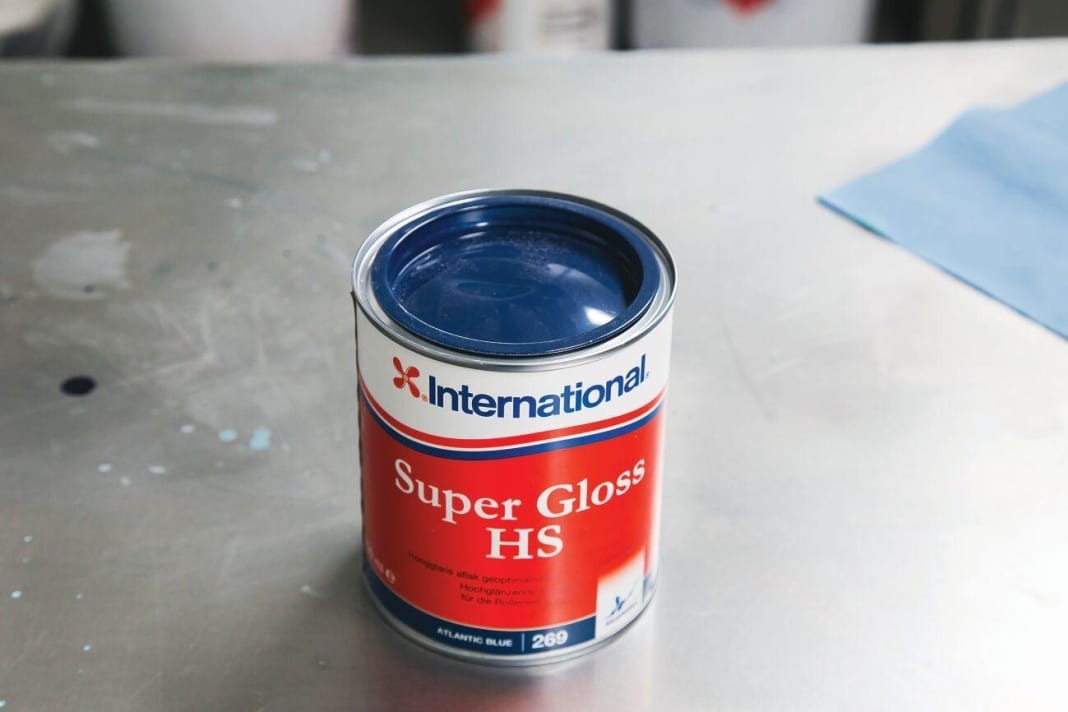
To ensure that the touch-up treatment is successful, you should first decide whether to use a single-component paint or a two-component system. Multi-component products are generally much more resistant, they do not scratch as quickly and are more UV-resistant. Contrary to popular belief, they are also no more problematic to use. Apart from mixing, the work steps are identical and the colours can be applied just as well (or poorly) with a roller and brush as conventional single-component paints.
Use one- or two-component lacquer?
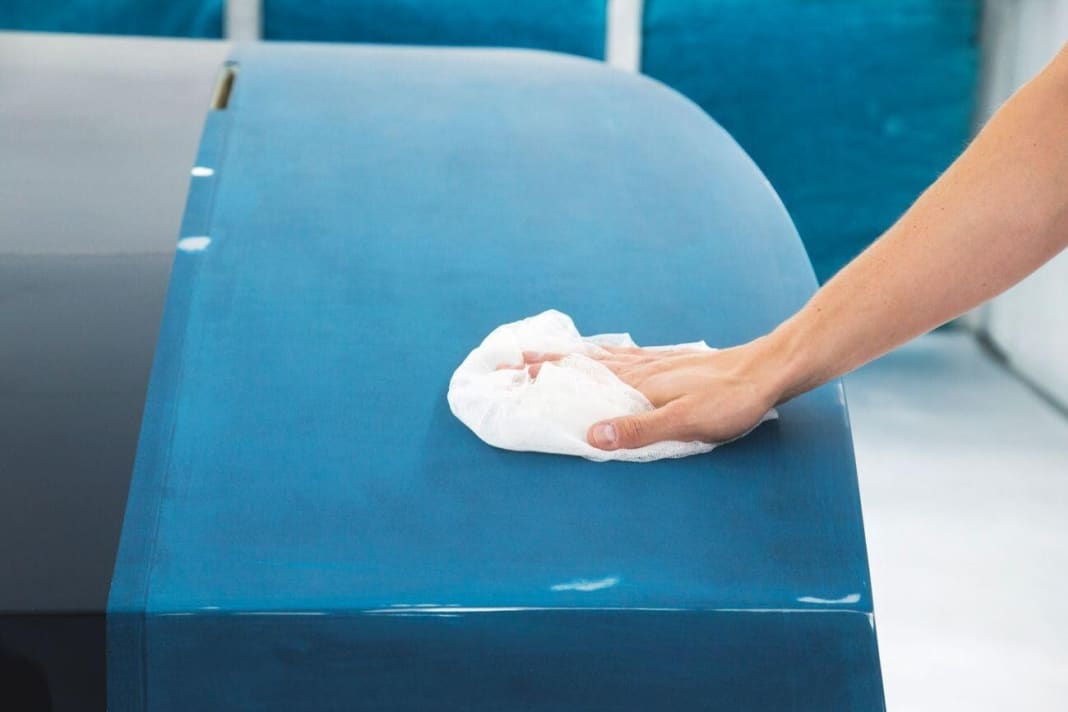
The choice of paint system is also a question of the substrate. If an old coating is already present, two-component products can cause problems. Their solvents are very aggressive and soften even decades-old single-component coatings. However, the resistance of the substrate can be easily tested: A cloth soaked in two-component solvent is fixed to the old coating with film and adhesive tape. After about ten minutes, check whether the paint has dissolved. If there are no visible changes, it is safe to work with a two-component paint. If the paint has started to peel, the only option is to sand it off completely or use the one-component version.
We assume the worst and choose the maximum variant; with our Dehlya 25 the great YACHT refit project, only chalked gelcoat remained, polishing was pointless. Repainting was therefore unavoidable, and the aged GRP lady also had damage to the laminate. On the other hand, this also made a more modern design possible. Because the eighties look with the wide blue trim strip no longer fitted in with the times. So: off with the paintwork.
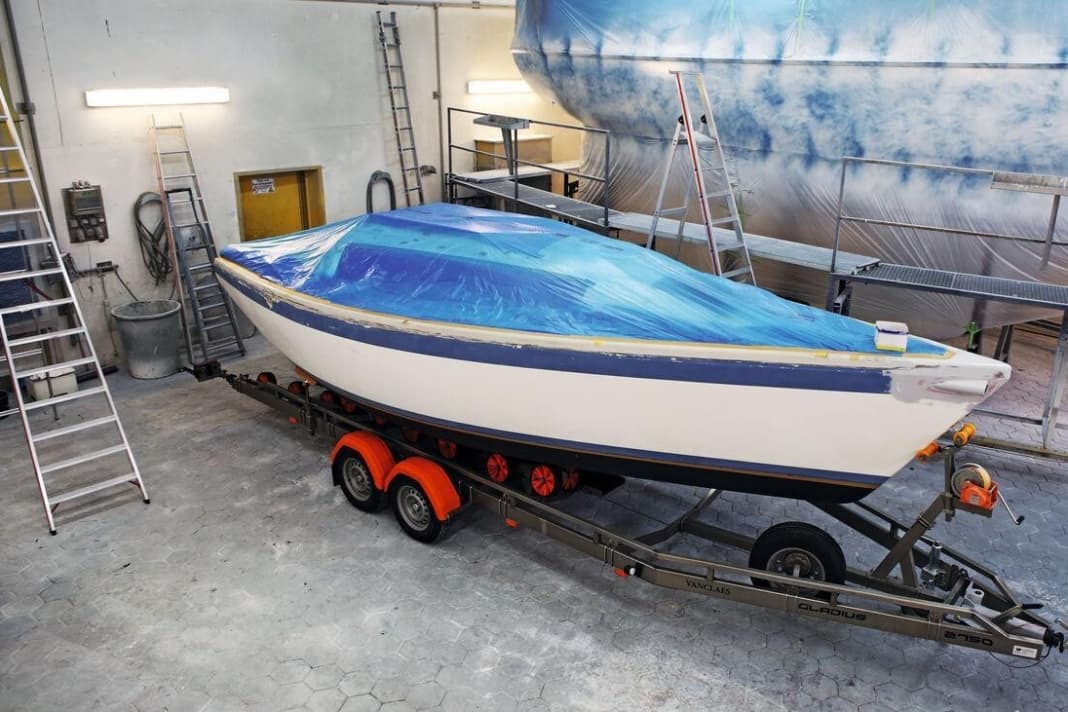


The fuselage could also have been covered with a film. However, this did not seem sensible to us. After all, to achieve a perfect result, the outer skin would have had to be prepared just as extensively - like paint, a film only makes all the unevenness underneath all the more obvious later on. Painting, however, protects the hull better and is more durable. Foiling therefore only makes sense for smooth surfaces or to realise special effects such as a metallic look or motif applications.
Finally... the run-down exterior is history!
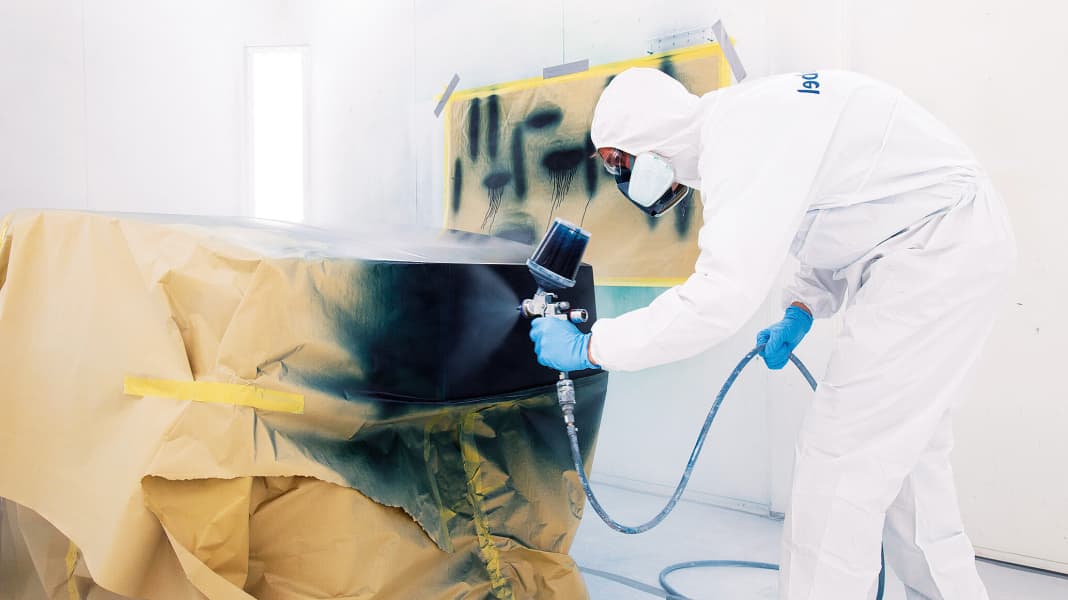
As both options would have cost roughly the same - in our case around 4000 euros - we decided, together with our project partner Peter Wrede Yachtrefit GmbH, in favour of spray painting. If you don't want to invest so much money, you can also carry out all the steps shown yourself with a lot of skill and time - although the end result is likely to be less professional.
Although it is possible to apply paint with a brush or roller, this usually requires two coats with intermediate sanding to achieve the required layer thickness. And in the absence of a dust-free paint shop, unsightly inclusions in the paint surface cannot be avoided. Savings through in-house labour are therefore inevitably at the expense of visual quality. We have compiled the steps to successful spray painting in a series of pictures and a YACHT TV report with the experts from International:


An instruction film for successful painting with the spray gun:
Incidentally, the deck is only prepared and painted at the very end, when all the work on the boat has really been completed and the position of the fittings has been precisely determined. Otherwise it would only be scratched unnecessarily or would have to be elaborately covered.
There is an easier way: painting with a roller and brush only
The conditions for spray painting are not available everywhere, and understandably not all owners want to dig so deep into their wallets for a new coat of paint. Which is no problem at all: with a little practice, a good finish can also be achieved with a roller and brush.
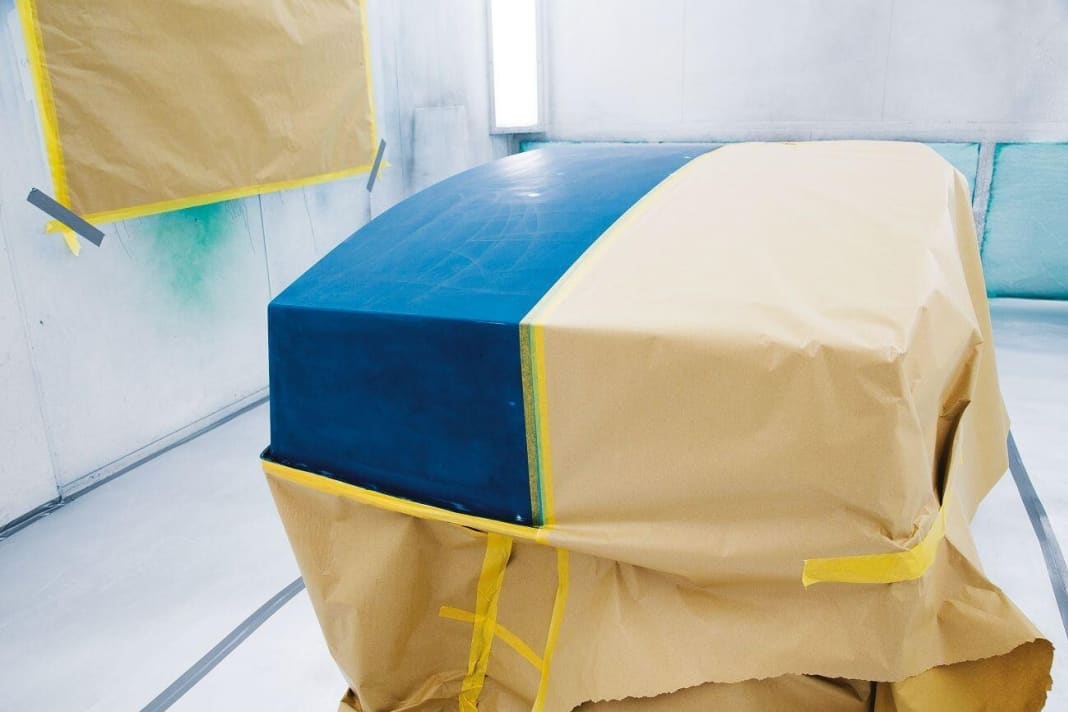
Once the decision has been made in favour of a colour, however, the preparation of the substrate also begins here. This includes careful sanding and priming with a primer that matches the paint system. Sanding is usually carried out with 220 to 320 grit paper. The following applies: the darker the colour, the finer the sanding needs to be, as any scratches will be particularly noticeable. For the dark blue paint used in our example, the final sanding was therefore carried out with 400 grit.
The primer is usually only available in light or dark colours. To avoid problems with translucent primer even with green or red, the light-coloured primer can simply be tinted with a little varnish.


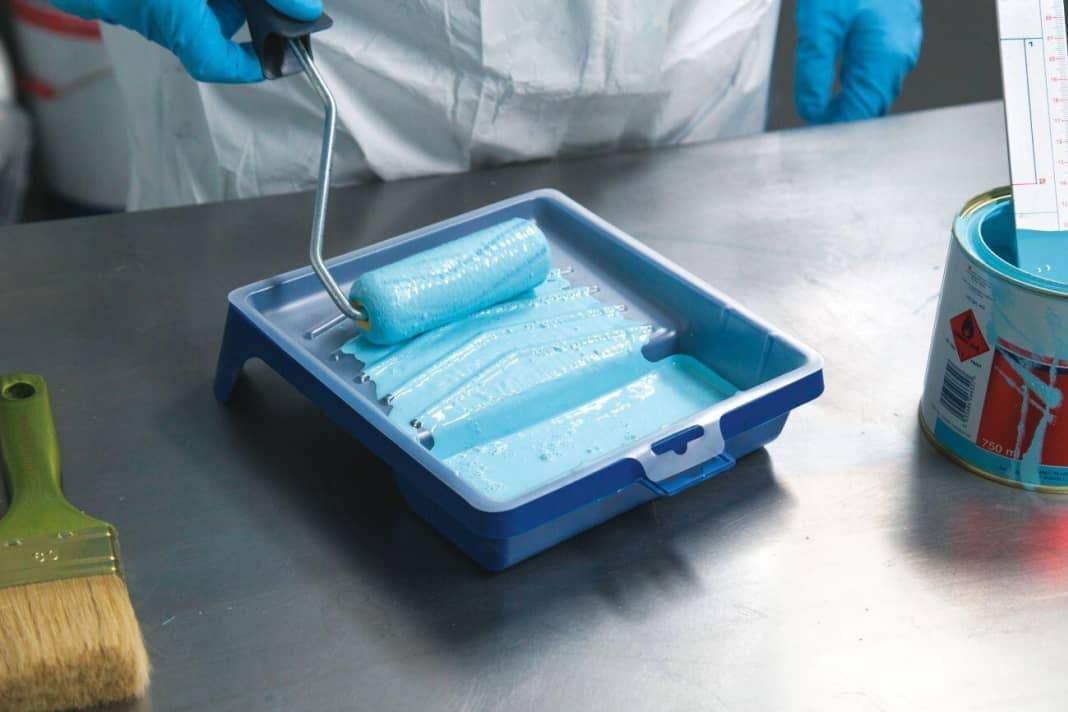
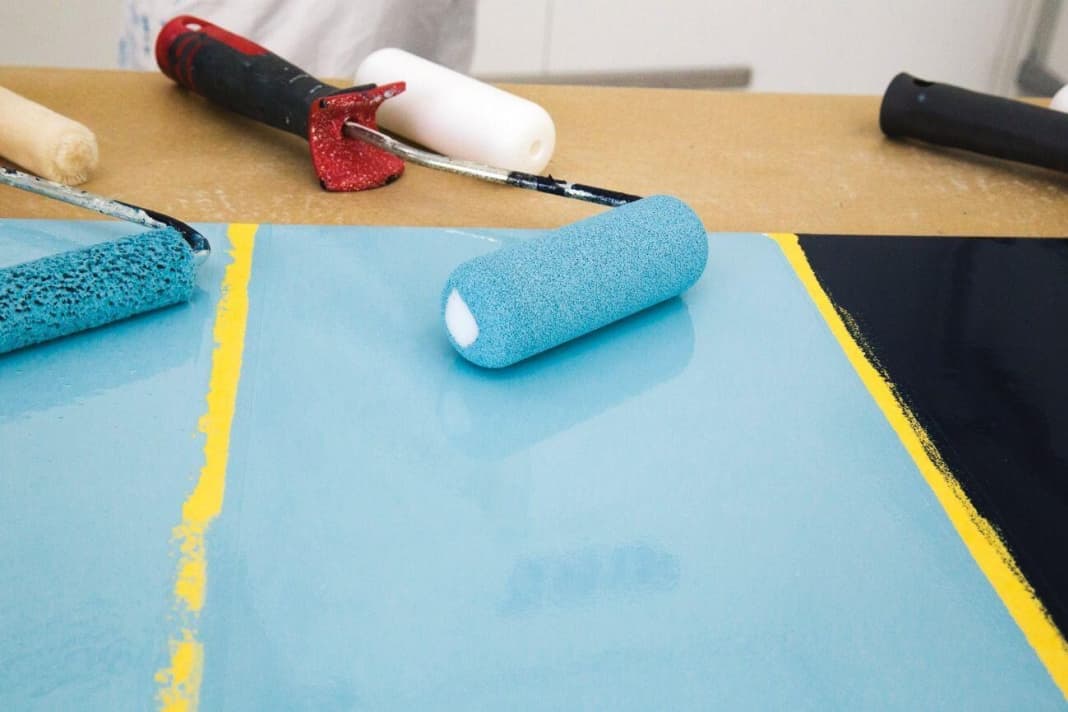
Small areas can be painted directly with a brush. On larger objects, however, it is difficult to apply the colour evenly, so a foam roller is used for this.
Instruction video on the subject of painting:
The disadvantage of this is that the pores of the foam roller create countless air bubbles. If the colour is left to dry like this, the bubbles burst and form tiny craters, which create an orange peel effect. This problem is solved with the so-calledSmoothing. To do this, run a wide brush in parallel strokes over the fresh paint. The bristles open the bubbles and level out the craters so that the paint can run cleanly.


However, solvents are also lost in the process, which is why you should only work crosswise once at most. Large areas are best painted in pairs. One person rolls on the paint, the other follows at about arm's length behind and smooths out the bubbles.
The master boat builder gives tips on how to avoid annoying mistakes when painting:
In addition to orange peel, brush marks, visible marks, runs or pores are the most common faults when painting. If furrows or pores remain on the surface, this means that the paint could no longer run because there was too little solvent.


This may be due to the ambient temperature being too high, or the colour was blended or corrected too late.
To improve the flow, the colour can be thinned to a certain extent or a little clear varnish can be added. The transparent coatings usually smooth out better. As with thinning, care must be taken to ensure that the colour and clearcoat are compatible.
Tool selection and professional tips
Everything done right, but the finish is still unclean or looks downright amateurish with streaks and bubbles? Then it was probably the wrong tool. Because there is usually only one brush or roller between heaven and hell when it comes to painting. Therefore, be careful when choosing your tools! Only with high-quality brushes made of uniform natural bristles and foam rollers with the finest possible pores can painting really succeed. But which rollers are actually suitable? An overview:


Otherwise, the following applies: whether one- or two-component paint, roller, brush or spraying: Painting is and remains a craft and is therefore largely a matter of practice. It is therefore worth considering trying out the desired colour system on a manageable and less valuable object. Perhaps, as in our case, we can find an old Optimist dinghy from the youth department.
Professional painters have more experience. Here are three tips from a professional:
