Series: Sailing practice with Tim Kröger
- Rig trimCorrectly adjust the mast profile with shrouds and stays
- Sail trim Giving the sails the ideal profile on all courses
- Optimal crossing Sailing perfectly to windward with the right tactics
- Downwind sailing Cruising faster downwind with gennaker & co
The picture galleries in this article:
Sailing is much more than just a sport for me - it is a philosophy and a life's work. On my journey through the world of sailing, I have experienced a lot, but I have learnt even more: on the one hand, by interacting with my fellow sailors and, on the other hand, by learning a lot of techniques and tricks.
These experiences, my tips and tricks may also benefit all other sailing enthusiasts and help them to realise their full potential in our complex sport.
The individual methods for correct trimming


Even if I'm not a typical cruising sailor, I always follow a simple approach: what works for regatta sailing and optimises your own performance and that of the boat and equipment also works for cruising. Which would be rather difficult the other way round. Many of my friends who used to sail regattas intensively and have now converted to cruising with their family or partner will agree with me.
I also find that sailing on a cruising yacht that is well optimised within the limits of its individual capabilities is more fun than on a building site where you don't know what might fly at you next.
Ships offer a wide field for optimisation approaches. Sometimes you are already satisfied if the mast is up and the sails are hoisted. For me personally, however, that's not enough.
Straightening the mast profile


The way I see it, the more you get to grips with the technology of your own boat and have solved potential problems, the more intensively you can concentrate on working more effectively and better with the equipment and having maximum fun with it.
You can steer better in all conditions, trim the sails better and develop an eye for what is right and what is not quite right. In this series, we would like to make an offer to take a closer look at your own boat and ultimately generate more personal sailing enjoyment from it.
If you are in control of your boat in all conditions, you will also feel safer at sea for yourself and your team and be able to sail from harbour to harbour more easily. Good preparation and knowledge of your own equipment, the mast, the sails and the behaviour of the boat give you a good feeling. For me, this is an essential aspect of sailing.
The final preparations for the trim stroke


More about rig trim:
Rig trim starts with the mast check
Let's take a look at the most important components that enable better and safer sailing: The first thing to focus on is the mast and its standing rigging. Before the mast goes into the boat, it goes without saying that all suspensions, all furling terminals and also the shroud tensioners must be checked for wear. Rusty roller terminals on the shrouds often indicate the end of the service life and could spoil the entire season. Replacing a broken mast can take a very long time. And that's only because you haven't taken enough care with the detail work.
If you are inexperienced or unsure in this area, you should have an experienced rigger look at it. This investment can spare your nerves and save you trouble. In England they say: Rust never sleeps.
Maintain the equipment before trimming the rig
The shroud tensioners are completely unscrewed and well greased. Check whether the thread is seized. A seized thread will not improve when tension is applied. Copper paste works pretty well. However, other products such as high-quality greases suitable for threads also work. When assembling the tensioner, it is advisable to ensure that both threads grip at the same time.
When checking the mast at the start of the season, you should also check the antennas and cables in the mast. Most yachts now have AIS, and that's a good thing. A weak signal is often due to damage to the cable or aerial.
Lots of love for the wind generator
The installation of the wind sensor is also an important point for me in order to utilise the electronics sensibly. Of course, you don't have to go as far as I normally do. But you could.
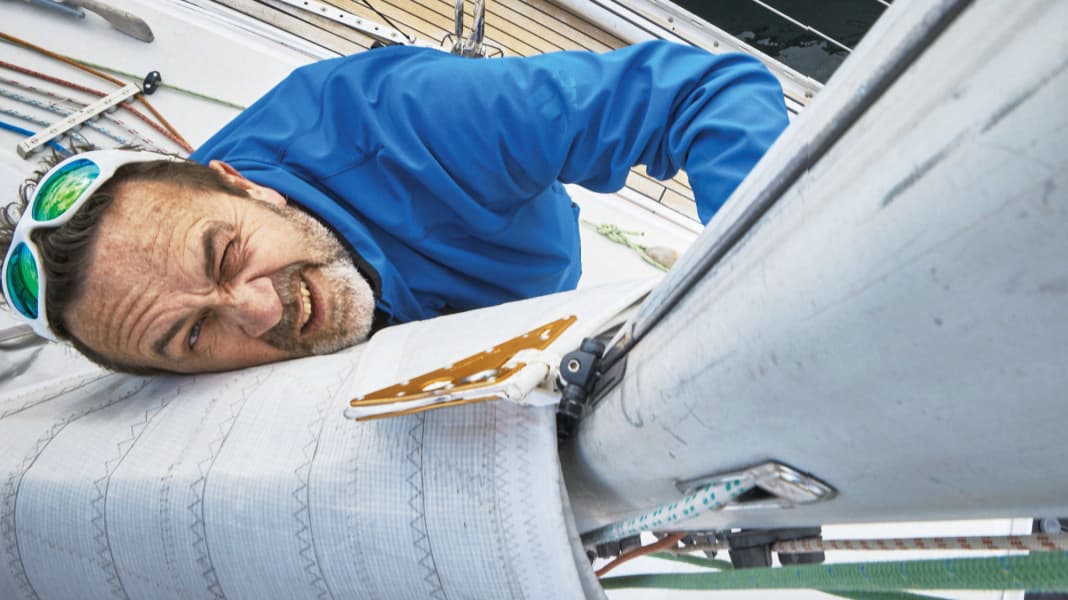
I align the mast on its bearing blocks straight on the aft edge, take a bearing along the mast with a laser and align the wind sensor on the basis of this line. A DIY store laser is sufficient for this. Those with green lines are best - they are easier to see.
Once aligned, it makes sense to mark the installation position so that the transducer can be easily installed in future after the mast has been set at a lofty height without having to adjust the position that was laboriously worked out.
Why is this effort so important? Quite simply, there are fewer problems when calibrating the system later on because no installation errors are compensated for.
It goes without saying that the transducer must be firmly attached to the mast. I have also sailed with yachts on which the transducer wobbled around at the top of the mast at every tack. You might as well switch the system off. As with any computer programme, the same applies here: Rubbish in - rubbish out. A programme can only produce clean data if it is fed with clean data.
The rig should be straight in the boat. This is fundamentally important for sailing behaviour and sail trim"
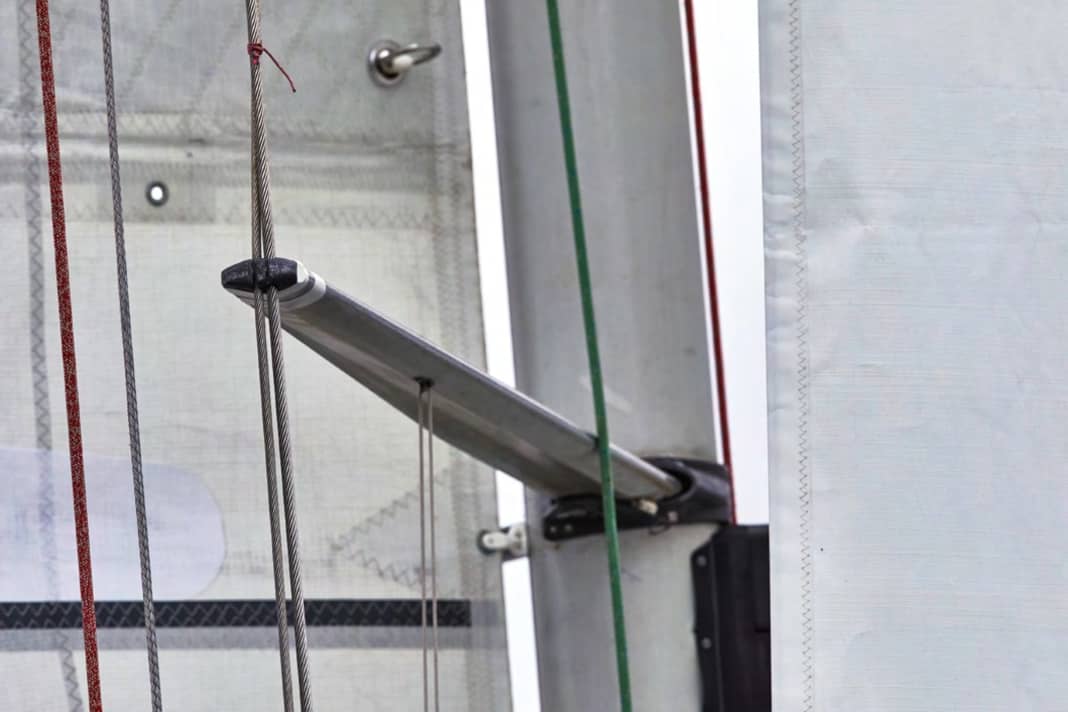
If you decide to work with the laser, you can directly check the position of the spreaders, especially for rigs with swept spreaders, their symmetry is crucial for the trim.
If you don't have a laser to hand, a good sense of proportion will help. In any case, it is worth checking the position of the wind sensor.
Many yacht systems also offer very simple calibration processes that can be used to eliminate installation errors. However, the basic rule applies here: the higher the quality of the system, the more carefully you should check the installation of the respective components.
For example, a speedometer that is not installed exactly in the centre will inevitably show a different reading on one bow than on the other. This is not due to the skill of the helmsman or helmswoman, but unfortunately to the material or, better still, its installation.
The more carefully I check my components and their functionality, the more I can concentrate on improving my own skills and enjoying sailing.
Fine tuning the rig
When setting the mast, owners often don't have the time or leisure to adjust the rig properly. In a club, it may be a concerted effort, and time at the mast crane is limited for each boat. Even in a shipyard, the team is happy when the mast is up and the boat can make way for the next one.
Fine-tuning takes place during rig trim on the mooring. This can and should be done in peace and quiet, as it makes sense to take the time to work through the individual steps.
The first: the rig should be straight in the boat. This is fundamentally important for sailing behaviour and sail trim. If the mast is further to one side, the headsail trim should be different on one bow than on the other.
For professional teams, it is a basic requirement to ensure that the rig is plumb in the ship. I experienced this in the America's Cup. It was all about millimetres. The concept was based on getting the keel, rudder and mast aligned. A laser was of little help here, because the masthead of a Cup boat standing on land was 40 metres above the water.
We levelled the boat on its bearing pedestal with the help of a tubular spirit level. Then we used a theodolite to determine a distant point in front of the ship from the keel. The theodolite was brought to this point and levelled. From here, we could now take a bearing on the exact centre of the keel and thus had our reference points.
With the help of the theodolite, we were able to swivel vertically along the keel up to the top of the mast. Ideally, the keel and the exact centre of the mast should be on the same line. If this was not the case, we trimmed until the mast and keel were in line.
I admit that this method is quite complex for cruising sailing. I have described the procedure primarily to illustrate what is important.
Straighten the mast
There is a trick that works really well for checking whether the mast is really straight in the boat - regardless of the hull and the lengths of the shrouds, as errors can also occur here when cutting and rolling the terminals: I use a spring scale to help me. It can also be another scale, as long as it can be read easily under tension.
I attach the bridle for the rig trim to the main halyard. Ideally, its roller box is built into the centre of the mast. Now I measure the tension and weight of my main halyard at a fixed point on the jib fittings, at the same place on both sides. Most production yachts today are built very precisely and there are no differences from side to side.
The backstay is only slightly tightened during this process. We concentrate on the lateral bending of the mast. If the tension is different, the mast is not centred. For example, if I measure ten kilograms on the starboard side and five kilograms on the port side, my mast will lean to port. The next step is to equalise this by adjusting the shroud tensioners.
On our boat, I tighten the tensioner on the starboard side by a few turns and loosen it on the port side by the same number of turns. In between, I always measure with the spring balance to check whether the tension is already the same on both sides.
If there is already too much tension on the upper shrouds and the rig - as on most modern boats - has swept spreaders, I tighten the backstay slightly - this reduces the tension on the upper shrouds slightly and the tensioners can be tightened more smoothly. This also prevents the threads from seizing.
Once the tension is equalised, the next step is to look up. You will probably now notice that the mast has an S-curve and needs to be trimmed straight with the remaining shrouds - although my masthead is now centred, the intermediate shrouds do not yet match the curve.
In the performance area, we have also switched to using a simpler term for the shrouds in German, as in common English on board. The shrouds that go to the side of the mast are the diagonals, i.e. the Ds. The verticals are the V's. The number 1 starts at the bottom. The designation always goes from the deck to the first spreader, then to the second and, if present, to the third.
The classic lower shroud becomes D1, the centre shroud from the first spreader under the second spreader on the mast becomes D2 and so on. The upper shroud is the V1 and becomes V1/D3 from the second spreader - on modern racing yachts, the shrouds are divided and bolted to the spreader ends in fittings and are not continuous as on many cruising yachts.
Now it's time to straighten the mast and eliminate any S-shape. To do this, I take a bearing along the groove on the back and focus on the attachment points, the fittings of the respective lower and intermediate shrouds or the Ds.
I unscrew on one side and turn on the same turns on the other side. This should be done step by step. In between, I keep checking the lateral curve of the mast. At some point, I reach the point where my mast is laterally straight when I point upwards along the groove.
If the mast is then really plumb in the boat with hand-warmed shroud tensioners, tension is not immediately applied to the rig.
The mast drop should be checked beforehand. Although it can be very time-consuming to change the mast drop on yachts with furling systems, it should still be checked.
The mast drop has a major influence on the balance of the boat and affects the rudder pressure as well as the position of the hoisting points of the headsails. A common mast drop for a cruising yacht can be between one and one and a half degrees - but this is only an approximate value.
The ideal mast drop for the different wind ranges will vary greatly for each ship, but for one-design classes such as an X-35 or a Swan 45, there are standard values for rig tension and mast drop that have proven to be optimal over the years.
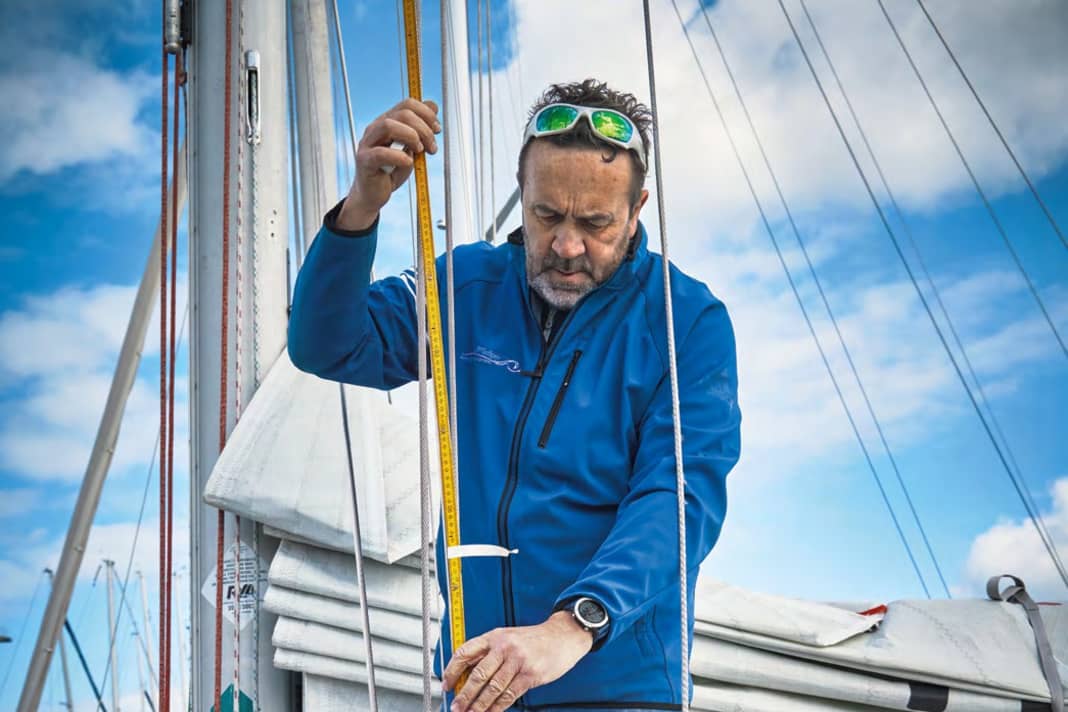
The measurement itself is quite simple. Use the main halyard to pull a tape measure into the mast and measure the length from the top to a fixed point on the mast groove. The tape measure is then replaced with a thin line to which you attach a plumb bob that is as heavy as possible. Now measure the distance from the fixed point on the mast groove at right angles to the plumb line. The mast drop is calculated trigonometrically.
It is best to take the measurements when it is calm and there is no movement on deck, so that the plumb bob can remain still. If it is not steady, it can help to hang the plumb bob in a filled bailer.
If you notice that the mast is too upright or even leaning forwards, it must be given more mast drop. This step is therefore carried out before the rig is tensioned. If the boat has aft-swept spreaders, the rig tension would be reduced again when the forestay is lengthened.
Once the mast is straight, it is time to bring the rig to the necessary tension, which is important for trim and safety. Start with the upper shrouds.
1x19 wire is the most common wire on cruising yachts. The classic folding rule method is best suited to creating the correct tension in this wire. The initial requirement is that a 1x19 wire is loaded with five per cent of its breaking load for every millimetre it is stretched over a length of two metres - regardless of its diameter. We want to tension our shrouds to 15 per cent of the breaking load.
The folding rule is taped to the shrouds with a gap of around five millimetres to the upper edge of the roller terminal - this is my reference point zero. I measure the distance with a calliper gauge.
Now I turn the tensioner on the port side until the distance between zero and the lower edge of the folding rule is 1.5 millimetres.
Then I tighten the starboard tensioner until I have put three millimetres between my reference point zero and the lower edge of the folding rule. I have now tensioned my upper shrouds to 15 per cent of their breaking load and the rig is secure.
The rig trim is only completed once I have sailed my boat. This is because I can only recognise whether all the D's have the right tension and whether my lateral curve of the mast is even and matches the mainsail when there is pressure in the rig.
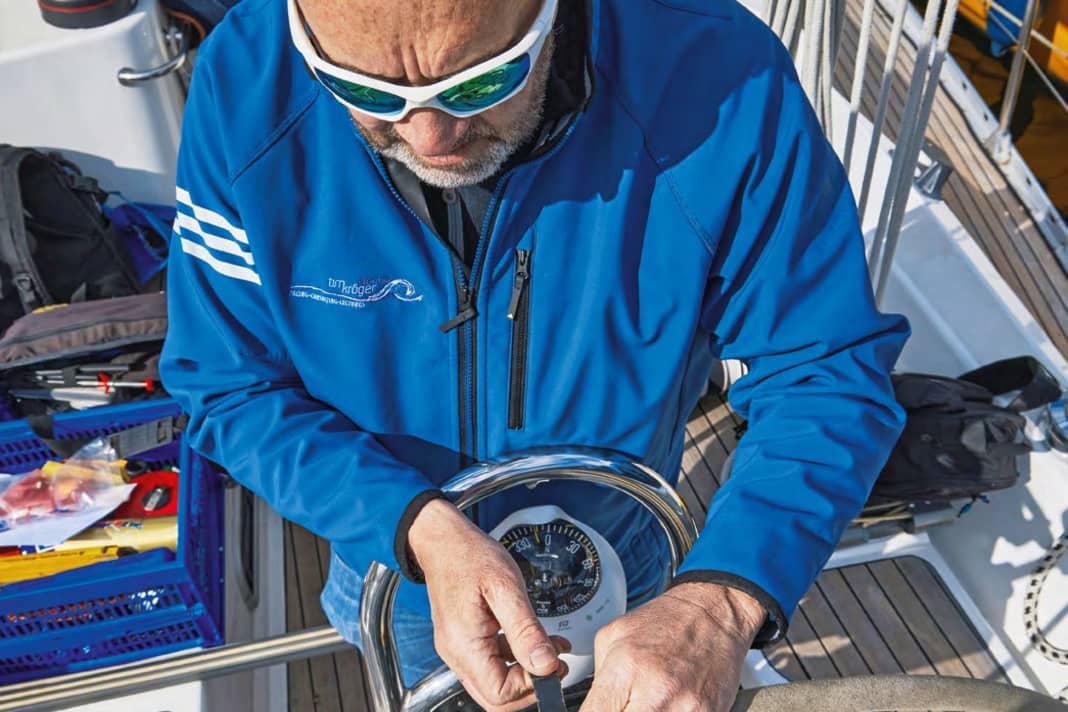
When sailing downwind, I will also find out whether my boat has the right balance, as this also depends on the mast drop. With wheel steering, markings can be attached with tape - at three and five degrees rudder angle. Many boats have self-steering systems whose transducer indicates where the rudder blade is positioned. If you don't have this, you can also use the quadrant to measure where the three and five degrees are.
This is more difficult with tiller steering, but just as possible. Once the rudder angle of the tiller has been measured, marks can be applied to the tiller boom, which is at right angles to the tiller at three and five degrees, for example in line with the bulwark or another point for orientation.
Only by applying pressure in the rig can I determine whether the lateral curve of the mast is even and matches the mainsail"
If I'm sailing downwind with my boat and have a rudder pressure of around three degrees in a medium wind, it's well balanced. Five degrees would be a lot of rudder pressure, but less than three degrees would still be fine.
This way I at least have a good orientation of where I am, and that's what matters: knowing that my boat is so well trimmed that I can sail it with pleasure.

