

A harbour manoeuvre in a crosswind, a single-handed mooring or even just manoeuvring a little clumsily through the piles - without a rubbing strake, the side of the boat quickly gets scratched. The astonishing thing is that although hardly anyone questions the usefulness of side impact protection, it is not only older second-hand yachts with protruding IOR bellies that were delivered without a rubbing strake. Especially in the new boat sector, the deflector has gone out of fashion and is at best available as an optional extra. What's more, all too often the look dictates the shipyard solutions. Instead of a solid rubbing strake, only a discreet metal strip is used. This only creates a few millimetres of safety clearance and does not adequately protect the ship's side in the event of heeling, leaning or worn piles.
So there is a need for retrofitting in many places, but the good thing is that making and fitting a skirting board is not rocket science. However, craftsmanship and good tools are required. "Sailors with two right hands can carry out the project, but there are some delicate work steps. That's where an experienced boat builder can come in handy," explains master boat builder Timo Lantzsch from Kappeln. Because mistakes can be expensive later on: If the wood is cut or the holes in the hull are drilled incorrectly, the savings made by building the boat yourself are quickly lost. The expert's tip: "Owners can join in with the production by arrangement and thus save the cost of a second boat builder, which is necessary for such a project."
The professional calculates around 40 hours for a 31-foot yacht. Depending on the wood used, this adds up to around 3,300 euros. For a 41-foot boat, the estimate is around ten hours more, resulting in around 4,100 euros. By using industrially prefabricated profiles, such as those available from timber merchants Sommerfeld and Thiele or Behn, hours and tools can be saved. However, the milled profiles are also more expensive than the raw wood, so the total costs remain roughly the same. You can expect to pay around 100 euros per foot.
Retrofitting skirting boards- Step by step
1st placement
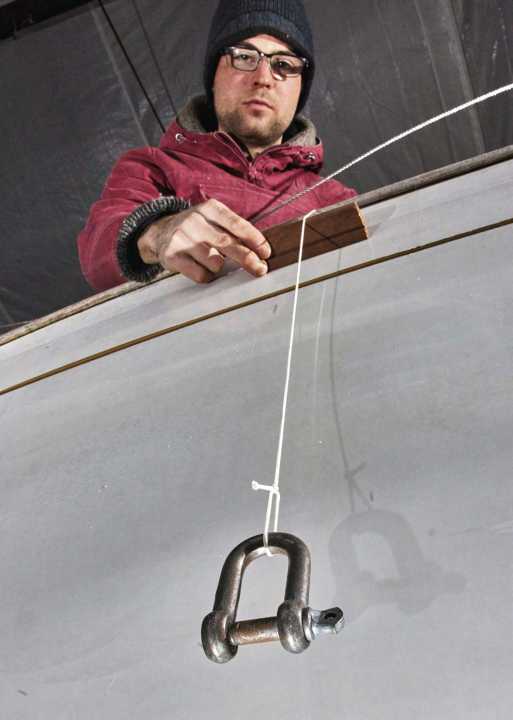
The rubbing strake should be the widest part of the boat along the entire length of the hull. This can be checked with a plumb line and a sample piece. This will also make it clear whether the desired profile is sufficient. Visual aspects should also be taken into account: The course of the moulding mirrors the deck step and makes the line conceived by the designer clear
2. material
Teak is the perfect choice among natural products. It withstands the weather, is easy to work with and has little tendency to crack. Unfortunately, it has a high price and is also problematic for ethical reasons, see YACHT 23/2021. As it contains a lot of oil, gluing can cause problems. When choosing wood, attention should also be paid to standing annual rings, a straight grain and the absence of knotholes, otherwise there is a risk of breakage when bending
3. dimensions & profile
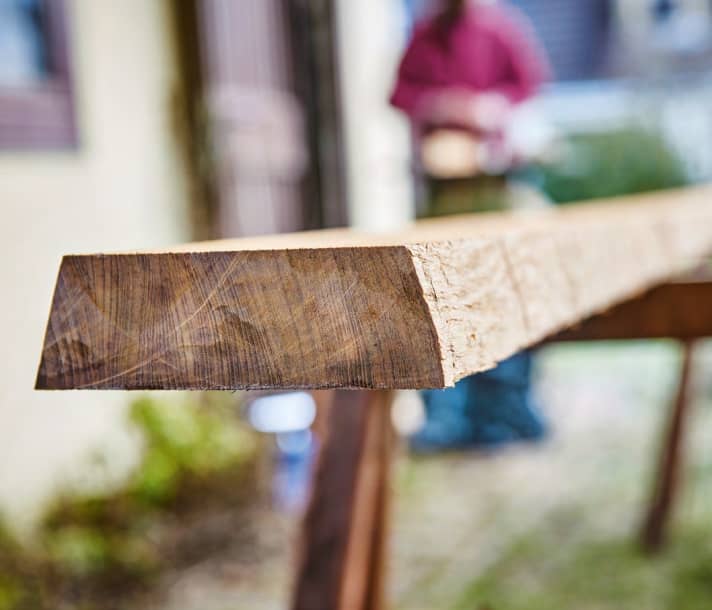
Select the start and end points on the hull and determine the length in between using the measuring tape. The moulding does not have to cover the entire side of the boat, as the pulpit and pushpit are often fitted with an overhang and prevent the moulding from protecting against ramming. Important: As a rule, it will not be possible to saw the moulding out of a single board, so add the shaft length of around 30 centimetres to the rough cut. The profile should be higher than it is wide so that it can be easily adapted to the curvature of the hull. The top and bottom of the moulding are bevelled to form a trapezoid so that the water can run off and the yacht can slide down again without breaking the moulding if it jams when mooring at the jetty. A groove is later milled into the full length of the underside so that rain and spray water can drip off the hull without leaving any marks

4. sawing, planing & sanding
Teak is expensive, so the plank should be well utilised. The trapezoidal mouldings are cut to size using a circular saw with an inclined blade. The bevelled surfaces are planed with a planer in the thickness planer or simply by hand. The stock is cut at a ratio of one to eight, i.e. the stock length is eight times the moulding height. The joints must be worked very precisely so that no joint is visible later. Roughen the gluing surfaces of the stock, this increases the gluing surface and ensures good adhesion of the epoxy resin
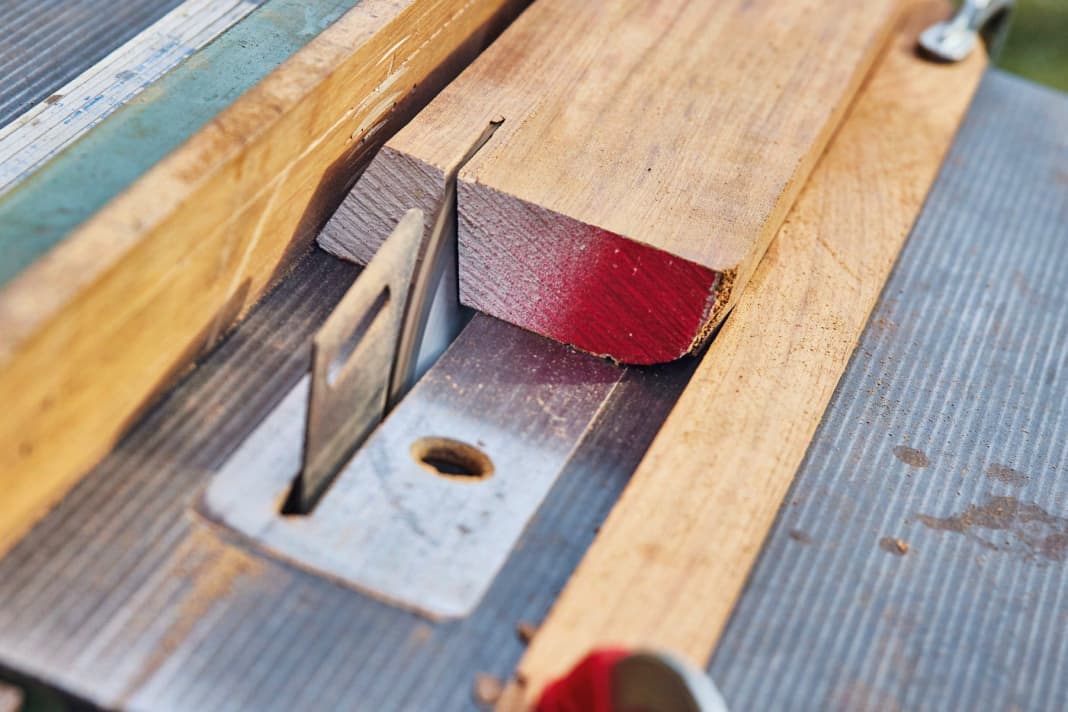


5. gluing of the hinges
Remove dust from glued surfaces and degrease carefully with thinner, then allow to flash off well. Epoxy resin such as G/Flex Epoxy from West-System is used for gluing. Place the shaft surfaces on top of each other and press them together using glue pads and screw clamps. Allow to harden for about 24 hours. Then remove the excess glue from the joints and plane off and sand any protruding edges. Once both mouldings have been glued together, the drip edges can be milled into the undersides. A mini plunge-cut circular saw is suitable for this purpose
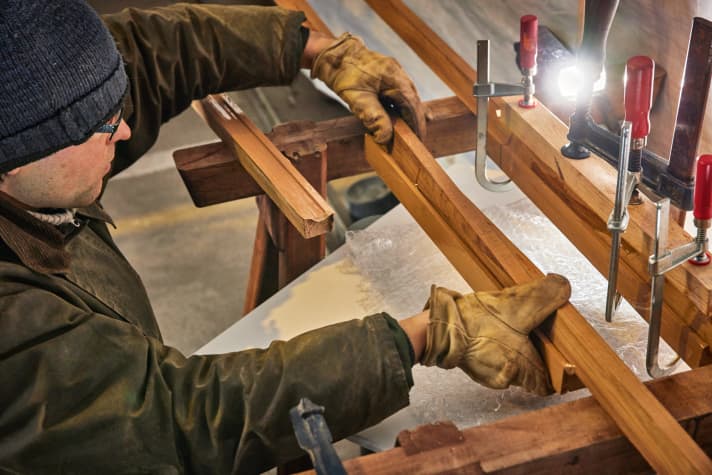
6. pre-assembly
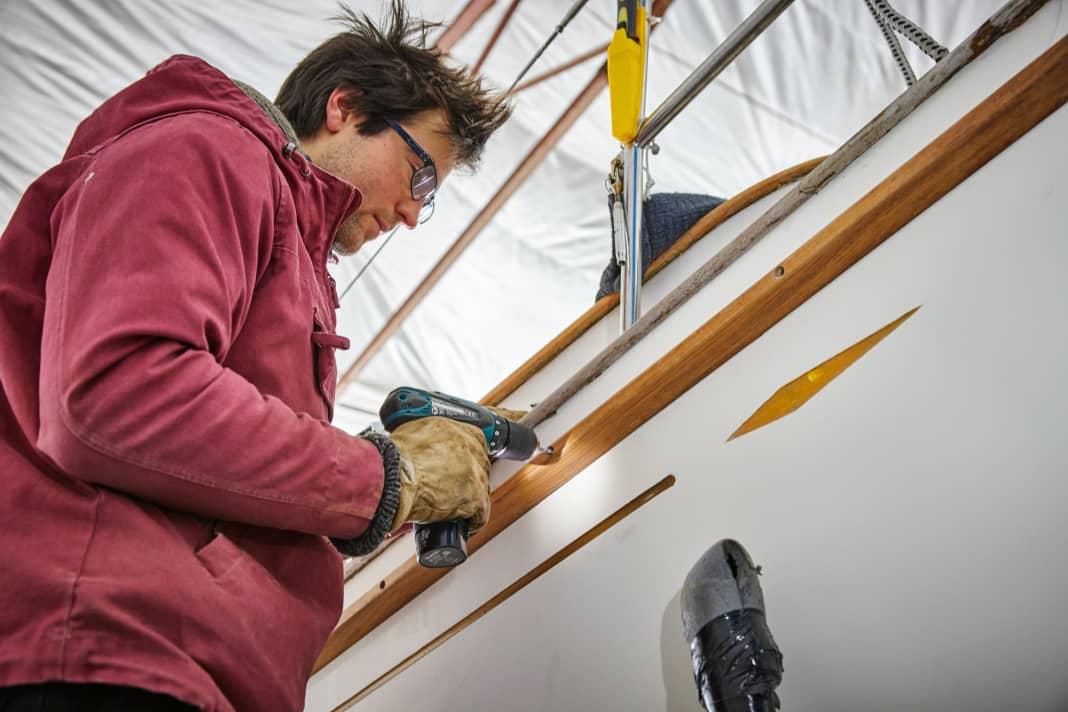
Drill fixing holes in the battens at intervals of around 30 centimetres. To do this, first drill the blind holes for the plugs using a Forstner bit and then drill the thinner screw hole. Dry fit the finished skirting board. Now three people are helpful for holding, pressing and screwing. When the height and shape of the moulding are correct, drill through every second screw hole in the fuselage and fix the moulding in place with suitable self-tapping screws. Then drill the remaining holes and screw in the screws. Be careful when tightening, if the pre-drilling is too thin, the stainless steel screws in the GRP will tear off quickly


7. beginning & end
Mark the exact end points of the still overlong moulding and the bevels. Then remove the moulding again, cut to length and shape. Countersink the drill holes in the side wall and on the fuselage side of the moulding to create space for the sealant. Vacuum the holes in the fuselage and on the moulding and degrease all gluing surfaces
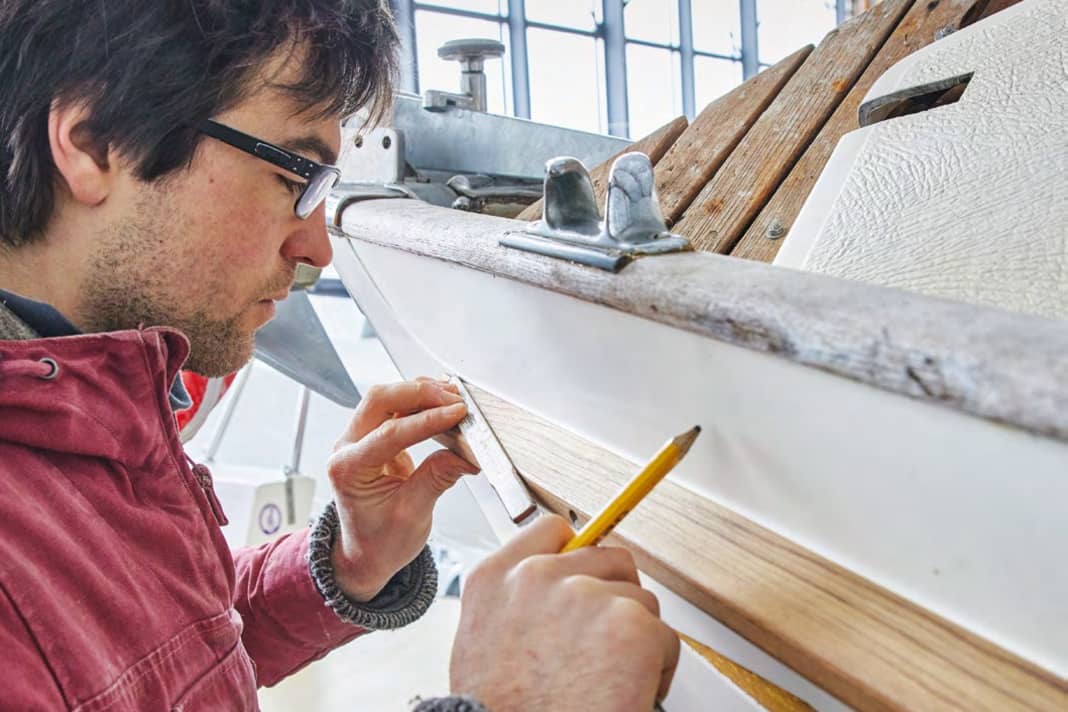


8. gluing
To prevent premature skin formation, the adhesive is applied piece by piece, using beads of MS polymer adhesive about two metres long. The screw holes are given an extra coat. The moulding is positioned aft and screwed in place. This is followed by the next section of sealant. When all the screws are in position, tighten again, the sealant will only slowly give way to the pressure of the screw as it spreads. Do not wipe away any sealant that swells out
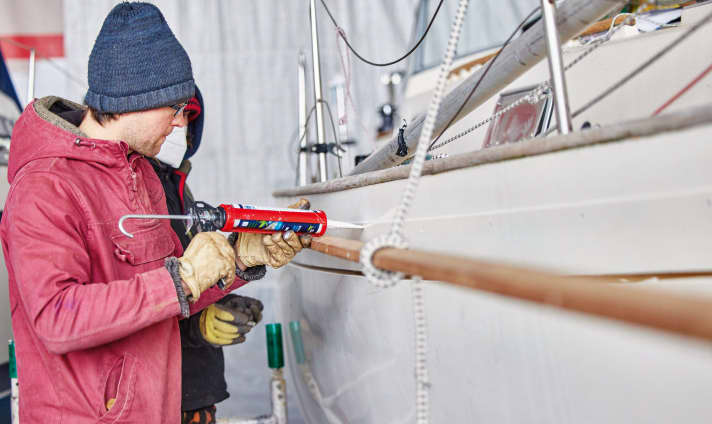
9. set the graft
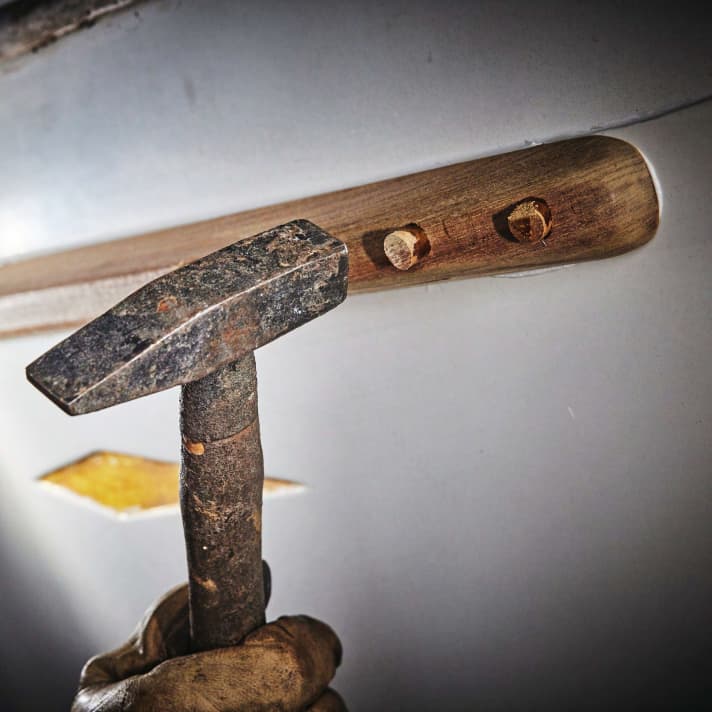
Seal the screw holes with the wooden plugs by coating only the plug with epoxy resin and pressing it into the hole. Pay attention to the direction of the grain. Allow everything to harden
10th finish
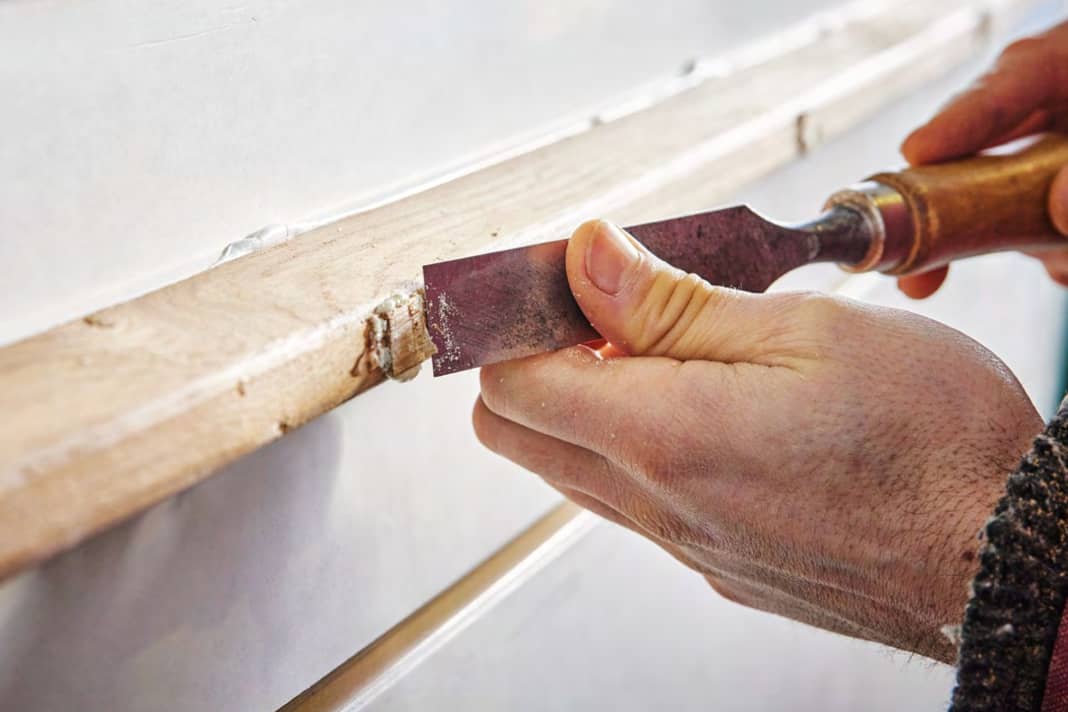
The excess plug is removed using a chisel or Japanese saw. Any sealant that has oozed out can be cut off with a sharp blade. A final manual finishing touch and the moulding is ready for use
