Nothing works without harbour manoeuvres when cruising. Mooring and unmooring are as much a part of it as setting the sails or anchoring in the bay. Nevertheless, it makes many a skipper's brow sweat. Not least because a failed manoeuvre provides plenty of material for the harbour cinema: Curses fly through the air and mooring lines fly into the water, while the boat jerks like a pinball over the gangway into the box.
More about port manoeuvres:
There are many reasons for a botched manoeuvre. It could be an inexperienced crew or a lack of familiarity with the boat. Or it could be a narrow harbour that requires a sure instinct at the helm. In addition, there are often adverse conditions, such as a lot of wind from the side or a strong current. If the crew only consists of two people - and this is the rule rather than the exception - the problems add up faster than dominoes can fall.
But that doesn't have to be the case. With the same technique, mooring and casting off manoeuvres are effortless, regardless of the conditions. Because both follow the same logic. Once you have mastered the trick, you can use it for both mooring and unmooring manoeuvres.
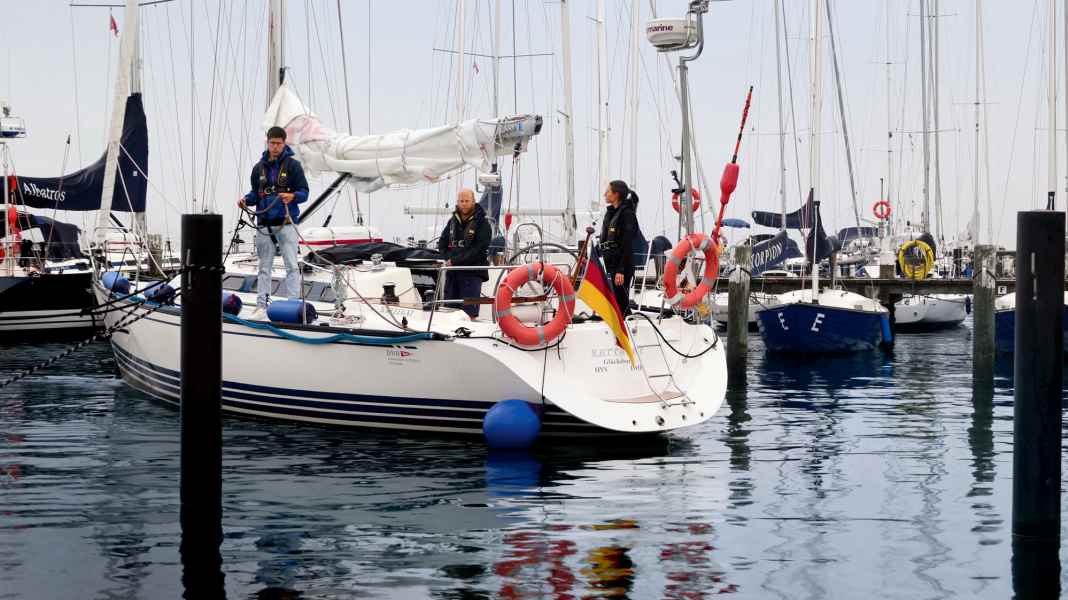
Jan Philip Leon, 37, instructor at the German Offshore Sports Association Hansa (DHH), showed us how it's done. We spent a day practising the two-handed harbour manoeuvres with him and skipper Mira Marx, 27.
Principle of the triangle of forces explained simply
The principle behind it is quickly explained: it is based on a triangle of forces formed by the boat, fore spring and aft spring around the windward pier.
In the target and starting position, the boat should lie with its stern to the jetty. So it goes backwards into and forwards out of the box. Unlike the classic mooring, however, the boat does not drift uncontrollably into the box, where the mooring lines are frantically thrown onto the piles in order to come to a standstill without rattling. With the triangle of forces, the crew remains in control the entire time - without haste, without stress. This is the great advantage of this technique.
It is based on simple physics. Because: If the wind or current pushes the bow to leeward, you steam forwards into the fore spring. This pulls the bow to windward again. Conversely, if the stern drifts to leeward, you steam backwards into the stern spring to pull it back to windward. This allows the helmsman to turn the triangle of spring lines and boat around the windward pier as quickly as he likes. The stronger the wind and current push, the more he uses the triangular logic. "When the two lines are on the pole, you have all the time in the world," explains instructor Leon. Time in which the second person can calmly deploy the stern and leeward lines.
However, the manoeuvre has a few stumbling blocks that need to be taken into account. That's why preparation counts, especially with the lines. They must be clearly positioned and must not get tangled up on the stern baskets or radar masts. "Especially if something goes wrong, a prepared boat buys you the time you need," says Leon.
A neuralgic point is the aft spring. It leads from the cockpit via a winch to an eye or a block at the stern. From there it leads to the windward pier and is laid over it with a large bowline. The stern spring should be long enough for the helmsman to operate it from the tiller or steering wheel. It is important that it runs freely. Even the slightest impulse will cause the stern of the boat to swing to windward.
The forward line is also laid over the windward pole with a bowline. It leads to the bow cleat, either directly or through a hawse or luff cleat. During the manoeuvre, it is first attached to the fore spring and operated by the second person on deck.
The most important preparation for the manoeuvre: clear agreements
Before the manoeuvre is carried out, it is important to make arrangements and clearly allocate tasks. This is easier with two people, but no less relevant. If everyone knows their tasks and those of their partner, this creates security and brings calm to the ship.
During the mooring manoeuvre, this preparation begins with the search for a suitable berth. A long approach route should be planned. As the box is approached backwards, the rudder is not illuminated by the propeller. In order to be able to steer the boat properly, it is therefore necessary to travel some distance astern. This works better with saildrives than with shaft drives, where the wheel effect is stronger. As the bow shears out when reversing, space should be planned for this.
Finally, the fenders should be hauled in. Otherwise they could get caught on the poles. If you want to be on the safe side, you can have a fender ready at the stern to leeward. This is where there is the greatest chance of hitting another boat. Once the triangular logic is understood and everything is prepared, nothing stands in the way of a successful manoeuvre.
Step by step: controlled manoeuvring with the triangle of forces
Whether mooring or casting off - the manoeuvre follows the same logic in both directions.
Create step 1 and discard step 6
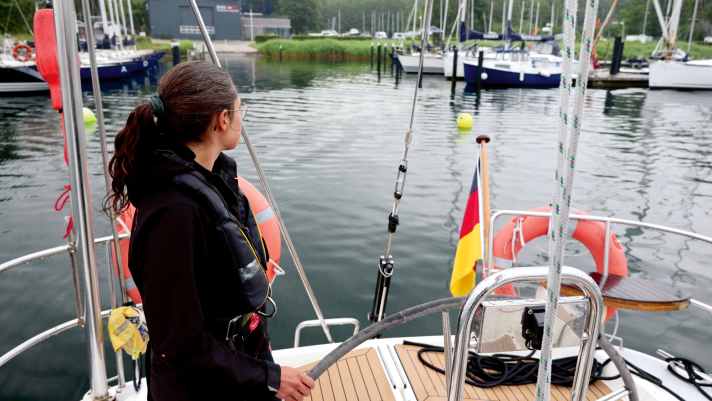
Create (step 1): First select the right berth and plan a sufficient approach route. Approach slowly. Place the eyes of the fore and aft spring at cockpit level for consideration. Do not forget the lee lines.
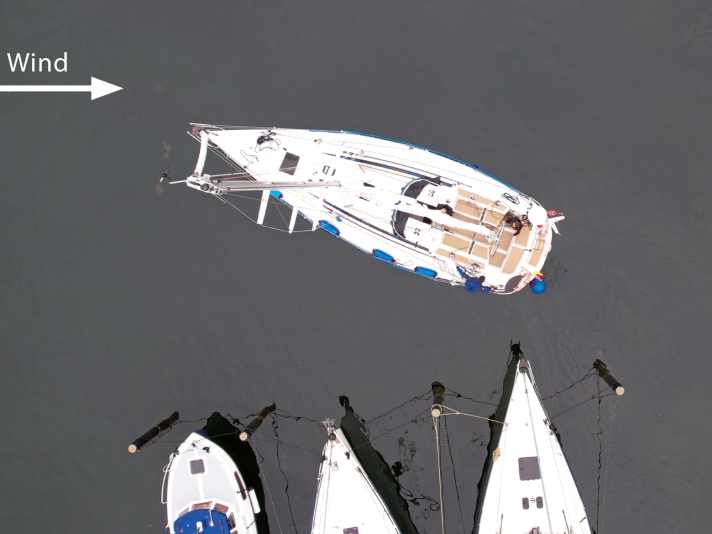
Discard (step 6): The boat is released from the pile. The rudder remains amidships and the boat leaves the pit lane at speed ahead. The deck hand clears the lines.
Create step 2 and discard step 5
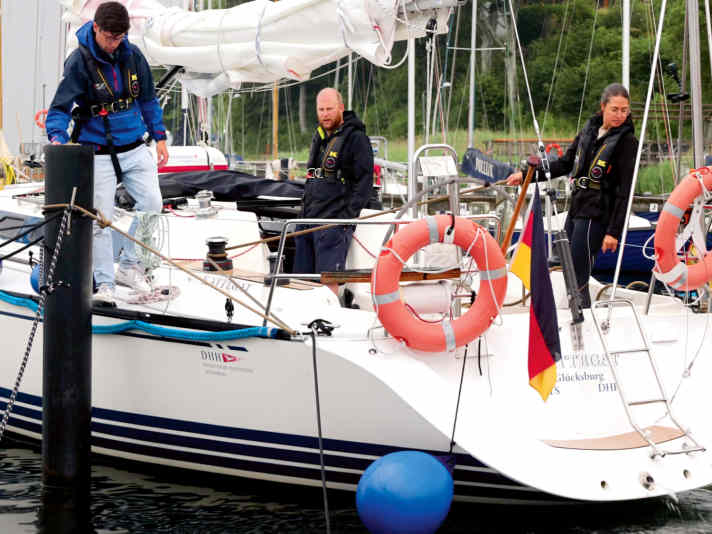
Create (step 2): Just before the stern reaches the windward pole, disengage the clutch and manoeuvre into the box. The deck hand positions itself slightly behind the widest point to windward and, as soon as possible, places both springs on the windward pole at the same time.
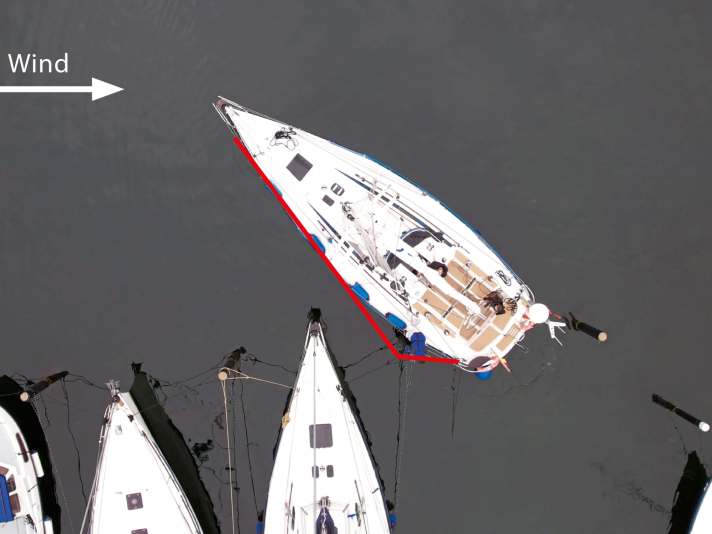
Discard (step 5): Once the boat has turned far enough to windward, disengage the clutch. The springs relax and are removed from the pier. If the stern spring is still tight, ease a little.
Create step 3 and discard step 4
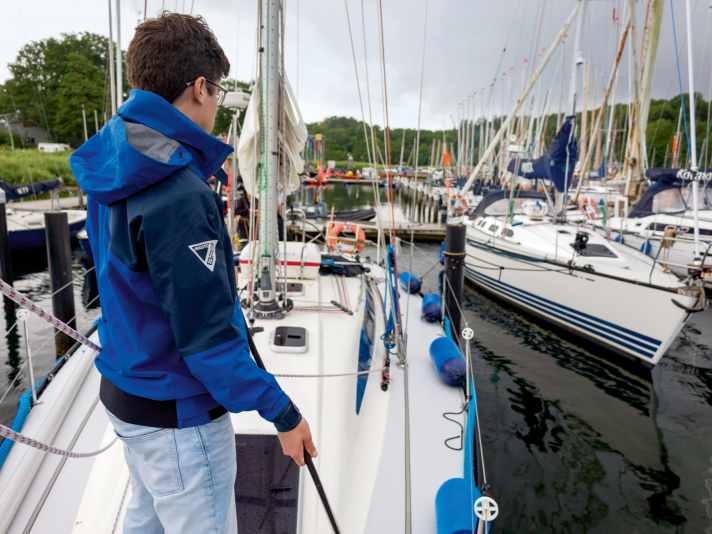
Create (step 3): The stern dips into the box. As soon as the springs are secure, the deck hand moves forwards and picks up the slack from the fore spring. The stern spring is lowered in a controlled manner. Caution: Every impulse from the springs causes the boat to move!
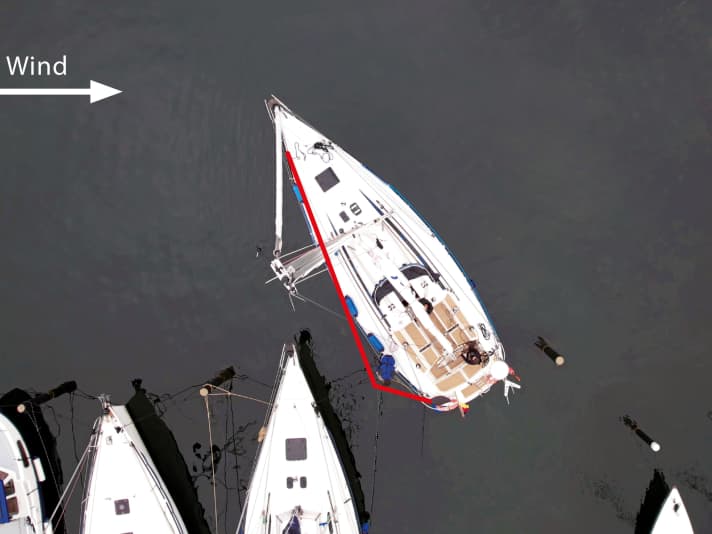
Discard (step 4): If necessary, the fore spring can be lowered during rotation. Otherwise it is placed on the cleat. The deck hand goes to the pier.
Create step 4 and discard step 3
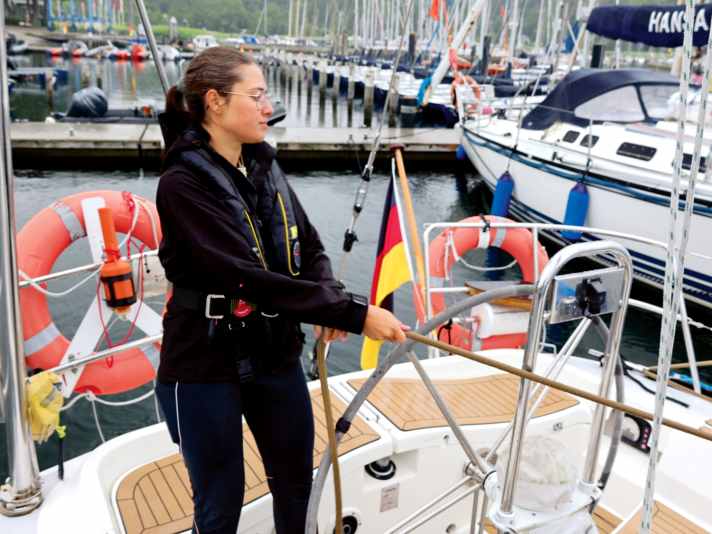
Create (step 4): If the bow breaks to leeward, correct with the fore spring. The helmsman furls the stern spring. If the stern drifts too far to leeward, give a slight impulse to the stern spring. Use the triangle of forces to turn the boat around the pole.

Discard (step 3): As soon as the pole is level with the cockpit, the bow spring is fixed. The boat steams into the bow spring and turns to windward around the pole.
Create step 5 and discard step 2
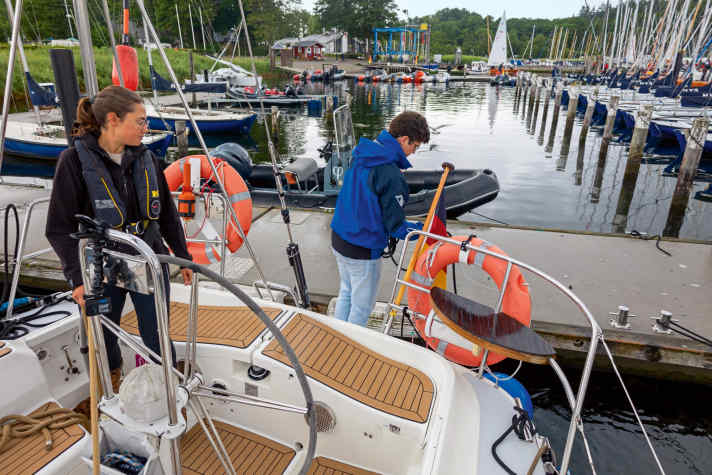
Create (step 5): As soon as the correct length of the fore line is reached, it is taken up. The deck hand then moves aft and prepares to climb over. The aft spring is now used to determine the distance between the stern and the jetty - and is taken up.
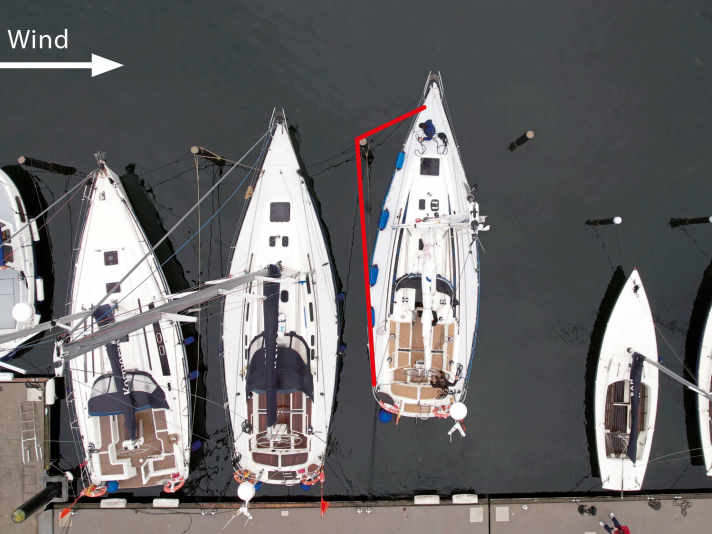
Discard (step 2): The fore line, now the fore spring, is lowered while the slack is taken out of the aft spring. The boat slowly leaves the box.
Create step 6 and discard step 1
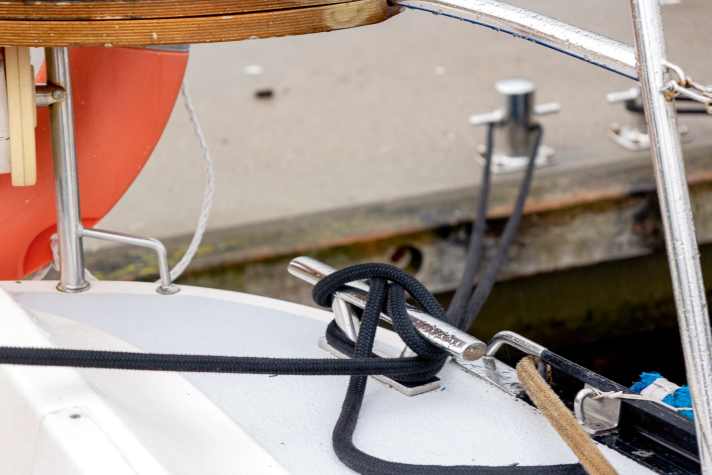
Create (step 6): The deck hand rises above and covers the stern lines. Shoal the stern, slightly evaporate into the stern line. Then pass over the leeward fore line. It must be thrown. This is no problem with the right technique.
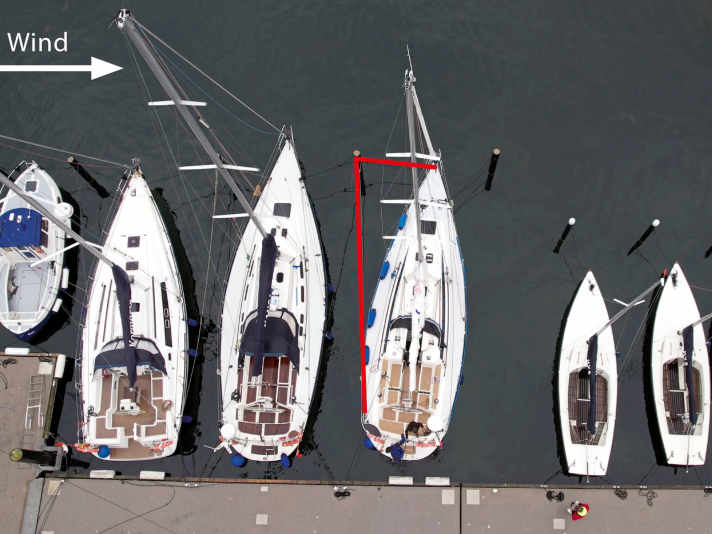
Discard (step 1): Haul in both mooring lines at the stern and the leeward mooring line at the bow. The deck hand takes the fore line, the helmsman the aft spring. Engage the clutch. The rudder is amidships.
How to throw a mooring line correctly in five steps
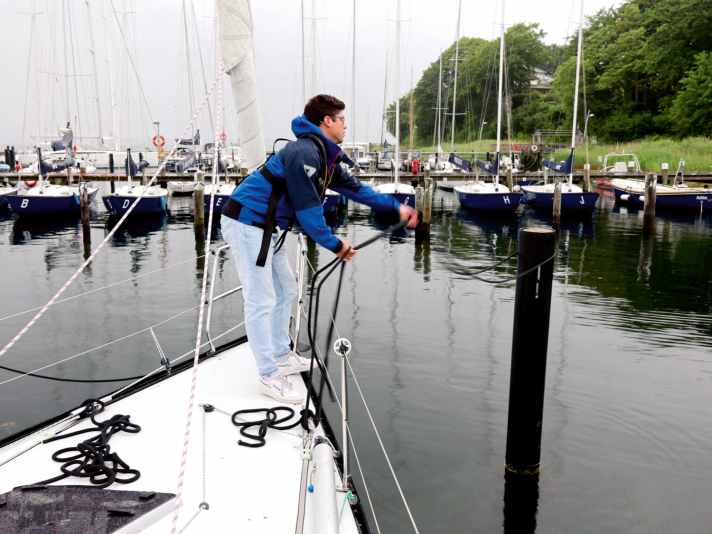
- Step 1: Shoot the mooring line neatly so that there are at least six large bays in your hand. It is better to prepare a little more line than too little.
- Step 2: First place one open end in your left hand and secure it with your thumb. Then make enough turns so that there are the same number of bays in both hands - nothing should get twisted. Now the other open end must also be secured with the thumb.
- Step 3: Stand with your legs apart and create enough space to swing the rope through your legs.
- Step 4: Now comes the throw. Swing the rope backwards through your legs. As you move forwards, open your arms to form a V. At the same time, let go of the bays while keeping a firm grip on the ends.
- Step 5: A large bay is formed, which must be placed around the pillar. Once this has been achieved, pull the ends tight. The line is now in a slip and is attached to the cleat.

Fabian Boerger
Editor News & Panorama
