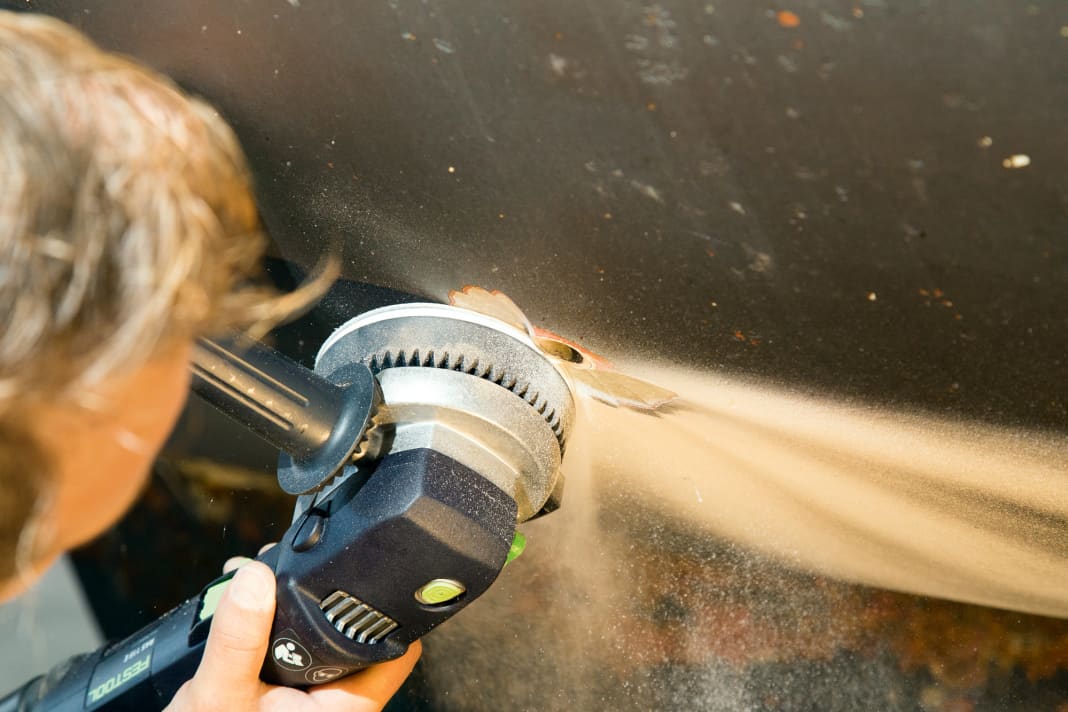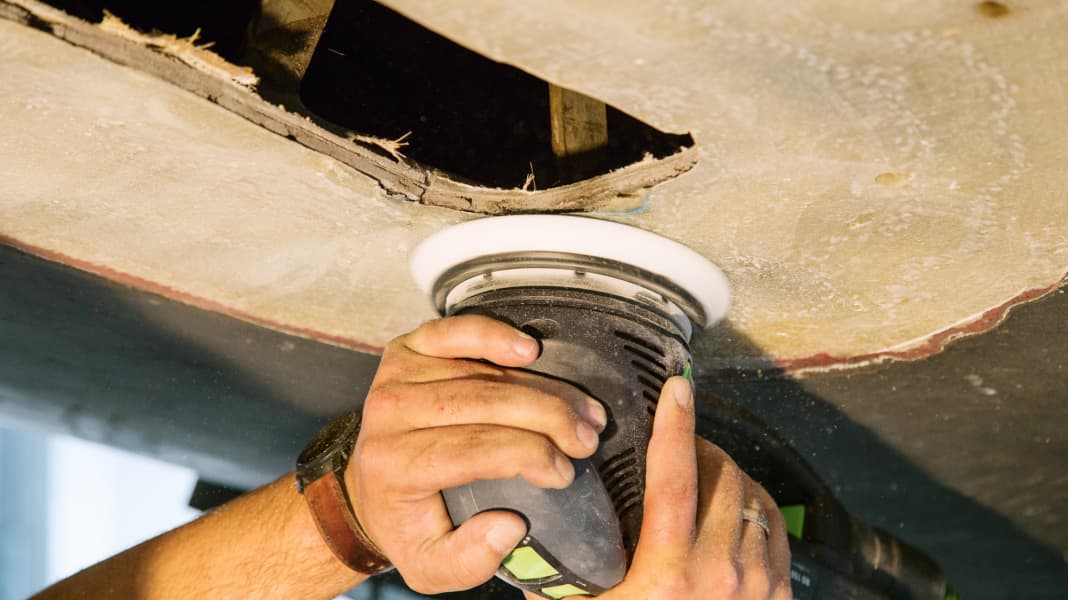
Hardly any owner likes sawing or drilling holes in their boat. Not only because they represent potential leaks, but also because the question arises: What happens to the cut-out if the component, such as a defective log transducer or a display instrument that is no longer needed, is to be removed again?
Small holes are no problem
The procedure for sealing a hole depends on the size of the opening and its position in the fuselage. For a small screw hole in the deck or cockpit, it is usually sufficient to fill the hole with thickened epoxy resin. To do this, the hole is cleaned out with a slightly larger drill and the opening is widened into a cone shape with a countersink. The resin thickened with high-density filler is then injected into the hole with a syringe and the repair is allowed to harden.
Larger openings - more effort
It is much more complicated with larger openings such as through-holes in the underwater hull. If the repair fails under water, even the buoyancy of the boat and therefore the lives of the crew are at risk. The thickness of the surrounding laminate also plays a role. The larger the opening in relation to the material thickness, the greater the stress on the repair area and the work must be carried out accordingly.
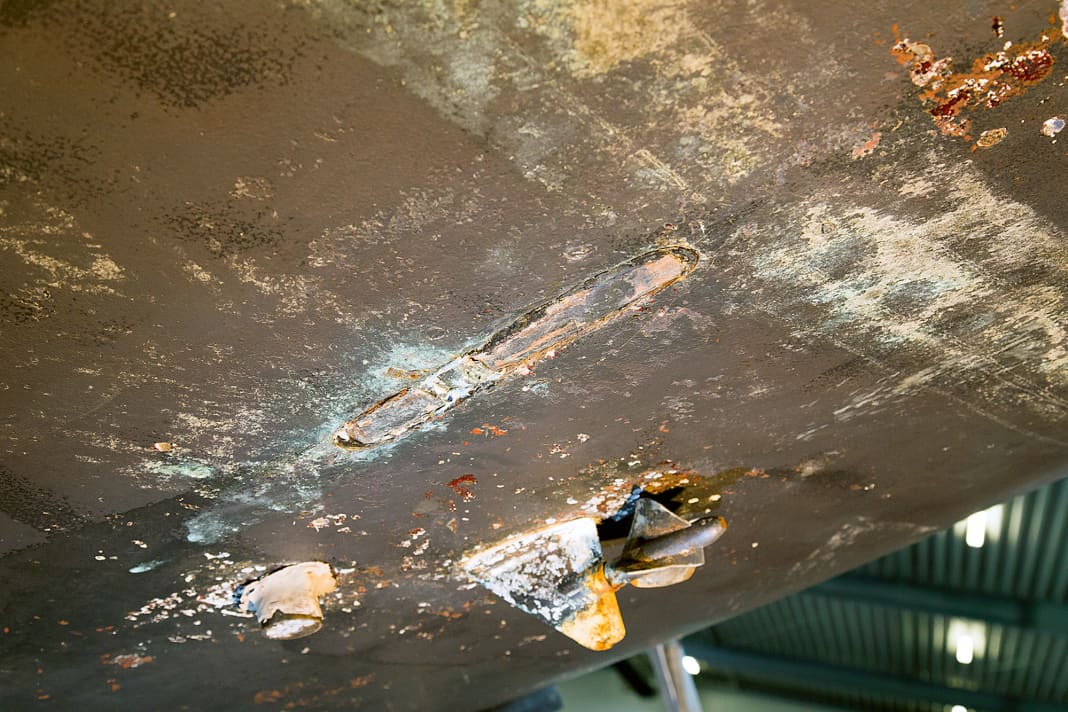
To demonstrate the necessary steps, we used an old, 7.25 metre long small cruiser. The previous owner had removed the installation machine. However, the stern tube had only been provisionally sealed with a wooden wedge and a stub shaft - not a reliable solution. As the screw connections of the stern tube in the hull could no longer be loosened, only the saw could help. A hole about one metre long and 20 centimetres wide then had to be sealed. In addition, a superfluous through-hull passage had to be removed.
Self-builders should allow time
The repairs do not require any special materials or tools. Apart from a powerful sander with suction and an angle grinder, no special equipment is required.
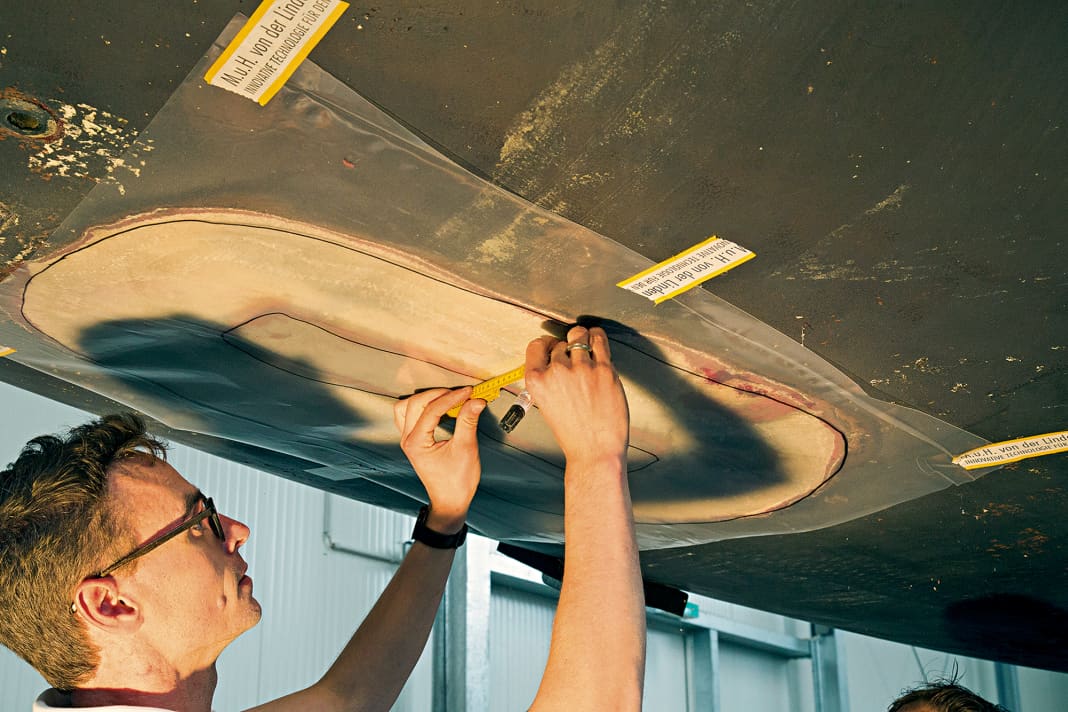
To ensure that the repair can also be carried out by amateur boat builders, we did not use vacuum technology. With the appropriate equipment, the quality and strength of the laminate could be improved enormously. Compared to the hull material of the small cruiser laminated with chopped strand mat and two layers of fabric, our hand laminate made of glass fibre and epoxy resin should already have a significantly higher strength. Working overhead is also quite easy with the pre-impregnated glass fabrics. Once well pressed down, the adhesion of the resin was sufficient to hold the layers securely to the fuselage.
However, sufficient time should be allowed for this. Due to the curing intervals, the filler work in particular takes a long time. Our two boat builders were busy for about three days.
The work step by step
The preparation


Laminating


Smoothing and sealing
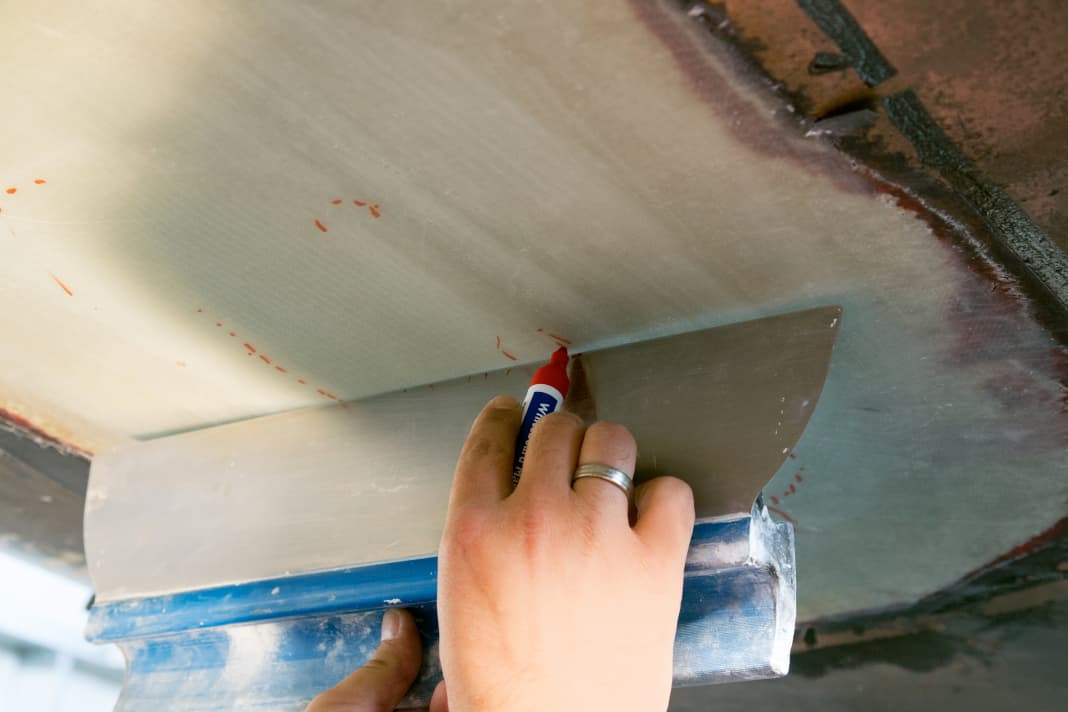


Laminating the door opening
