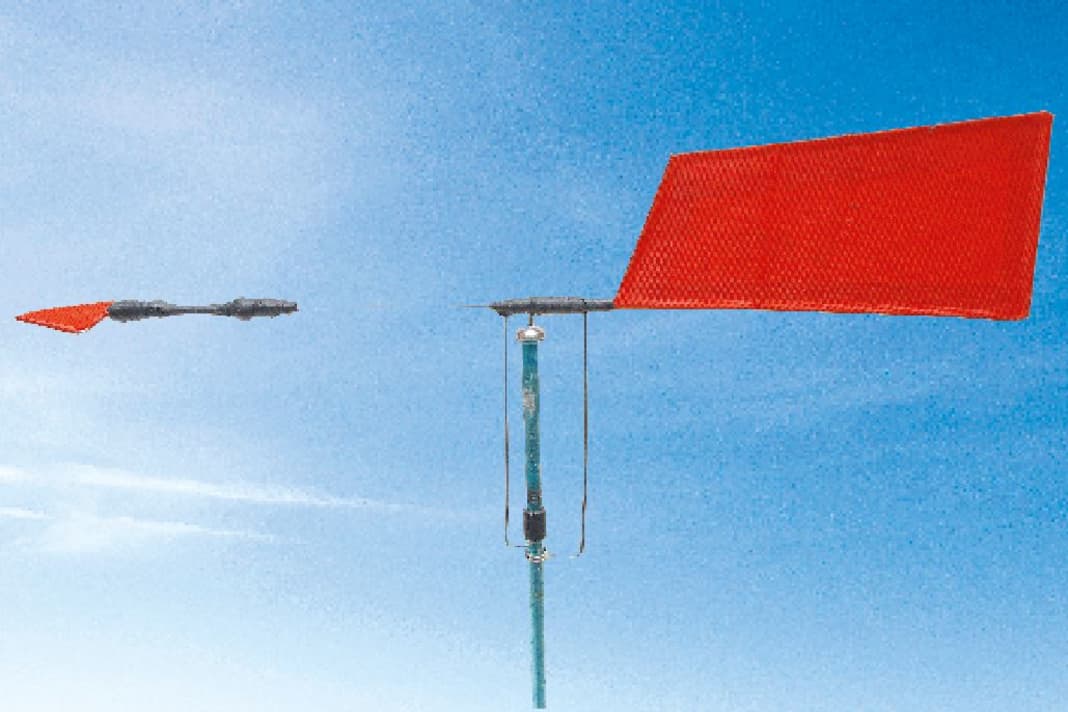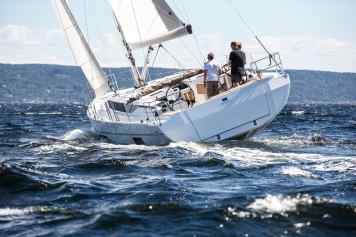


A wind direction indicator belongs in every masthead. Whether for preparing for casting off or mooring manoeuvres in the harbour or for steering, especially on courses before the wind or in a near calm - the clicker is the simplest tool for determining at a glance which way the wind is blowing.
A wide variety of designs are available in the accessories trade: Models made of wire, plastic or stainless steel. However, you can also make various indicators yourself quite easily in your basement workshop at home.
The instructions above show how to make a wire clicker. Depending on the chosen wire thickness, such a product is suitable for almost all boat sizes, from dinghies to small cruisers. They are also unbeatably cheap to produce. Stainless steel welding wire can be used as the starting material. This costs just a few euros, for example in one millimetre thickness. That is far more than you need, but you can also bend rings or cotter pins from it later.
Other variants for the do-it-yourself clicker: Brace wire or bicycle spokes
The much more sophisticated option is a clicker made from brace wire. This wire is around four times as expensive as the welding wire, but is more durable. Alternatively, bicycle spokes or similar materials can also be used.
A drilled crochet hook costing a few cents was used as the rod on which the flag rests. A stainless steel or carbon fibre rod also works. For the wind vane and arrow, I found scraps of number fabric, a piece of hose as a stopper and some copper wire to hold it in place. Another piece of hose screwed or riveted on is suitable as a holder.
