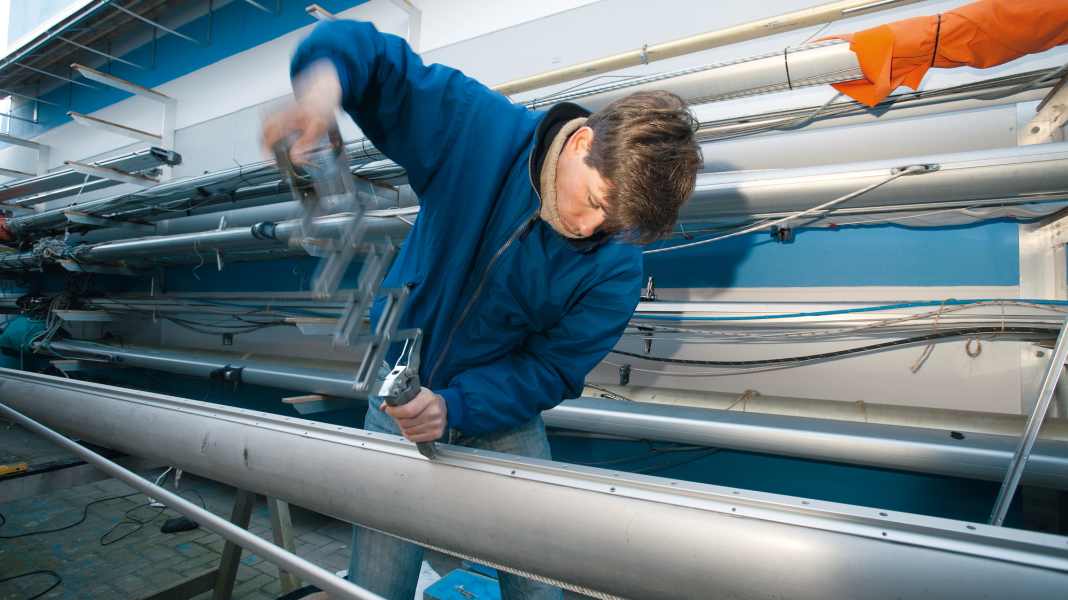
At some point in the owner's life, the day comes when the drill has to drill holes in the mast profile - whether new equipment needs to be fitted or old equipment needs to be replaced. The difficulties of such installation work lie less in the craftsmanship. Rather, there are a few tricks to be observed so that the rig is not damaged.
Remove old fittings
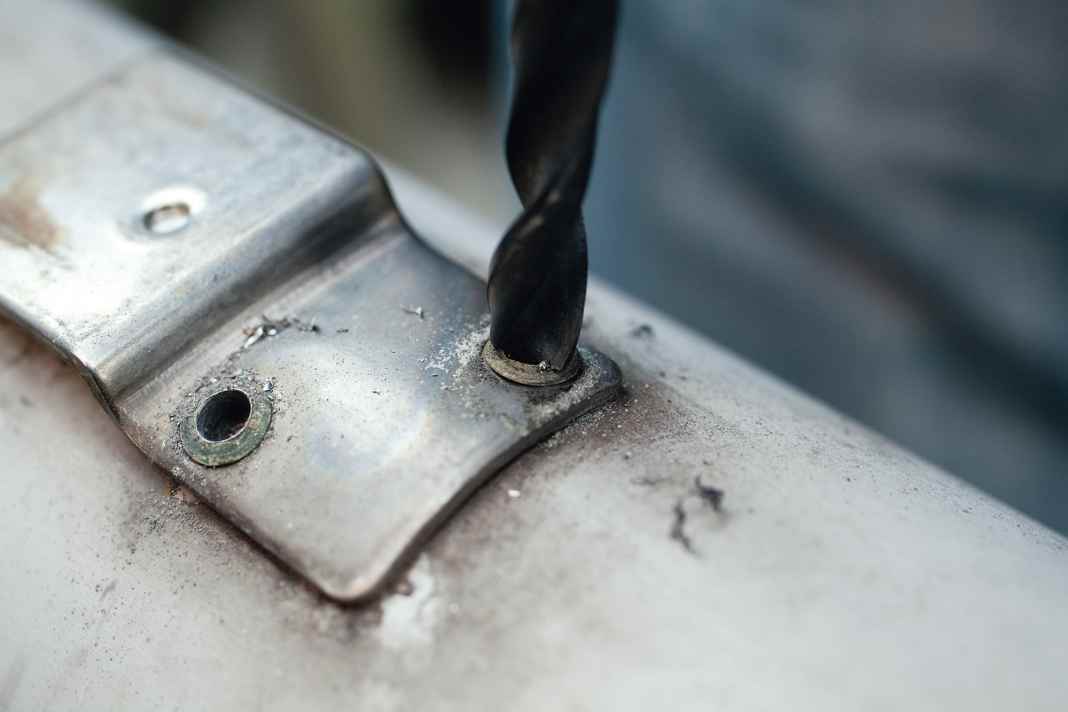


Ensure that the fittings are insulated
The most important point concerns the electrical separation of the aluminium profile from other metals - otherwise electrolytic reactions occur in combination with water and oxygen. The possible consequences are severe corrosion damage within a very short time. If a stainless steel or bronze fitting is to be attached to a pole or tree, it should therefore be insulated with a UV-resistant plastic plate. Stainless steel screws and small metal parts are coated with insulating gel (e.g. Tef-Gel from Tikal) before installation.
For the same reason, the mast profile must not come into contact with other metals during winter storage. Shrouds and stays must therefore be removed and metal supports in the mast rack must be padded. The mast is stored dry, but not packed airtight. Soapy water is sufficient for cleaning; the market also offers special anodised polish. Anodising pens are available from specialist retailers for repairing minor surface damage.
Select the correct positioning of the fittings
First of all, the owner must not compromise the design of the rig with planned modifications. A second forestay, for example, must be calculated and dimensioned by the mast builder. It only belongs behind the first one anyway, never next to it. The resulting forces could cause the mast to move sideways, which cannot be absorbed.
For weight reasons, you should consider whether the planned installation is really necessary. Due to the long lever, weight in the top would have to be compensated for by a multiple of ballast if the righting moment is to remain the same. For this reason, experts also advise against stronger fittings and thicker wires than those originally planned for the series. This is also not necessary, as the manufacturers always design a rig with fairly high safety margins anyway.
Once the decision has been made, the correct positioning of the fitting must be determined. Avoid drilling several holes at the same height as this weakens the profile.
Use a suitable fastening for the fittings
A fitting can be attached to the mast profile in various ways. The most common and easy to practise, even for the skilled layman, are the use of self-tapping screws, threaded bolts and rivets. Anything beyond this assembly should be left to a rigger or mast builder. Cut-outs in the profile for the installation of roller boxes or shroud mountings should definitely be left to a specialist, as the rig is safety-relevant.


Simply mounted screws
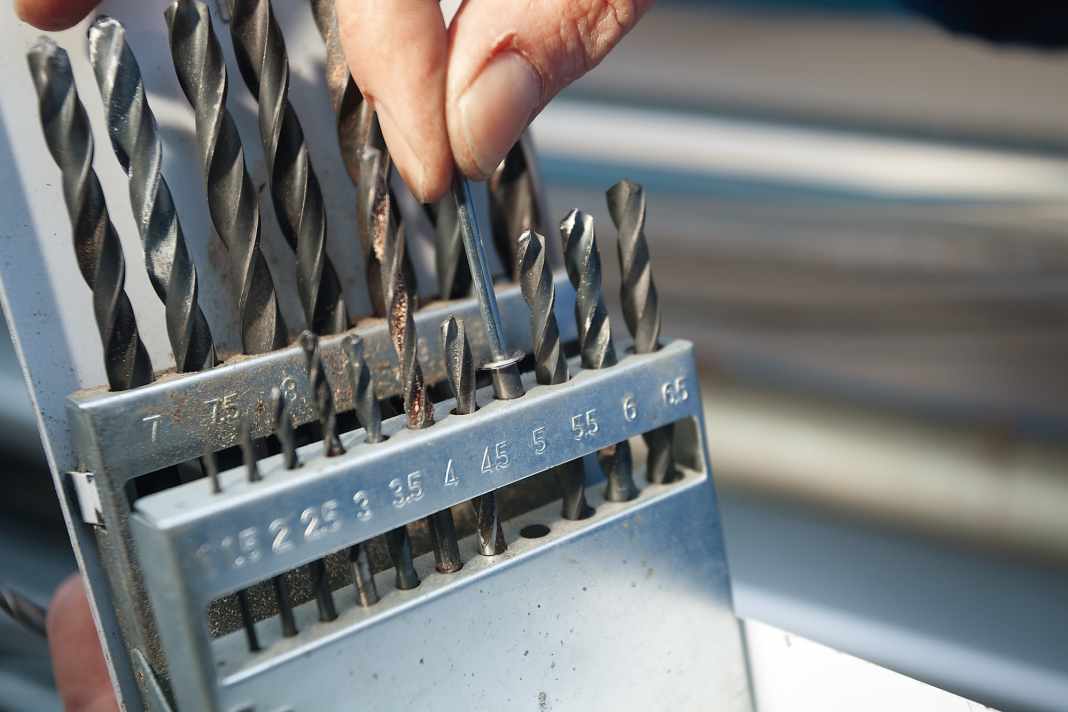
Fastening with self-tapping self-tapping screws is the simplest method. The only difficulty here is the correct choice of drill bit size and screw, standardised in DIN 7970. The correct ratio of the drill hole to the screw diameter determines whether the fitting remains permanently where it belongs.
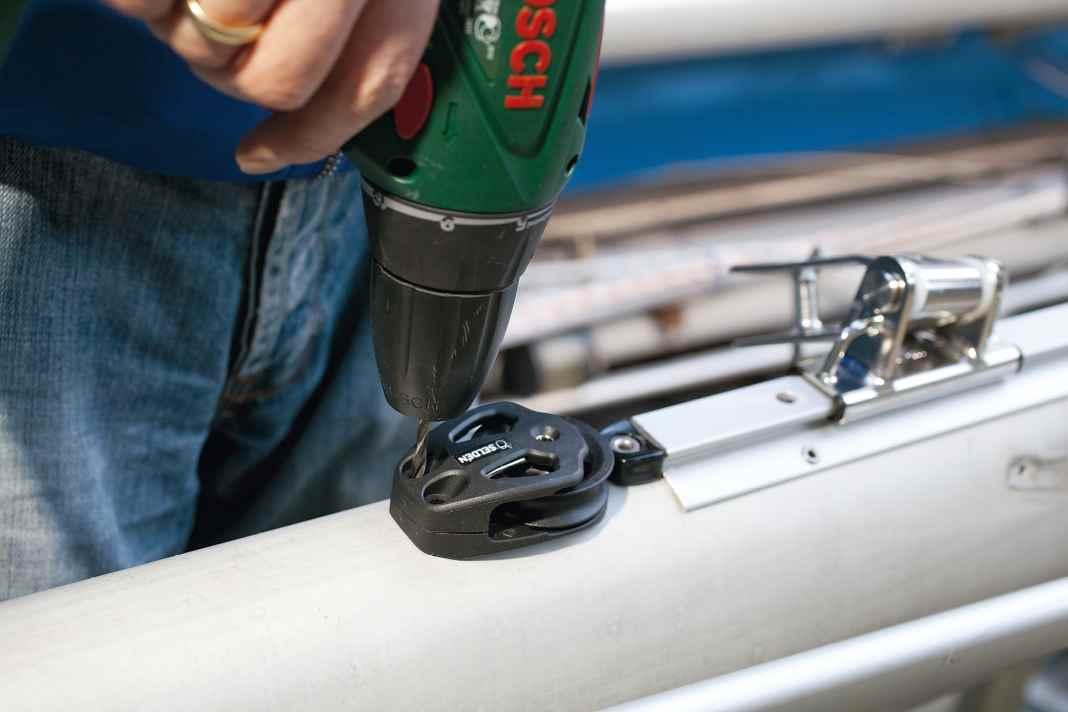


When selecting the screws, make sure that they are without a point. The end of the screw must be properly rounded off and must not be deep in the mast profile, as this could damage ropes and cables. Customer-orientated manufacturers therefore include such screws and the appropriate drill bit with their fittings. As a screw has little grip in the thin mast profile, this fastening method is only suitable for low loads, and not in tension, but only in shear. Once fitted, this connection should not be loosened again.
Detachable bolts
With a little more effort, the mast profile can also be prepared for the use of threaded bolts. The advantage of this is that such a connection can be loosened and reattached several times.
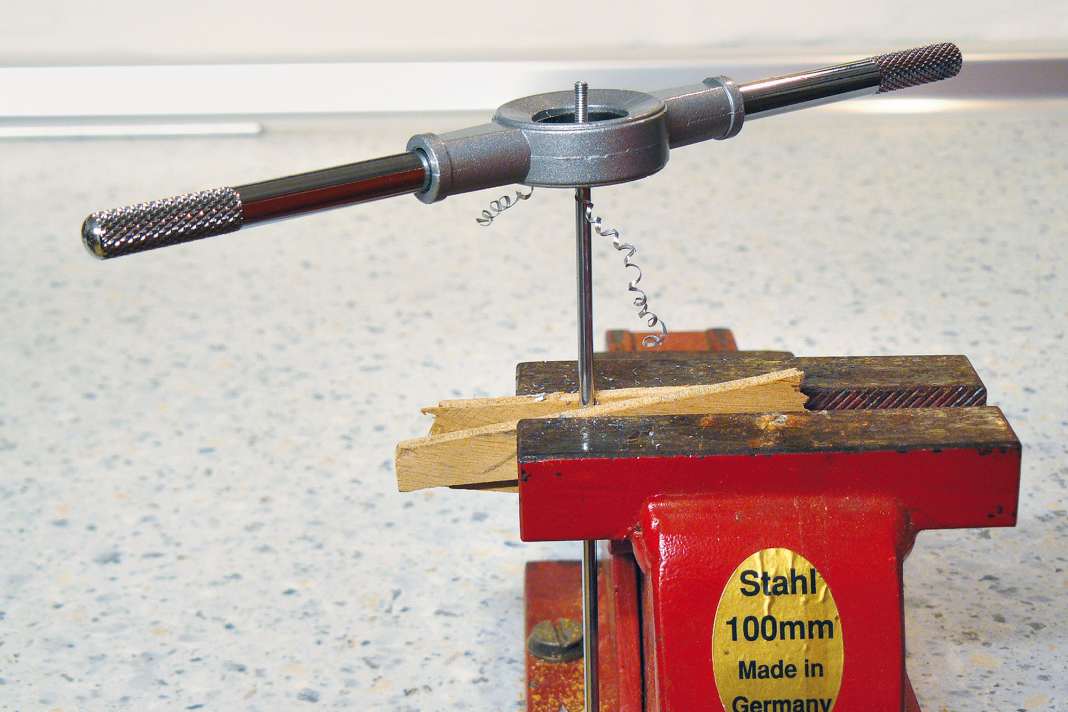
Rivet nuts offer one way of obtaining more threads on the mast. These are blind rivets with a metric thread cut into the wall of the hole. The rivet pin is also equipped with a thread and is unscrewed after installation. Rivet nuts protrude a few millimetres from the mast profile, so they are not suitable for every installation.
Quickly processed rivet
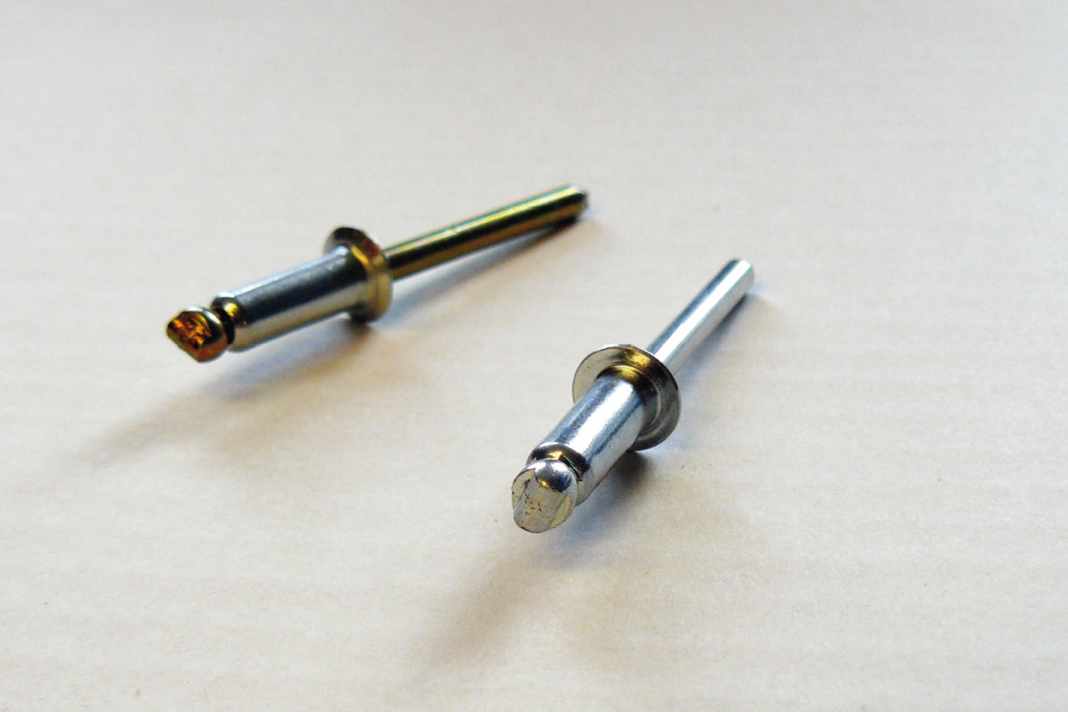
The most common method. Blind rivets are used here, so called because they can also be attached where the back of the workpiece is not accessible - such as on the mast profile. Monel rivets should be chosen. This metal alloy consists of at least 63 per cent nickel, around 30 per cent copper, 2 per cent iron and a few other metals. The material is therefore particularly resistant to seawater and is compatible with aluminium. However, this does not apply to the rivet pin, which must therefore be carefully removed after fastening.
- Read also: Riveting with the cordless screwdriver


Seal the holes in old fittings
If a fitting is to be removed without replacement, the holes can remain as they are. Old recesses for halyard boxes or wall mountings can be welded shut by the pole builder, which incurs considerable costs and damages the anodised coating at the welding points.


Alternatively, a stainless steel sleeve (insulation!) or aluminium sheet can be riveted on. If the owner wants to close the drill holes for visual reasons, he can use either blind rivets or aluminium screws. In the latter case, the head is sawn off later and the surface sanded flat. After subsequent painting, not much of the former hole will be visible.

