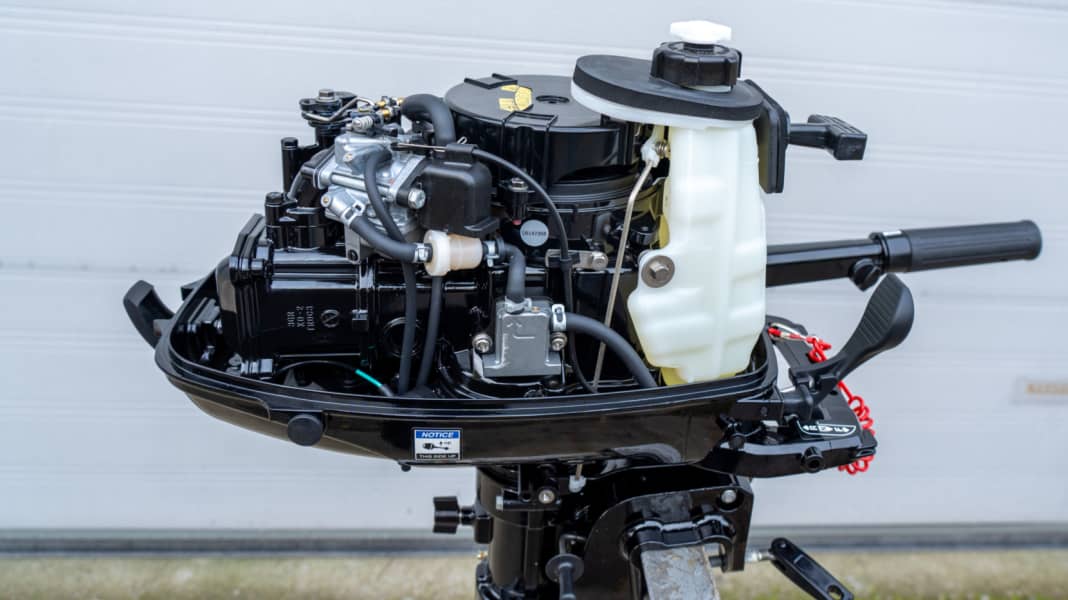
- Change gearbox oil
- Remove propeller
- Check impeller
- Impeller comparison
- Check suction strainer
- Grease shaft
- Secure propeller
- Fill with gear oil
- Check spark plug
- Corrosion protection
- Change filter
- Allow to run empty
- Preserving the combustion chamber
- Preserving the engine
- Four-stroke extra
- These products are recommended for maintenance
"Every winter, more and more people bring their outboards to us for inspection," says Manuel Keinberger, Managing Director of Kiesow in Kappeln, a company specialising in the repair of marine engines. "Nowadays there is less and less time for sailing, so you don't want to risk long repair breaks because of the outboard motor."
More special articles on the topics of "Outboard motors" and "Winterising":
During the warranty period, only the authorised workshop should carry out work. After that, this expense can be saved - provided you have a little manual dexterity and have studied the manual thoroughly.
Change gearbox oil
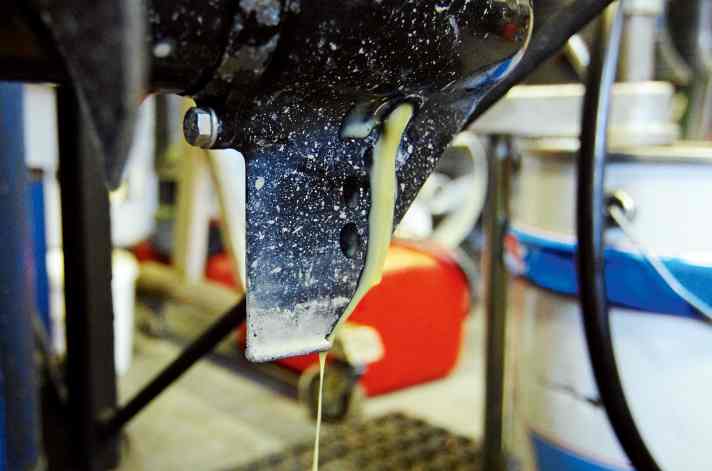
Depending on the mileage, new oil is due every one to two years, or every year if in doubt. The 275 gram tube only costs around 13 euros. Place the oil pan under the engine, unscrew the drain plug at the bottom, then the bleed screw above it. If the oil is milky like in the photo, water has got into the gearbox. This can have various causes, a leaking hub, shaft or a crack in a sealing ring. A specialist should then be consulted.
Remove propeller

Check the shaft for corrosion. For motors with a shear pin, check whether a replacement pin is available. On models with a vulcanised hub, check the rubber compound between the prop and shaft for cracks.
Check impeller

The impeller is usually located in the lower part of the shaft and should be checked every two years. Do not forget to loosen the connection to the shift rod. Original replacements cost around 20 euros, but the damage can be many times higher in the event of a defect. If parts get into the cooling channel, there is a risk of overheating with piston seizure - the knock-out for the engine. After replacement, fitting the shaft can be tricky. If in doubt, call in a specialist.
Impeller comparison

On the left in the picture is a new original impeller, on the right the dismantled one, where the paddle wheels are about to be torn off. The many burrs also indicate a cheap replica.
Check suction strainer

This is usually located under the cavitation plate, or on the side of the shaft on some models. Remove impurities such as pocks or sludge, otherwise suction cannot be performed smoothly.
Grease shaft

Once the lower part of the shaft has been screwed on, lubricate the shaft with waterproof grease and fit the propeller. Set the neutral gear on the gear lever and check the freewheel by turning the prop, then fix the shift rod.
Secure propeller

Only tighten the lock nut by hand; it only prevents the propeller from slipping off. Secure the nut with a split pin as shown.
Fill with gear oil
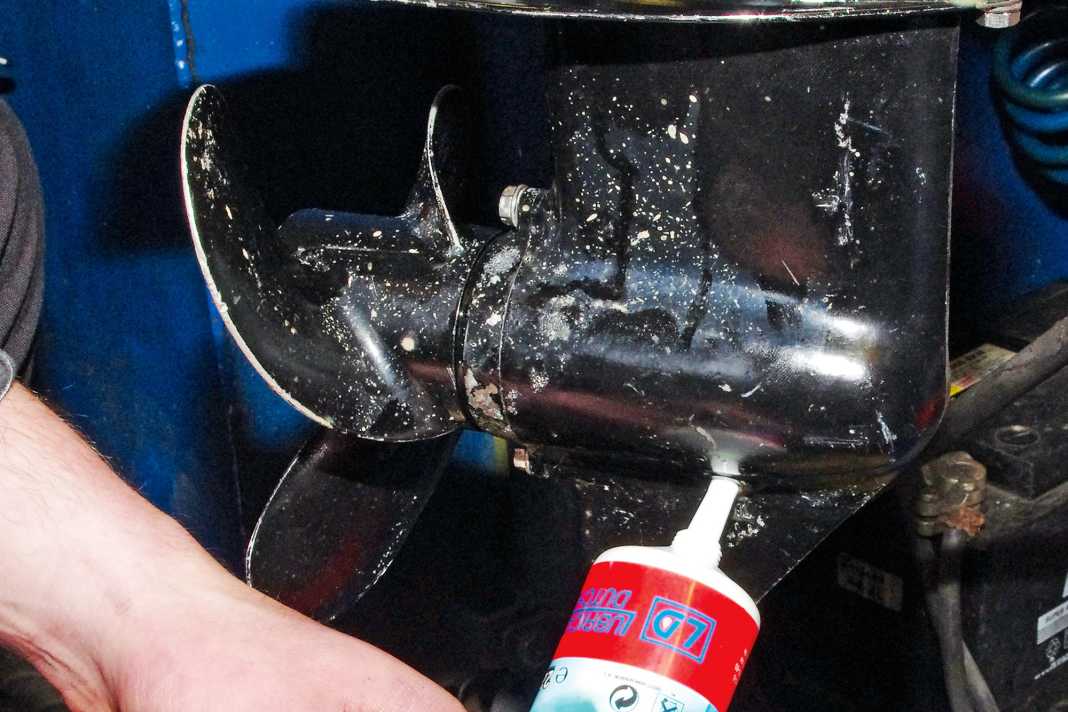


Place the tube on the drain plug and press in the oil until it emerges at the bleed screw.
Check spark plug

Deposits indicate excessively cold combustion or incorrect oil, for example for mopeds.
Corrosion protection

Add rust inhibitor to the remaining fuel. This is sucked into the engine during the test run and preserves it.
Change filter
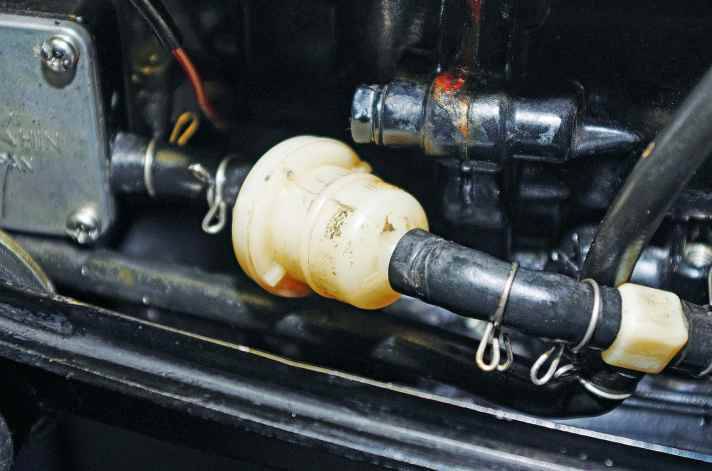
For welded models like this one, cleaning is not advisable; it is better to replace them.
Allow to run empty
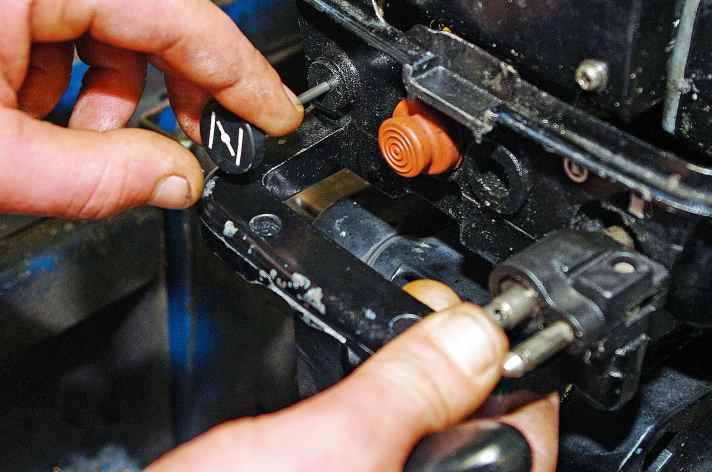
Start the engine in a suitable container of water such as a mason jar, check the running and gear shifting. Cut off the fuel supply so that the fuel lines run dry, pull the choke shortly before the engine dies to burn off any remaining fuel.
Preserving the combustion chamber
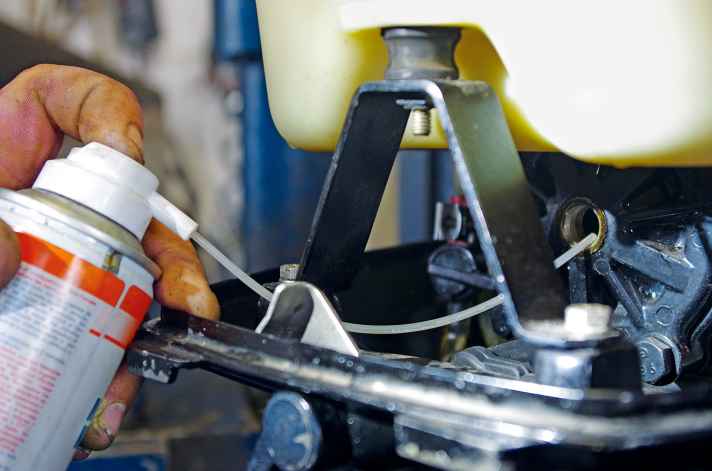
Remove the spark plug again and spray the combustion chamber with an appropriate anti-corrosion agent. Turn the propeller a few times to distribute the agent. Interrupt the ignition by pressing the off button, otherwise it may be damaged, then reinsert the spark plug.
Preserving the engine
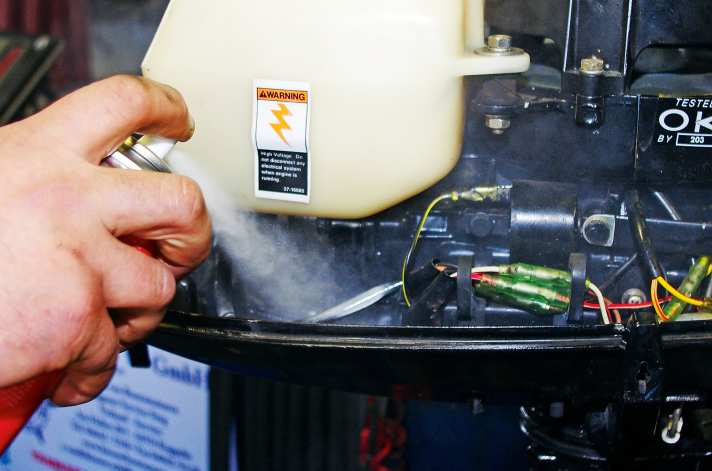
Spray the power head and the electrical system with protective wax, spray the shaft and its moving parts with corrosion protection and wipe off any excess oil.
Four-stroke extra
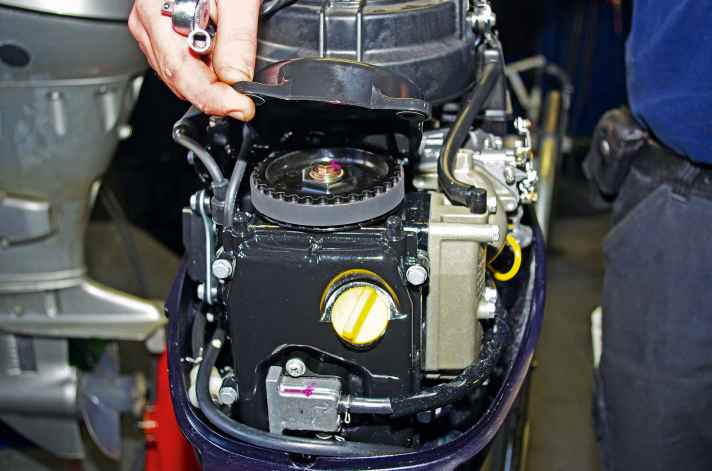
Depending on the operating hours and operating instructions, the engine oil and oil filter as well as the timing belt should be changed on four-stroke engines. This work and the readjustment of the valves are more suitable for a specialist workshop. Store the engine as described.
These products are recommended for maintenance
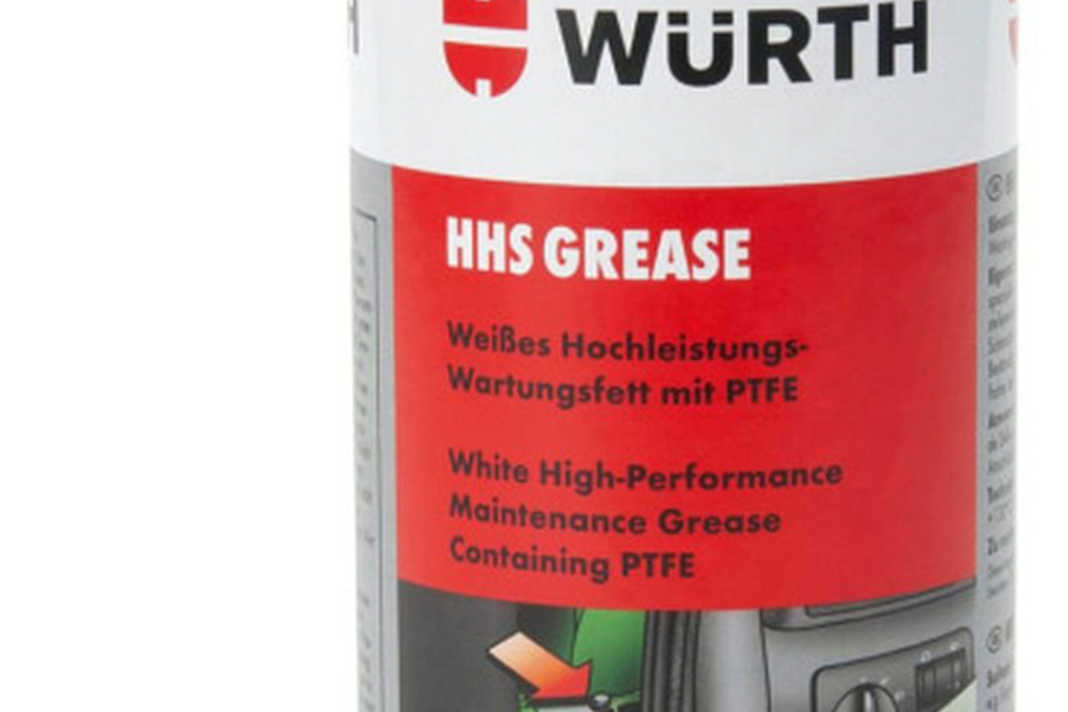


- Lubricating grease with high creeping properties, e.g. for the suspension: 12,99 Euro >> available here
- Brake cleaner for removing oil and grease residues: 6,80 Euro >> available here
- Corrosion protection for the fuel: 15,00 Euro >> available here
- Gear oil: 8,83 Euro >> available here
- Multifunctional oil for the water-repellent treatment of surfaces: 6,99 Euro >> available here
- Marine engine interior preservative for the cylinder head: 14,29 Euro >> available here

