Leaks in the on-board water system are annoying, as is a leaking stuffing box that draws water from time to time. However, none of this is a cause for concern; with a few strokes of the manual bilge pump, the water is usually outboard again in no time. An automatic electric pump removes the water even more conveniently. But what if there is a real leak, the pumping capacity is no longer sufficient and water suddenly spills over the floorboards while sailing?

Serious water ingress jeopardises the ship's buoyancy and, as the regular reports of yachts sinking make clear, is rightly one of the most feared problems at sea. To avert a catastrophe, the crew must not only act quickly, but above all with forethought.
The first reflex is to use the bilge pump - at least if it is electric or motorised. However, you shouldn't expect too much from it. If the yacht is equipped in accordance with CE regulations, a delivery rate of 15 litres per minute is sufficient; this does not even correspond to the amount of water that would flow in through a torn 3/4-inch port. Nevertheless, the pumps should be activated immediately. The sooner the water ingress is tackled, the more time there is to find and tackle the leak.
Localise the leak
Once water is sloshing through the ship, it is almost impossible to recognise in which direction the leak is located. Even in the case of a deep crack or hole in the hull, the water pressure is comparatively low, so that it swells more than gushes at the damaged area. A taste test is often recommended to check whether it is seawater or whether the drinking water reserves are simply emptying into the boat. However, if you are not sailing in the Mediterranean or the Atlantic, the findings are not necessarily conclusive. Contamination and old salt deposits distort the flavour. If in doubt, a look at the water tank display will provide more clarity.


If a water ingress cannot be directly attributed to a collision, first check the ship's outlets and sea valves. To ensure that nothing is forgotten in the hectic rush, it is best to have a waterproof laminated plan showing all openings.
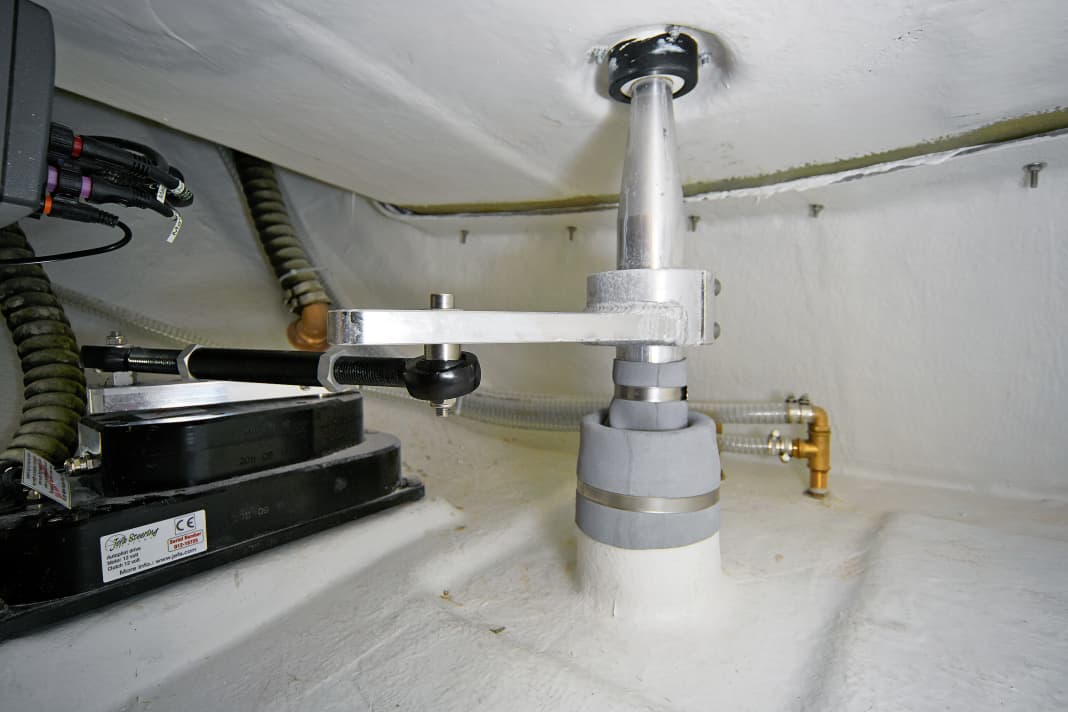
If the passages are tight and all hoses are intact, check other critical points. These include the rudder cokers and keel bolts. If no leaks can be detected there either, indirect search measures must be used: What were the weather conditions like? Was there a collision? Then the foredeck and the appendages are usually more likely to be affected. Was the boat recently turned round and does the water ingress decrease after another turn?
How to seal the leak
Once the leak has been found, the inflow must be stopped or at least reduced as quickly as possible. Anything on board can be used, from bunk cushions to towels, wooden and foam leak plugs and sealing grease. Wet-bonding epoxy resins and levelling compounds are well suited for permanent sealing. In any case, improvisation is required - there is no such thing as a standard leak. To be able to assess whether all leaks have been detected, only long-term observation and logging will help.


Does sealing wax really help? The test report on the next page
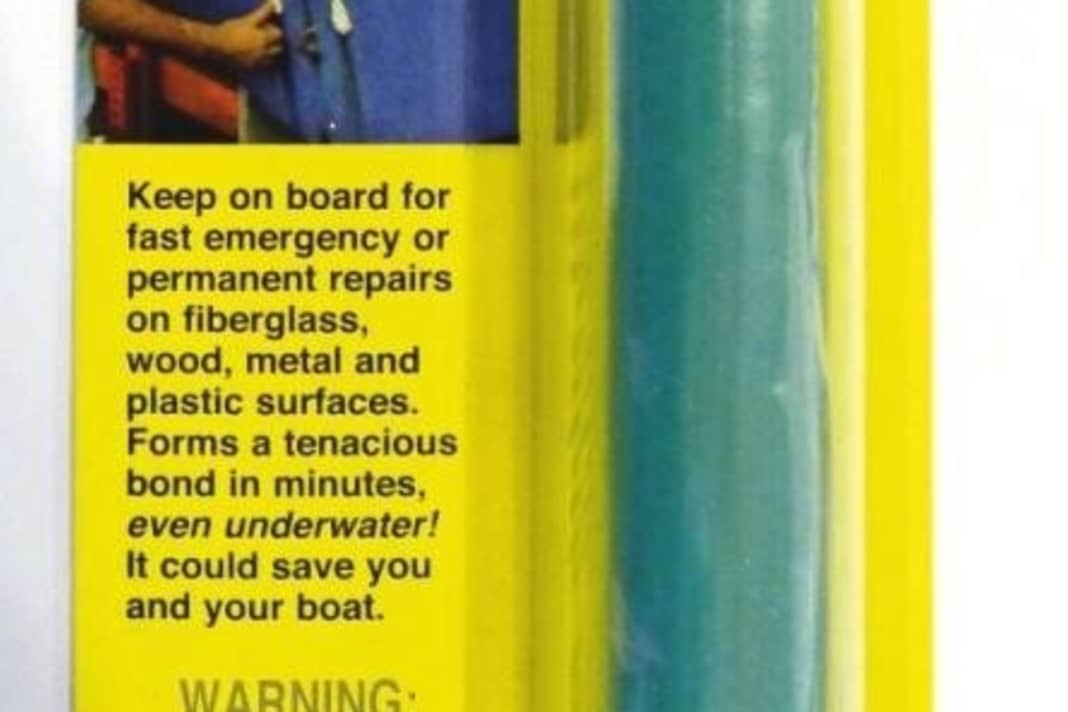
Originating from America, theStay-Afloat was the pioneer among paraffin-based pasty sealants, and Vosschemie has also been marketing a very similar product in the Yachtcare range for several years. The products marketed under the nameLeak Hero This sealant has a slightly softer consistency, which makes it even easier to work with.
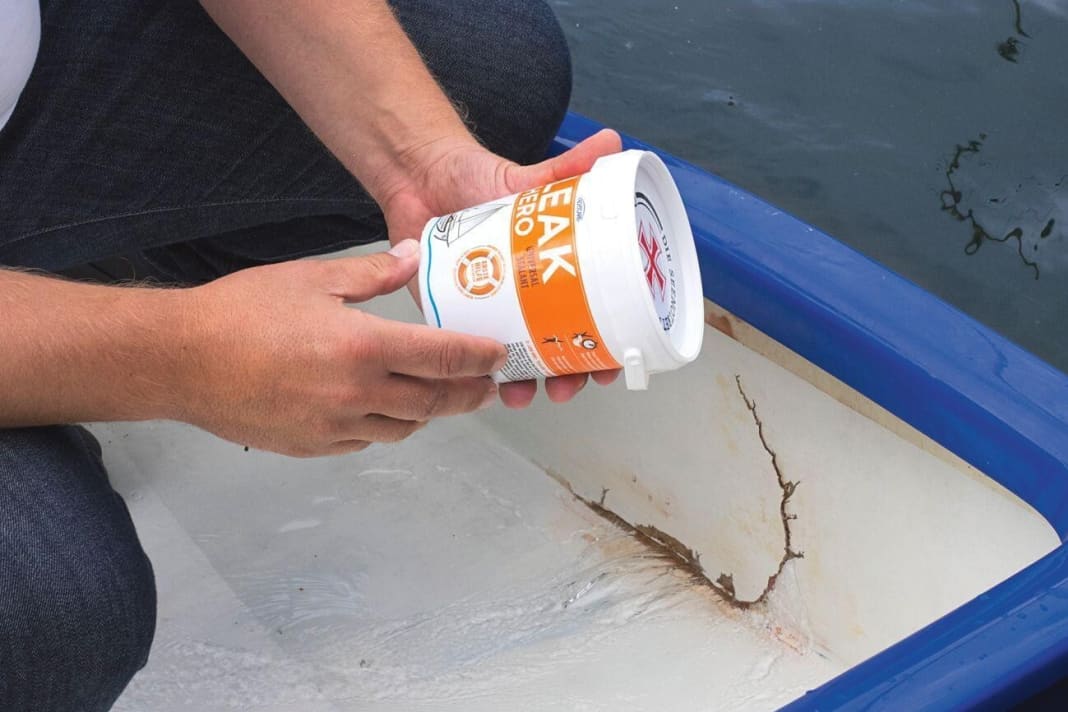
We tested whether leaks can actually be plugged in seconds, as promised by the manufacturer, using various types of damage. A prepared GRP optic served as the test vehicle. We simulated collision damage on its mirror. Half of the approximately 50 centimetre long, L-shaped crack was under water and submerged to a depth of around ten centimetres, causing a considerable amount of water to flow into the boat. To seal it, we smeared Leak Hero over it by hand. The wax-like compound adheres very well even to the wet GRP, and the water ingress was quickly stopped. As the material does not harden, the leak did not tear open again even when pressure was applied to the hull. Small leaks
could be repaired by applying additional material. You can easily get your hands clean again after use with washing-up liquid or damp cleaning cloths.
A new sealing grease called "Leak Hero" in a practical test
Our conclusion: The material is non-toxic and not harmful to the environment, but is also not suitable for permanent leak repairs, but only for short-term emergency sealing. This works very well. The 625-millilitre container costs just under 30 euros and should not be missing on any boat.


