You will find all the steps in the article below:
We have already presented the new style of our example interior in the last episode defined. Once we had decided on white bulkheads, ceiling and cupboard fronts, it was now time for the practical implementation. An important point here is that as little paint as possible should be used, as this requires practice and very careful preparatory work on vertical surfaces.
Coloured lacquer reveals even the smallest imperfections in the wood, which means that extensive filling and sanding would be required to achieve a good-looking result. Instead, we coat the wooden parts with 0.8 millimetre thick HPL (High Pressure Laminate), also known as Resopal or Duropal depending on the manufacturer.
Panels instead of paint
This laminate made of hard paper impregnated with phenolic resin is familiar from robust kitchen worktops, for example. It is available as a six or eight millimetre thick composite board or as a veneer-like coating material. This not only saves a lot of time and labour, but also produces a scratch-resistant and even surface. A side effect of the plastic coating is that no dust-free working environment is required.
However, the work is not completely undemanding. The templates have to be adapted very carefully. Any supposed shortcuts take their revenge later and require time-consuming reworking. It is also important to bear in mind that the fittings on older yachts were not produced by computer-controlled automatic milling machines, but are classic boatbuilding - in other words, manual labour. It cannot therefore be assumed that the interior fittings are one hundred per cent symmetrical.
Even with components that appear to be manufactured in series, such as the fronts of cupboards and drawers, the coating must be individually measured and adjusted. Otherwise, ugly gaps will appear.
Better to buy a little more
The thin HPL is quite brittle, so shrinkage should be taken into account for large parts.
As long as the material is not glued to the substrate, it breaks easily. It is quite possible that something will tear during the first few attempts and have to be re-sawn. The good thing is that HPL is usually in stock at specialist retailers and the individual batches have virtually no colour deviations. This means that different boards can be processed without any problems.
From the many colours available, we chose Duropal in "front white", which costs around 22 euros per square metre (Holzland Hamburg).
Speaking of panels: The thin HPL veneers are rarely offered cut to size. As they are fragile and are supplied in large rolls, they can usually only be purchased as a whole panel. Instead of looking for an online shop, you should therefore look for a local specialised joinery dealer. There is a better chance of getting portioned goods there. It also saves you having to pay for shipping.
The processing is quite simple
No special equipment is required for processing. Basically, a Multimaster-style oscillating tool and a good segment saw blade are all you need. A jigsaw won't do any harm when making templates, but the Multimaster will also do. Self-made sanding blocks are recommended for reworking curves. To do this, get short sections of drainpipe in different diameters and stick 80 to 120 grit sandpaper on them. Double-sided adhesive tape is suitable for this, making it easy to replace worn abrasive later.
Straight edges are easy to finish with a small hand plane. However, this should be made of metal. The hard HP laminate easily eats into the sole and leaves ugly grooves even in high-quality pockwood planes.
Observe processing temperature
When working with dispersion adhesive, the temperature must be right, especially if you are working in winter storage. If the environment is too cold and damp, not only is the setting of the adhesive significantly delayed, it also becomes very viscous. This leads to problems when applying and pressing on the coating.
That's why we used an oil radiator to warm up the salon before bonding until the substrate temperature was above 15 degrees. Once the coating is on the bulkhead, the heating can be turned down again. However, the adhesive works better if the boat is kept at the right temperature until it has set.
The larger components should be processed in pairs
In our case, the main bulkhead in particular proved to be a challenge. Not only did the cut-outs for the bulkheads have to be taken into account, but the coating also had to be threaded into a joint behind the existing bulkheads. Without helping hands, this is hardly possible without breakage. The result is all the more pleasing because, unlike with a paint job, the work is practically complete once the adhesive residue has been pressed on and wiped off. What's more, there is no need to worry about runs or dust inclusions occurring later.
Making the templates and gluing the smaller coatings to the cabinets can be done easily by hand. The low material thickness of 0.8 millimetres is an advantage here, as the laminate fits easily into the fillings of the cabinets and drawers without requiring any changes to the wood.
We only had to resort to paint for the ceiling panelling. Even the small amount of material applied to the Duropal would have required extensive adjustments to the hatch frame and the transitions to the side panelling. However, the ceiling panels could be easily removed and conveniently painted in a horizontal position. Dust is of course an issue, but thanks to the silk-matt paint, you don't have to worry too much.
The individual work steps:
Remove the mould
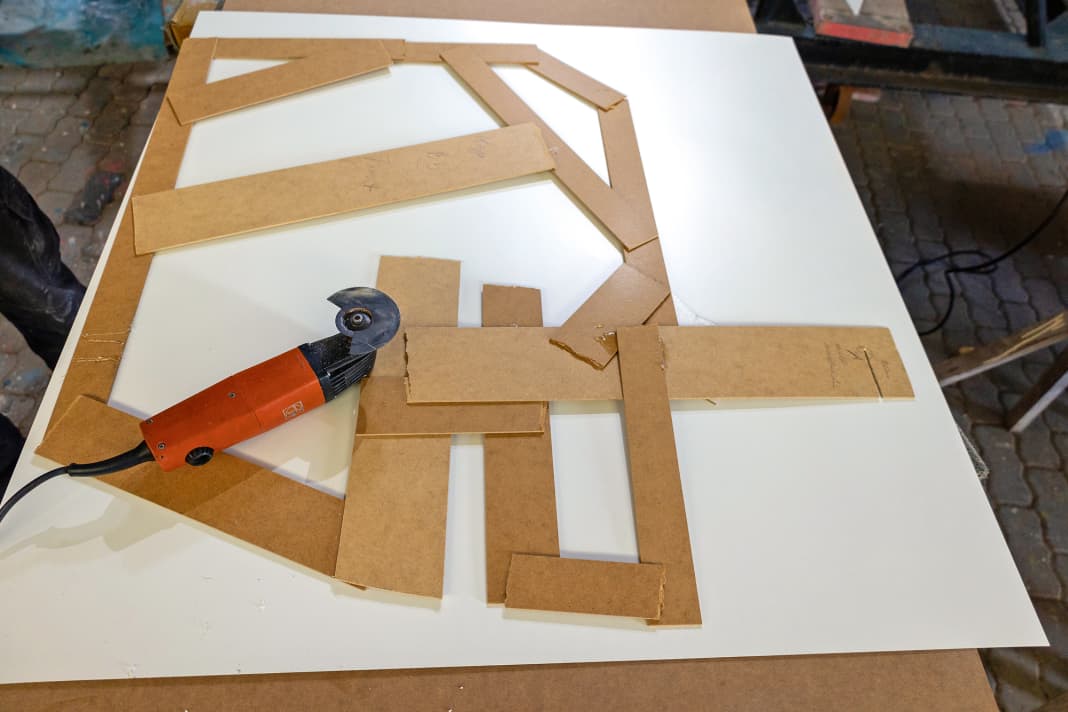
Without an exact template, the Resopal cannot be cut to size. Therefore, templates must be made of all the surfaces to be coated. Not an easy task given the many curves. Paper or the temporary non-woven wallpaper from the simulation is not suitable for this. The material is not dimensionally stable enough and would result in an imprecise cut. We therefore create the templates from hardboard. This is quick and produces a sufficiently stable template. The trick is to fix the narrow strips with hot glue to remove the contour.


The cut
Resopal or HPL (High Pressure Laminate) is a very robust material that is easy to saw and sand. However, without a carrier board, the coating is only 0.8 millimetres thick and comparatively brittle. Care must therefore be taken when working with it. The thin sheet must not lie hollow or be bent too tightly. Otherwise, cracks will occur that can no longer be concealed.


Sticking on
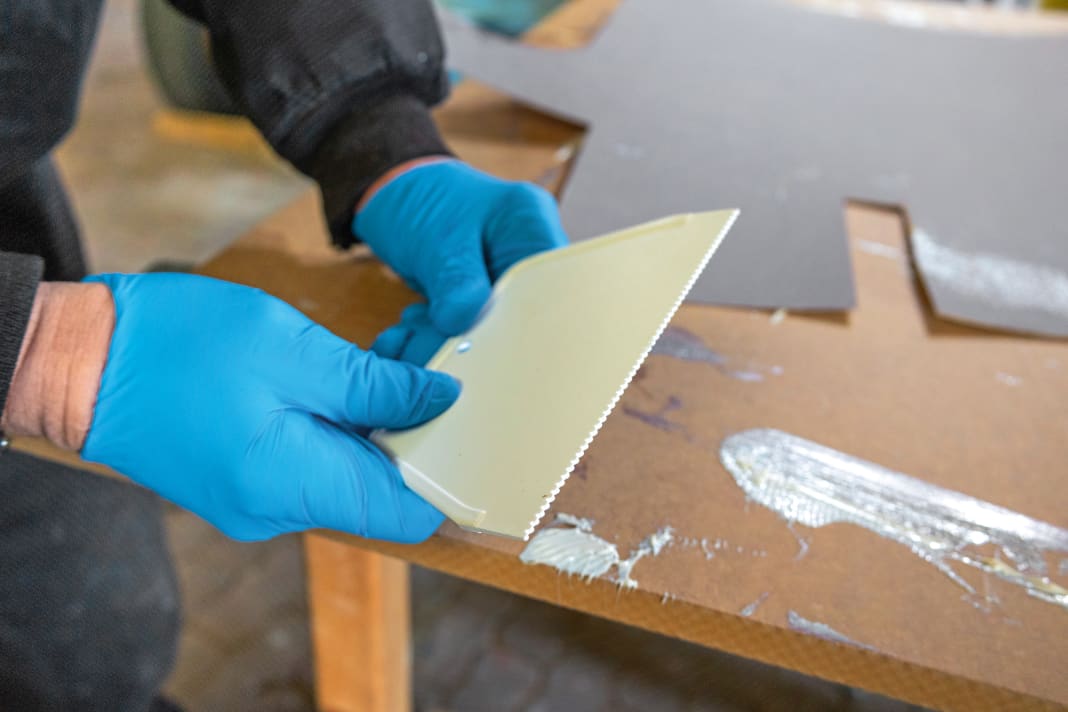
The surfaces to be glued are sanded with 120 grit sandpaper, dedusted and degreased. The adhesive would not adhere to residues of old furniture polish and wood wax. We use dispersion adhesive as is usual for linoleum coverings. The advantage over other adhesives is the ease of application and the fact that the Resopal panels can be moved slightly when they are applied. This allows the coating to be positioned in corners and gaps. Once the adhesive has been applied to the surface, it adheres very well. The coating therefore does not need to be pressed, but it can no longer be corrected.


The ceiling panels
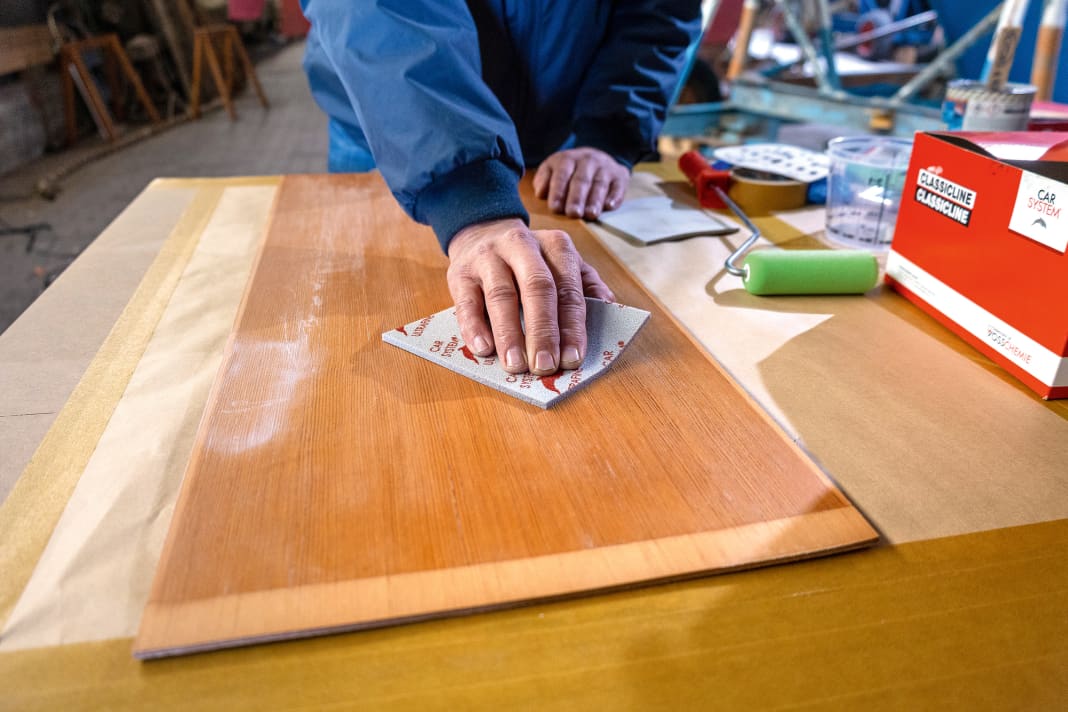
The colour change on the ceiling makes a decisive contribution to the fresh look and the changed impression of the room. Coating with Resopal was ruled out, however, as the additional material thickness would have entailed a lot of customisation work. At this point, a classic paint finish is quicker to realise. The individual panels are easy to work on horizontally. In addition, there are no damaged areas that need to be filled before painting. As we use silk matt lacquer, the fine grain structure results in a very attractive surface.


