Are hairline cracks in the gelcoat just a blemish, a sign of poor build quality or even serious damage? It is not only second-hand boat buyers who face a difficult task when assessing hairline cracks. Owners are also faced with the question of sudden black veins: Do I have a problem? Do I need to do something or even hire a boat builder?
The development of hairline cracks
Minor damage
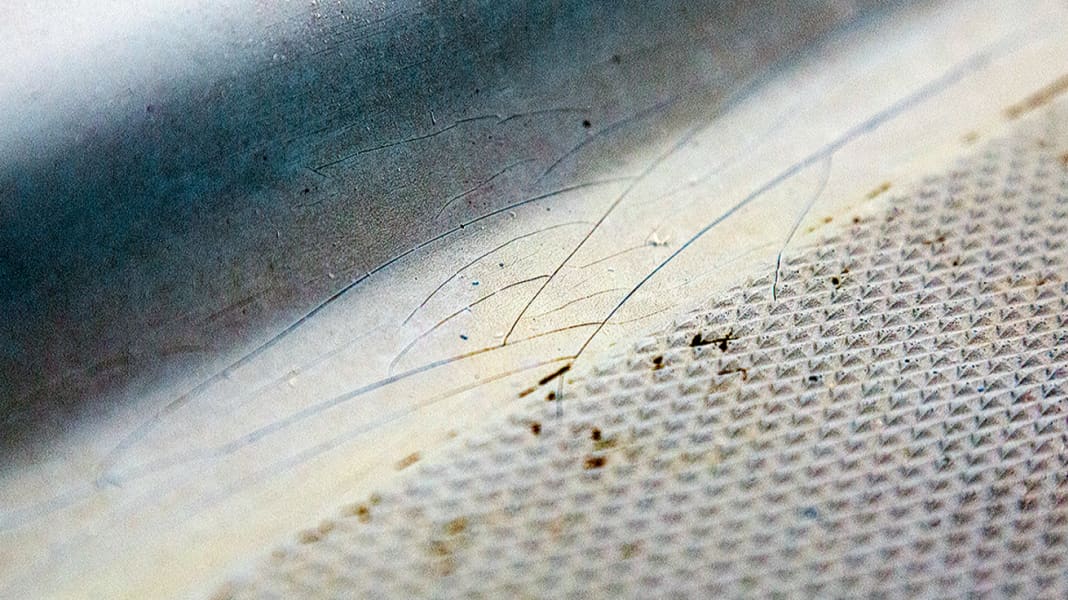
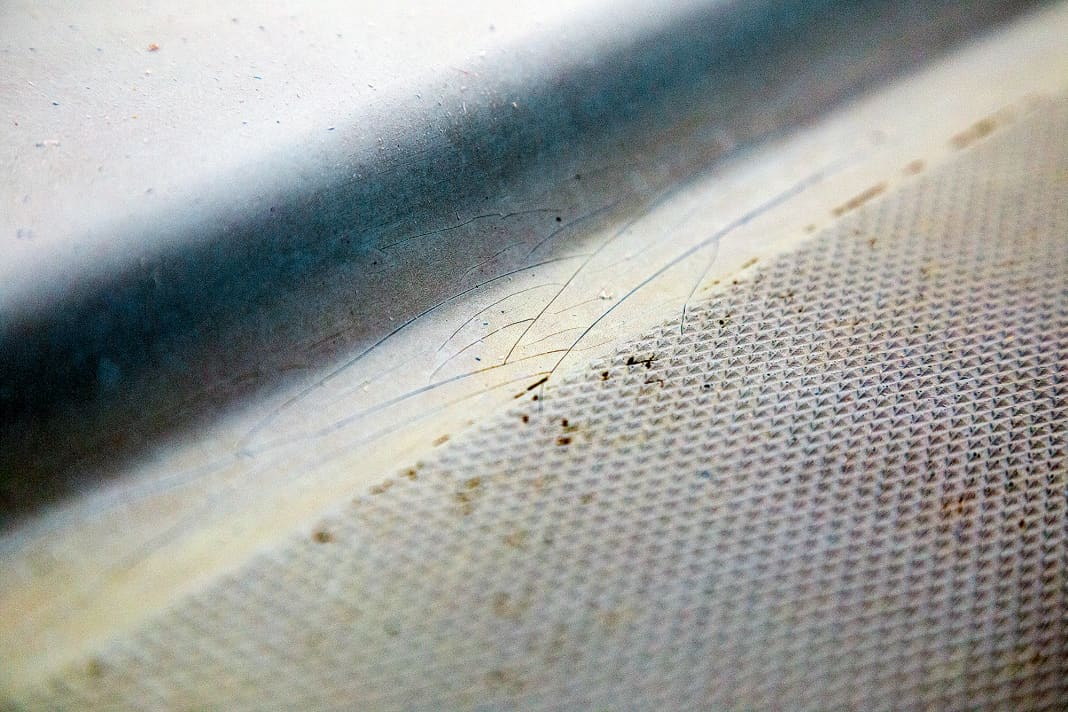
As is so often the case, there is no simple and universal answer to this question. Basically, hairline cracks can occur in different ways. The simplest explanation is a light impact, such as that caused by a dropped winch handle. If spider web-shaped cracks form in the gelcoat at the point of impact, this is usually an optical problem in which only the polyester fine layer itself is damaged. In this case, a small-scale gelcoat repair is sufficient.
Overloading the laminate
Things become more complicated when the hairline cracks occur at edges, curves or around cleats, railing supports or winches. Here, they are usually a sign of overloading of the laminate - in other words, the glass fibre composite is working so hard that the fine layer tears. It consists of polyester resin and contains no fibre reinforcement. The gelcoat is therefore generally more brittle and more susceptible than the laminate underneath. The problem increases over time: firstly, the gelcoat hardens and becomes increasingly brittle, and secondly, the laminate can become soft and bend even more over the years due to frequent alternating loads.
This process can often be observed on the decks of older dinghies: The boats are usually made of relatively thin solid laminate and are correspondingly soft. The hairline cracks then usually occur at edges or transitions to joists. This is where the material stresses are at their highest.
With such symptoms, a superficial repair with gelcoat is not enough. Without eliminating the causes, i.e. the movement of the laminate, new hairline cracks would appear after a short time.
Remove gelcoat
Refurbishment begins with sanding down the gelcoat. For heavily moulded areas, such as the skirting board in our example, it is helpful to remove a filler template beforehand.


Reinforce the structure
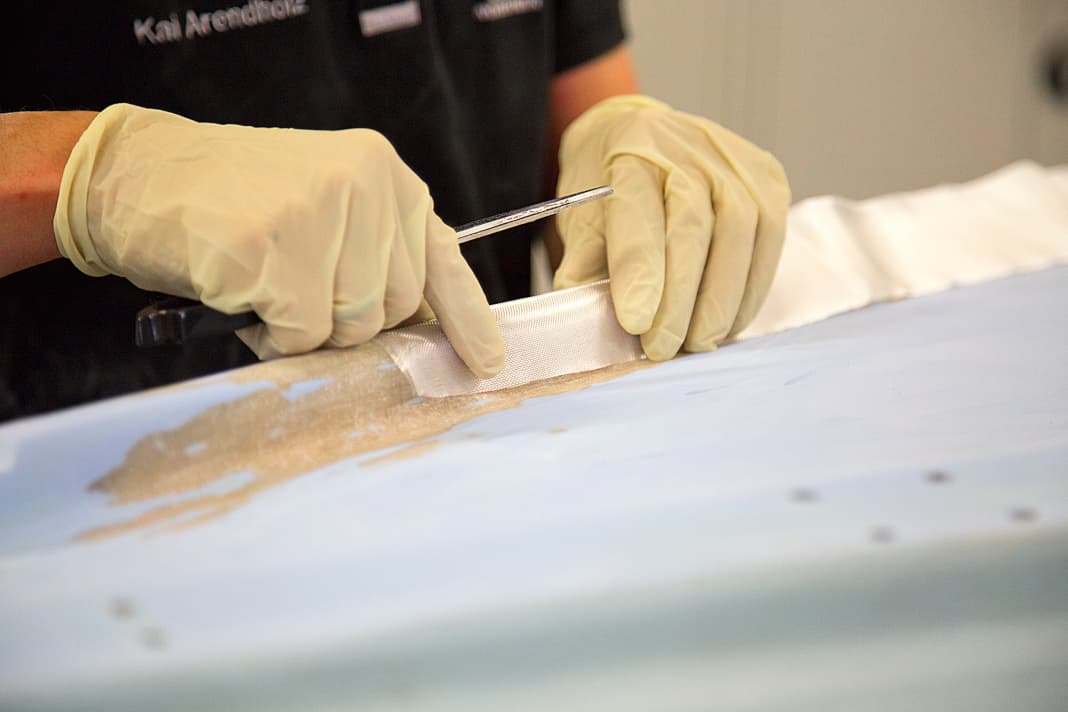
After removing the fine layer, you can see how complex the repair will be. If the laminate is undamaged, it is sufficient to apply a layer of 85 gram glass fibre with epoxy resin. The repair area can then be levelled, sanded and painted. For smaller areas, it is also possible to rebuild the gelcoat layer.


If peel ply was used during lamination and no shiny areas are visible, there should be no amine residues to prevent the polyester gelcoat from curing.
In this case, the damage was so extensive that only a complete paint job was an option. In addition, the cracks continued in some places in the laminate. A sign that the structure is significantly undersized and needs to be reinforced.
This is done by sanding until no more white cracks are visible. The laminate is then rebuilt to its original thickness with new layers of glass. The procedure corresponds to the hole repair.
Although this makes the deck somewhat stronger than before, the surface can only be made really rigid by adding additional reinforcements laminated from below. One of the simplest and most efficient ways to do this is to install deck beams or stringers in the form of prefabricated foam profiles. These reinforcements, marketed under the name Prisma-Beam, are already fitted with glass fibre scrims and can be cut to size and laminated very easily. They are so inexpensive that it is hardly worth making the beams yourself, for example using cardboard tubes and glass fibre scrims.
Restoring the mould
Once the structure has been stiffened, the most time-consuming repair stage begins: sanding and filling. Patience and dexterity are required, especially on the curves. The different colours of gelcoat, laminate and filler irritate the eye. Dents and flattening are therefore difficult to recognise, but they can be easily felt, so the motto is: one hand sands, one feels.


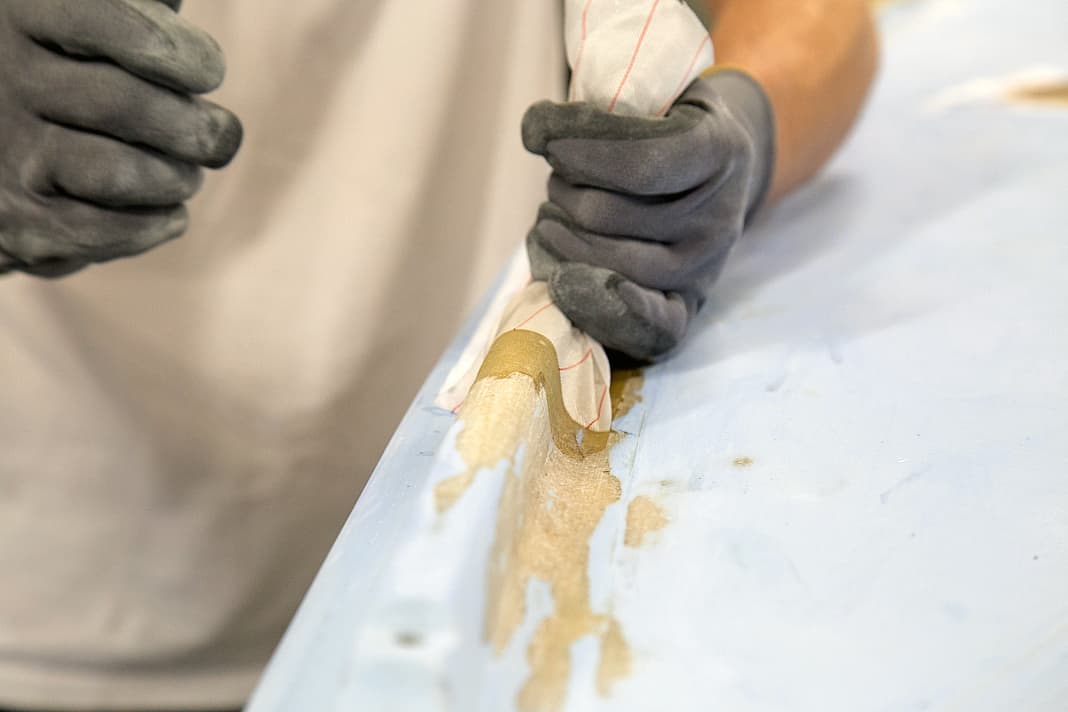
Templates and customised filler can simplify the tedious work. The Microlight filler from West-System that we use produces a very thinly spreadable compound that is easy to sand.
However, these processing properties come at the price of the product's low hardness. To create a robust base for the paint structure, the levelling compound must be coated several times with unthickened epoxy resin at the end. It makes sense to colour the resin with pigments. This creates a high-gloss surface on which any remaining unevenness is clearly visible.

