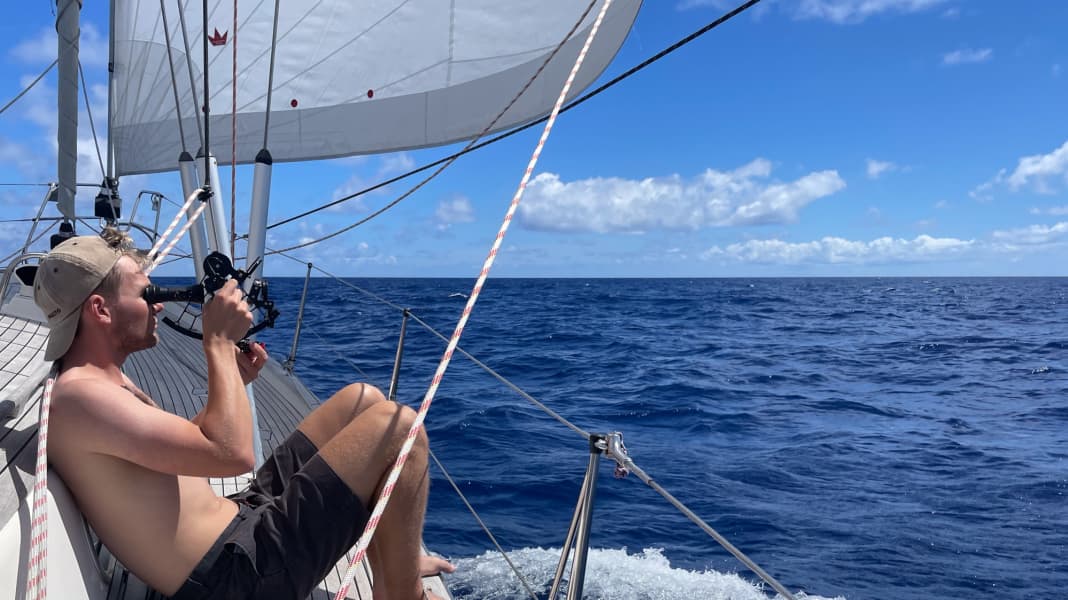
Many sailors today cross entire oceans without the slightest knowledge of astronavigation. The risk of relying solely on the on-board electronics must be borne by everyone. But there are also other reasons why thousands of new sextants are still being manufactured and sold every year - and increasingly so. On the one hand, there is the intellectual satisfaction of understanding navigation precisely, the joy of knowing that it actually works exactly. And a romantic aspect also plays a role: the passing on of a tradition and cultural technique that is thousands of years old.
There are great courses that use the simpler HO249 method, on which the new templates are also based, instead of the complicated logarithm tables.
Astronavigation becomes easier
This quickly brings a sense of achievement. The problem is that after a few months, without constant practice, you often forget a lot of things. Especially as the different celestial bodies such as the sun, moon, planets and stars have to be treated differently. In addition, the measurement of bodies that are only visible in the dark, such as stars and planets, must be prepared for the time of twilight. Those who then navigate using the HO249 charts, a method that has been established for over 50 years, have a clear to-do list in their head with five points to be worked through one after the other. One of the first tasks is to determine a calculation location in the immediate vicinity for which data can then be taken from the board. However, this choice of calculation location is not entirely obvious to the newcomer.
It also sounds absurd at first glance: in order to be able to select a computing location in the immediate vicinity of your position, you first seem to have to know where you are in the first place - which was the aim of the whole exercise, wasn't it?
Dealing with errors in astronavigation
But this is exactly how it works: you first have to have roughly estimated your position (EP, Estimated Position) in order to be able to determine it exactly using astro-calculation (Fix). And this works as follows: In most cases, the previous day's fix has been determined to within a few miles. Or you have just sailed from a harbour. With the help of the course sailed and the distance, the coupled, ghosted location is probably no more than half a degree, i.e. 30 miles, off after 24 hours. This is sufficient to achieve an accuracy of a few miles for the fix to be calculated.
If you are much more than half a degree off due to days of overcast skies, storms or other reasons and therefore choose a calculation location that is not in the immediate vicinity, the result will be less accurate, but not completely wrong. The measurement of the following day will then be accurate again to within a few miles.
New templates for astronavigation
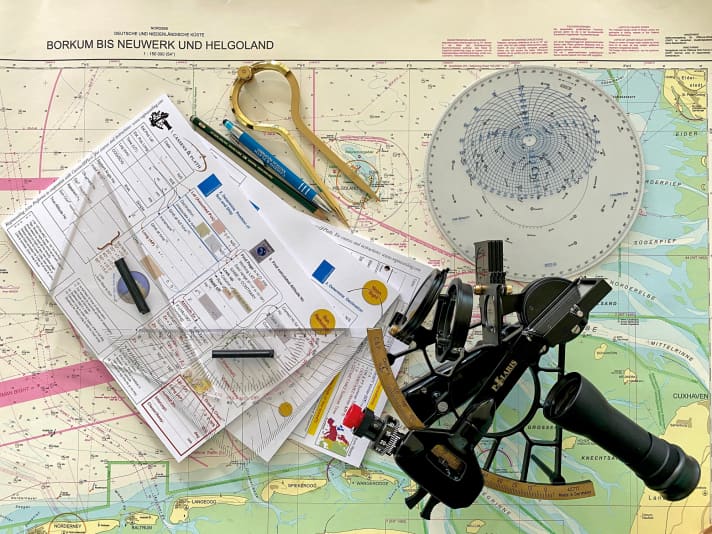
Continuous coupling, i.e. plotting course and distance on the nautical chart for approximate positioning, is therefore an important part of astronavigation. Newly developed templates have recently been used as a practical guide for all five steps according to HO249. The astronavigator can thus immediately recall the individual calculation steps even after months of non-use. Footnotes serve as memory aids, and arrows show where certain predefined or self-determined information (input/output) should be used. Associated explanatory videos on how to use the templates are also available on the Internet.
More about navigation:
The entire sight reduction for each celestial body is carried out on a single A4 page. For planets and stars, several celestial bodies are also prepared simultaneously on one page and then calculated in parallel on a subsequent page. In this way, several lines of sight can be obtained at the same time, resulting in a position that does not require any levelling. At the end, the statelines can be plotted on the newly revised nautical chart form, which works for both the northern and southern hemispheres. Analogue to the templates, the chart form provides practical instructions and ideas and is prepared as a kind of universal piece of nautical chart.
The following step-by-step guide documents what this looks like in detail and what needs to be done when.
From shooting the sun to drawing the bearing lines on the nautical chart
Step 1: the measurement
Input:
- Recording of time, ghosted position, course, log
- Reading the sextant (Hs)
Output:
- Observed solar altitude (Ho)
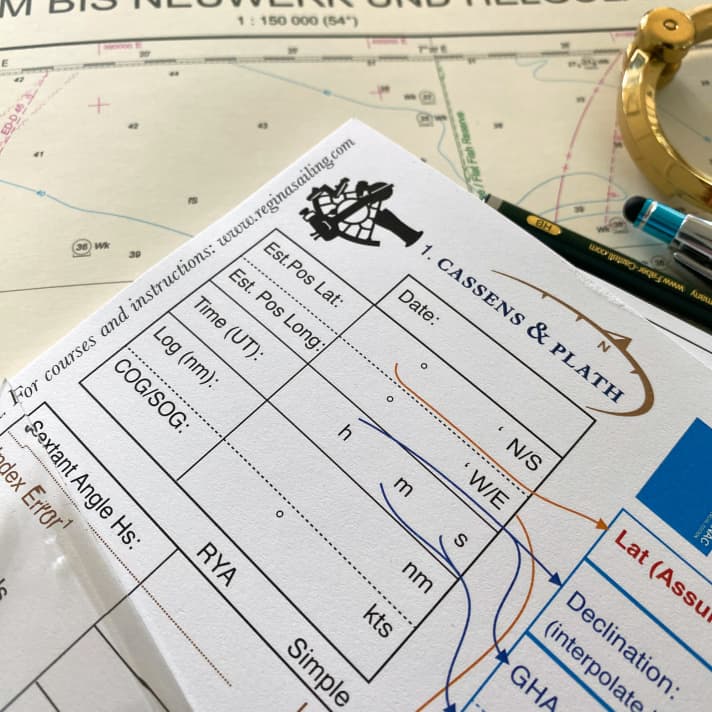
In the first step, all the key figures to be memorised are noted on the form so that none are forgotten for the subsequent calculation. The position taken (EP), the exact time of the sunshot, the position of the log and the course taken as well as the speed over ground are recorded. In step one, the angle (Hs) read off the sextant is also noted and then successively passed through a series of corrections to the actual observed sun height (Ho).
Step 2: the "Nautical Yearbook"
Input:
- Embossed position (EP, from step 1)
- Day and time of observation (from step 1)
Output:
- Selected calculation location (Lat, Long)
- Latitude of the sun (declination)
- Local Hour Angle (LHA)
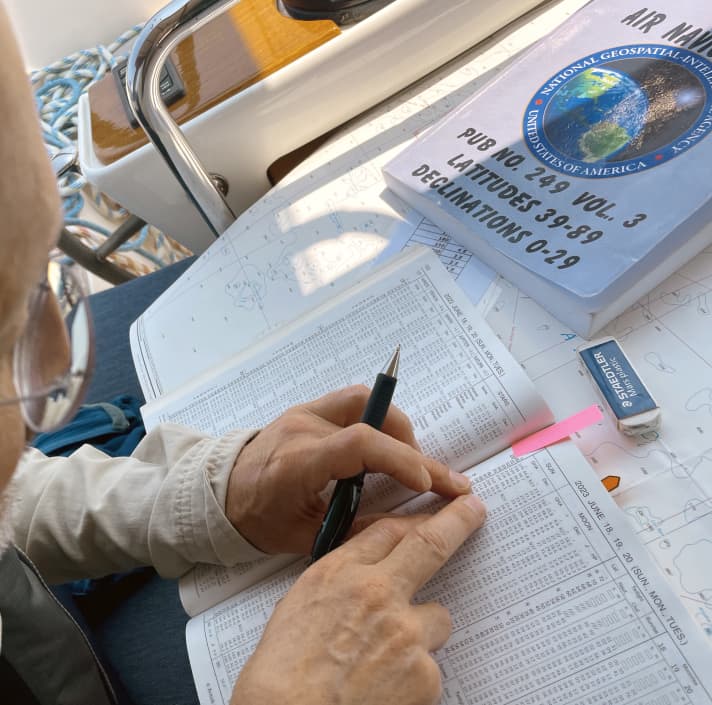
The second step begins with the "Nautical Almanac". This is used to select a calculation location in the immediate vicinity, which can then be used in the third step to determine Hc and azimuth. The nearest integer latitude is selected as the latitude of the calculation location by rounding up or down.
The choice of longitude for the calculation location, on the other hand, takes some getting used to. This is because it is not the absolute longitude of the calculation location that should be an integer, but rather the so-called hour angle between the sun (GHA, Greenwich Hour Angle) and the calculation location. So it is not about the absolute longitude, but about the relative angle between the ship and the sun.
This is ingeniously thought out, because the sun's altitude Hc doesn't care what absolute longitude we have. The only thing that is relevant for the altitude Hc is how the ship and the sun are in relation to each other. It is this "relative angular distance" (hour angle) between the ship and the sun that determines the solar altitude. This is called the local hour angle (LHA), and it is precisely this angle that we now need to obtain as an integer so that it can be used later in the HO249 table in step three.
Of course, we cannot change the position of the sun, but we can change the longitude of our calculation location, which is what we are talking about! So, without further ado, the longitude of the place of calculation is chosen so that the local hour angle between the ship and the sun (LHA) is an integer. If you pay attention, you will see that two fields of the form for step two are marked in red, which means something like "Bingo!". As soon as something appears in red, this is a value that is required for drawing on the nautical chart in step five. All red results end up in the red target box at the bottom right of the form. The latitude and longitude of the calculation location are exactly those red results that can be entered there after step two. The calculation location is now selected. Now the azimuth and the intercept, which result from steps three and four respectively, are still missing.
Step 3: the HO249 board
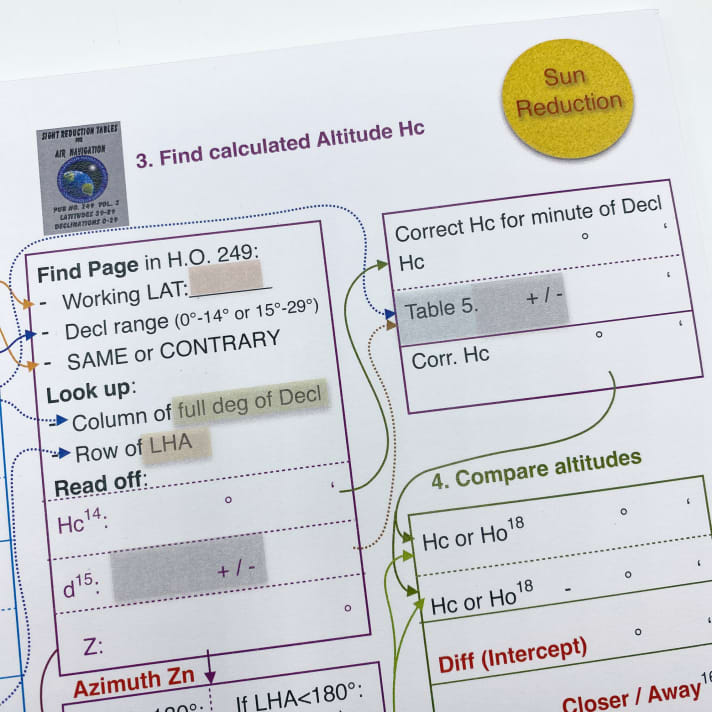
Input:
- Integer latitude of the calculation location (from step 2)
- Integer local hour angle (LHA, from step 2)
- Latitude of the sun (declination, from step 2)
Output:
- Direction to the sun (Zn, azimuth)
- Calculated solar altitude (Hc)
Now we put the "Nautical Yearbook" to one side and finally continue with the HO249, which should provide the required direction to the sun (azimuth) and the pre-calculated elevation angle (Hc). After just a few steps and some help on the form, both values can be obtained from the table.
The azimuth is marked in red and is therefore transferred to the target box at the bottom right. It will be relevant again later when editing step five.
Step 4: Determining the intercept

Input:
- Calculated solar altitude (Hc, from step 3)
- Observed solar altitude (Ho, from step 1)
Output:
- Intercept in nautical miles
- Closer/Away along the azimuth
The measured angle Ho still needs to be compared with the pre-calculated angle Hc, which is done in step four. Furthermore, the question of whether we are closer to or further away from the sun compared to the calculation location must be clarified.
The intercept is calculated from the difference between Hc and Ho. It is therefore red and is returned to the target box at the bottom right. If Ho is greater than Hc, we are closer to the sun, in the opposite case further away from it. This value for "Closer" or "Away" is the last output in the red target box.
Step 5: Entry in nautical chart form
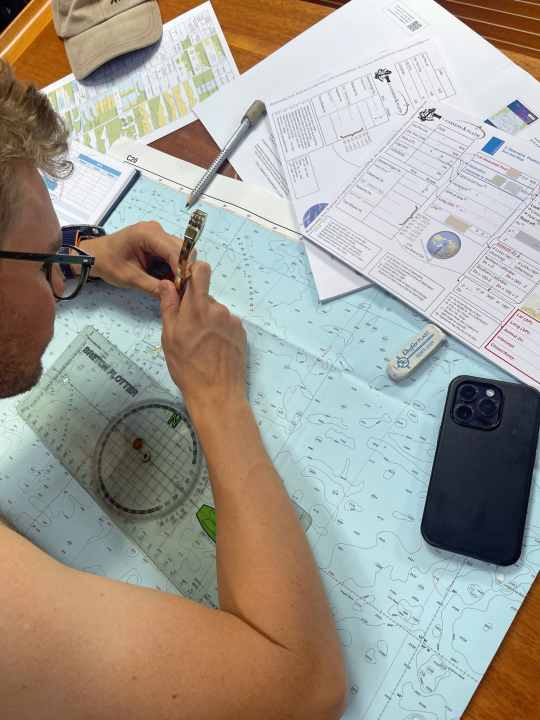
Input:
- Latitude of the calculation location
- Longitude of the calculation location
- Direction to the sun (azimuth)
- Intercept
- Closer/Away
Output:
- Stable line at right angles to the azimuth
Everything noted at the bottom right in the red target box for step five is required for drawing in the nautical chart or in the nautical chart form. Firstly, the position of the calculation location (lat, long) is plotted and from there the direction to the sun (azimuth). The intercept is plotted along the azimuth, either towards or away from the sun. The station line is plotted through this determined point at right angles to the azimuth. The ship is located somewhere on this line.
Why it is a stateline and not yet a position is explained in YACHT 22/2016 and in the upcoming YACHT webinar. A second sunshot a few hours later or a classic midday beam reach at midday then results in a second stateline. The first layline is sailed according to the course and distance sailed (from step 1), and where the two laylines intersect is then the actual position (fixed).

