Guide: 20 tips for better self-shot sailing videos
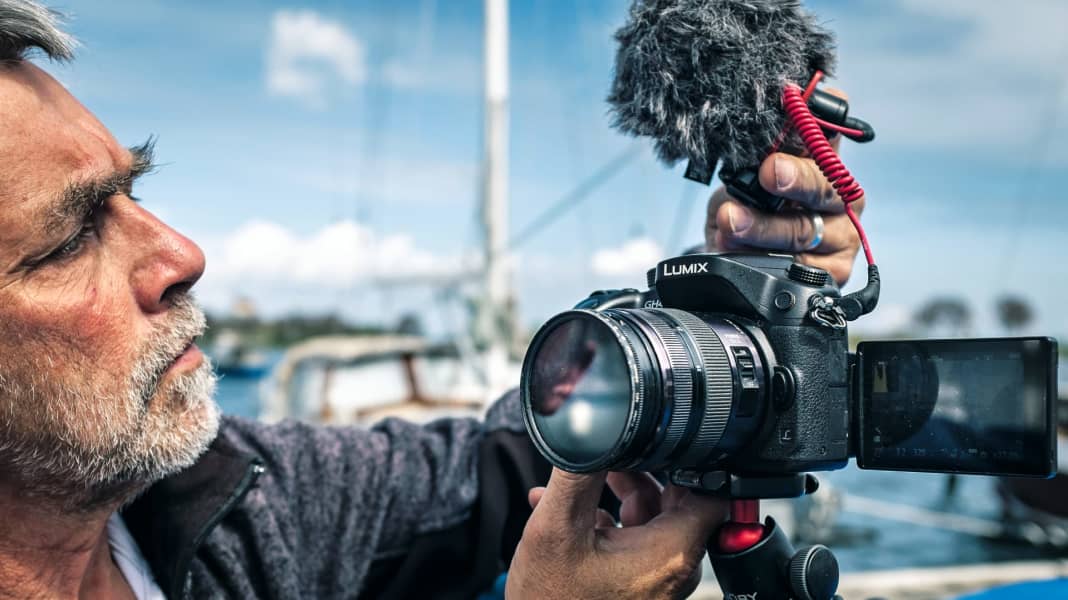
Mike Peuker, 58, a pilot and boat charterer in a former life ( www.klassiker-segeln.de ), runs one of the few successful private and German-language YouTube sailing channels with currently over 3,000 subscribers. Some of his films, in which he mainly reports on his own sailing trips, boat-related work or the classic boat scene, have been clicked on well over 20,000 times; his YouTube page has already been viewed a good half a million times in recent years. www.youtube.com/mikepeuker
Here Peuker explains how to approach the subject of sailing videos and how anyone can create appealing videos with little effort.
The content of the video
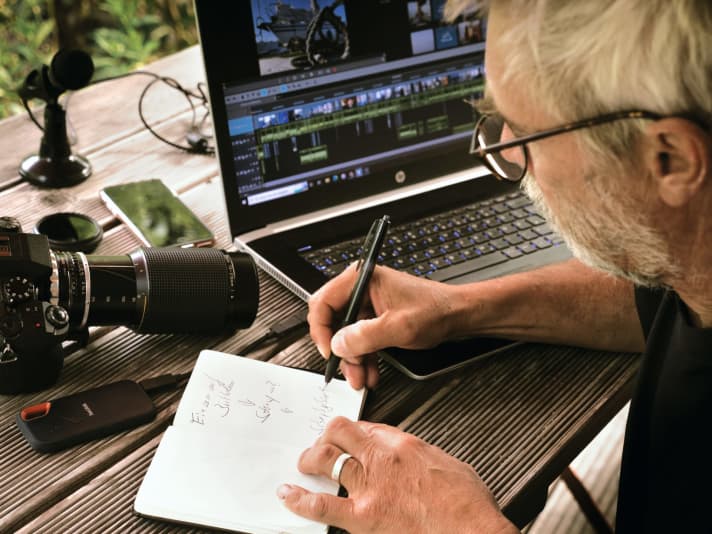
What does the ideal sailing video look like? Of course, there is no universal answer to this question, as it depends on many factors. Perhaps the most important one is: Who should the audience be - women, men, old, young, professionals or recreational sailors? And should an instructional video, a travelogue, a technical manual or something completely different be produced? Are people at the centre of the action, or should viewers be able to take part in great scenery and spectacular sailing action? Is the focus on technical details, or is it all about the wider world?
My recommendation is crystal clear on this point: a video should be consistently designed in a way that you would like yourself. Cramped considerations about which topics could reach the maximum number of viewers rarely lead to success.
Nevertheless, it makes sense to watch videos on other sailing channels and take inspiration from them. You can also copy once to practise. Over time and with more and more published material, an individual film style will develop anyway.
1. start small
Especially at the beginning, when everything is not quite perfect yet, it is advisable to produce short videos. It's easier to keep ten minutes exciting than a two-and-a-half-hour film epic. So please don't start with a cinema film right away!
2. a screenplay
Every film needs a story to tell. It's best to start by giving your film a meaningful title. You should always remind yourself of this when you realise that you are going astray in terms of content or are in danger of getting lost in the details. And viewers are also grateful if they know what to expect at the beginning. Ideally, you take them on a virtual journey with you.
Sailing off and simply filming all sorts of things without a plan, in the belief that you can then put together a film with a strong plot, rarely leads to success. First of all, the story has to be in your head or even in keywords on paper, then you can capture the images for it with the camera.
3. more drama!
Without an arc of suspense to keep the audience on the edge of their seats, the film doesn't work particularly well. If the best powder has already been shot at the beginning and the film then gets weaker and weaker, nobody will watch to the end. After all, the "crime scene" ends when the murderer is unmasked - and this is typically never the case before minute 85.
Of course, not everyone has the leisure to film during a trip when the waves are high or even in a storm. The mast doesn't break all the time either, and you can't even plan for a striking engine. It doesn't have to be. Suspense can just as easily be created through ever more amazing landscape shots, changes in speed, new people joining the boat and much more.
4. authenticity
If you don't mind, you can show yourself sailing and, above all, speaking. Viewers love that! YouTube is a format that doesn't just tell a story. It is also and often even more about the protagonists themselves. You get to know them somehow and then check in on "Peter" or "Matti" from time to time. Even if the topic of the current video doesn't match your own interests one hundred per cent. So it's best to keep inserting sequences from your own, real, non-staged everyday life on board into the film. This is interesting and provides additional authenticity.
5. gap filler
Beginners often fail to produce enough filler material in addition to the actual scenes. In film, this is called B-roll. This can be landscape panoramas, detail shots, slow-motion shots of waves and much more. It is also worth collecting original sounds: Seagull cries, the sound of the sea, sails rattling in the wind, bow waves on the hull, halyards hitting the mast, the creaking of floorboards in a swaying ship - there are no limits to your imagination. This material goes into your personal sound archive, which you can access at any time later.
6. the unexpected often happens
A camera ready to shoot should always be within reach, even if it's your mobile phone. In the end, it's not so rarely the unexpected images that add the right spice to a film.
The dolphin in Svendborgsund, technical problems, mishaps, bad weather. If nothing happens, it's boring. But when something spectacular happens and the camera is not at hand, it remains boring!
7. not just on the side
Producing a video takes more time than you initially think. If you are travelling with a crew, lengthy filming can sometimes lead to inconsistencies. Here's another example: a well-filmed and entertaining casting manoeuvre, which under normal circumstances takes just two to three minutes, can easily take an hour or more with the right preparation.
Cameras need to be set up and installed, the more perspectives the better. Sound has to be set up and tested. A camera may be left on the jetty and has to be collected again after the shoot. You might even send a drone into the sky to film the whole thing from above.
It sounds like an elaborate ARD documentary, but it's not. On the contrary. An entertaining film doesn't attract much attention, whereas a poorly made one is at best consumed by close relatives. Everyone else will mercilessly click on to the next, better video.
Excursus I: Storytelling
Building and maintaining tension is the be-all and end-all of filming. In my video "Engine failure in Marstal", I don't show my departure from Kiel in the first frame, but briefly and succinctly my annoyance about the striking engine in Marstal. Only then does the actual film begin. Hopefully the viewer is now intrigued and watches until the point where he learns more about the engine problem. Then it turns out that I have to leave under sail and probably dock in Kiel under sail at the end of the film. Oh, exciting! Perhaps a reason to stick with the film. That's what the professionals call storytelling.
The technology
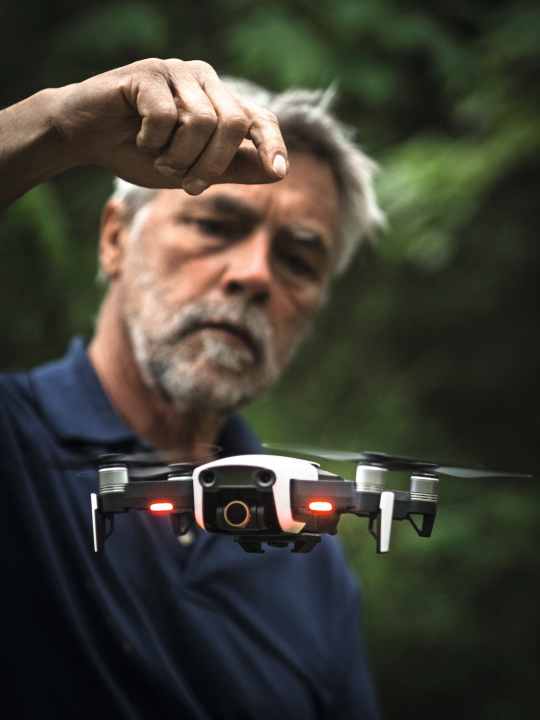
Some people shoot the absolute cracker with the iPhone, others don't even use all the high-end camera stuff for a mediocre film. Hence the advice: start with what you have at the moment. You can always upgrade later. However, there are a few things that even beginners should bear in mind:
8. good sound
A proper microphone is an investment that pays off right from the start! Nobody can stand a video that is dominated by wind noise or poor sound for long - no matter how great the action and picture quality are. When you're sailing, you almost always have to deal with wind. What is known in the film industry as a "dead cat" is indispensable: a fluffy pom-pom that is placed over a clip-on microphone, for example. It ensures that disturbing wind noises are eliminated.
9. shake-free images
Of course, blurred images in combination with fast cuts can be stylistic elements. Just imagine an action-packed chase over hill and dale. It works for a few seconds. But nobody wants to watch it for minutes or even an entire film. You have to practise steady camera work without any other handheld aids. A heavy model with an additional handle can be an advantage here.
Both iPhones and modern cameras are also equipped with image stabilisers. And you can also have a limited influence on blurred images in post-production. However, the aim should always be to keep the camera as steady as possible. The wider the angle of the lens, the easier it is. Of course, you can also place the camera on a tripod or screw it to something on board. This is useful from time to time. However, such images alone would look very static. A film lives not least from the fact that the camera is in motion.
10. playing with focus and light
Almost all cameras offer the option of leaving automatic mode and making all settings manually. This is exactly what you should do! Switch off the autofocus and focus manually on the area of the image that you want to appear sharp later. After all, the camera does not know whether the mast or the other sailor is the centre of interest and should therefore be in focus. In the "White balance" menu item, you can also specify how warm or cold the light should be. There are usually symbols for sun, shade, artificial light, etc.
Finally, the ISO setting regulates the sensitivity of the sensor. If it is set to "Auto", dark rooms are suddenly brightened and bright scenes are darkened. This may or may not be intentional. It is therefore essential to switch to manual mode here too.
11. apertures and filters
To ensure that the film looks smooth later on, at least two other important settings are required: the frame rate and the shutter speed. If you set 25 frames/second and 1/50sec, you are on the safe side for now. For those who want to delve deeper into the subject, the following is worth noting: in addition to frame rate and exposure, the aperture is also available. In order to produce cinematic films, i.e. to have sharpness only on the compass, for example, but no longer on the tiller behind it, the aperture must be open. However, this means that a lot of light can fall into the lens and therefore onto the camera's sensor. Since, as explained above, the shutter speed is fixed at 1/50 sec, the image may then be much too bright. To correct this, the camera requires sunglasses in the form of a variable ND filter. This allows the desired image brightness to be varied during shooting by rotating the camera. Sounds complicated, but once set it is not that difficult.
12. the optimal camera
Which model should you use when sailing? The camera market is constantly changing. What was used for cinema productions yesterday is now considered obsolete. In this respect, we can look forward to a huge second-hand camera market. I don't want to bring brand preferences into play. Menu navigation, feel or the fact that you may already own lenses from one manufacturer or another are more important.
In addition to image stabilisation (usually abbreviated to IS), a flip-up display that can be adjusted in all directions is important. Especially if you are filming yourself, you can't really do without this visual control. But be careful: if you are filming yourself, you should look into the lens, not at the display! The viewer will be grateful if the protagonist looks directly at them and not just past them all the time!
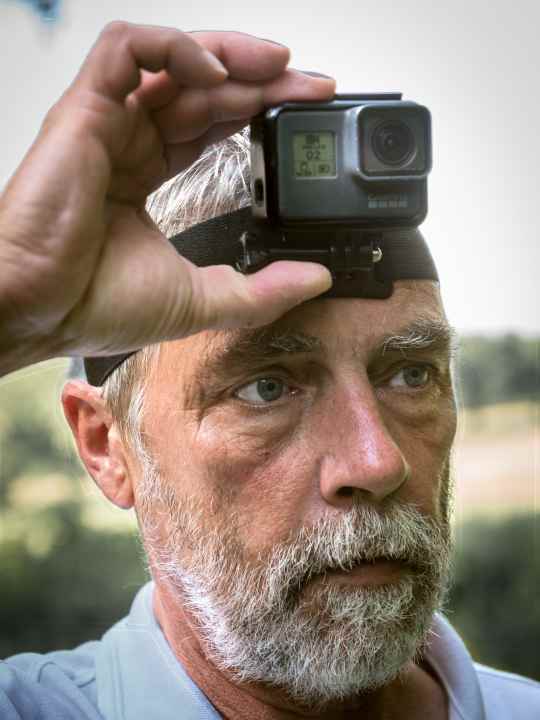
However, you don't need to attach too much importance to a good autofocus. As already mentioned, it's best to switch it off when filming anyway. However, it can make sense to purchase identical lenses if you have more than one camera available. This makes post-processing infinitely easier, as the images will look the same with the same manual settings. In this way, for example, interview scenes filmed from different distances can simply be edited together later without having to adjust the colours etc. first.
In addition to conventional cameras, action cams and drones are often used. Both are a must-have! Less than twenty years ago, helicopters had to be used for aerial shots and huge, expensive cameras with underwater housings for underwater shots. Today, this is possible at a cost of just a few hundred euros.
And last but not least, the mobile phone is of course part of the camera equipment. It has the invaluable advantage of always being with you.
Excursus II: the first scene
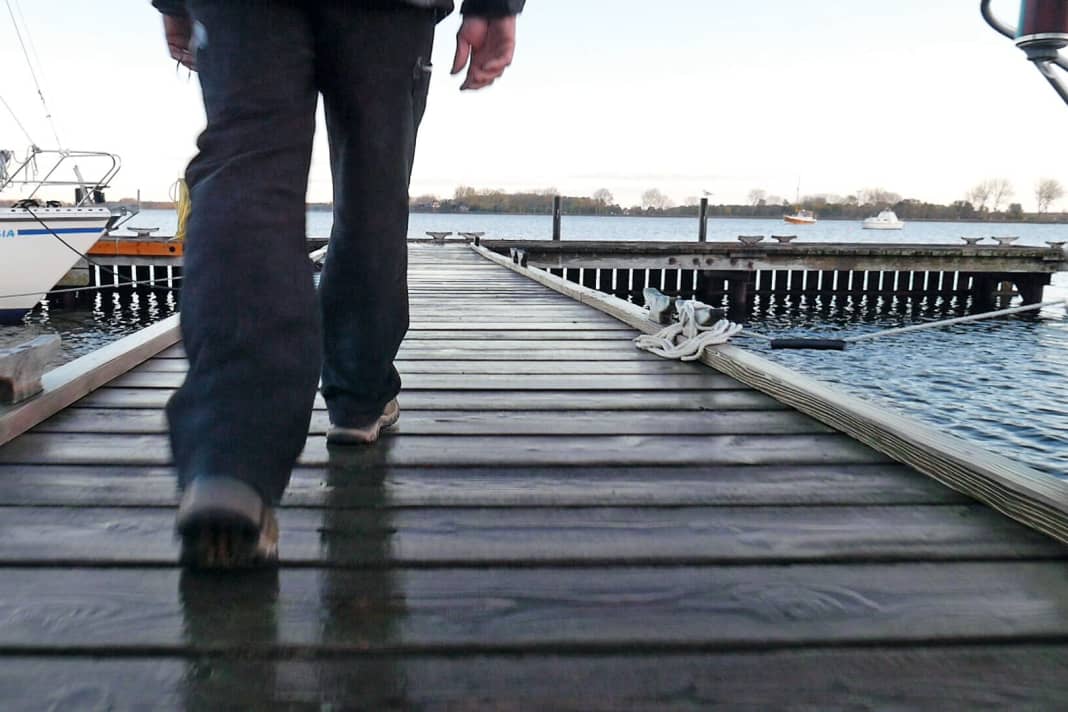
A typical film opening could, for example, tell the viewer where you are. A very wide-angle shot with a town sign in the foreground and the harbour in the background would be suitable for this. The next shot might be a tripod shot in which the viewer sees you walking towards the harbour. This is followed by the path across the jetty to the boat, and finally you film yourself sitting in the cockpit.
The route from the town sign to the ship can of course also be staged in a much more elaborate way. For example as follows:


- Setting: a wide-angle shot with focus on the town sign and subsequent focus shift to the harbour behind it, so that in the end the sign is blurred and the harbour is in focus.
- Shot: The protagonist is seen from the front as he walks towards the town sign, then from behind as he strides into the blur towards the harbour.
- Setting: Only feet can be seen marching across the footbridge.
- Shot: The skipper climbs onto the boat via the sea railing, filmed from the jetty.
- Shot: same scene, but filmed from the ship.
- Setting: Everyone sits in the cockpit.
- Setting: Close-up of the opening of a drink.
- Setting: wide angle, toast all participants!
There is virtually no limit to the number of settings. However, each shot takes time to convert and adjust the image, sound and light. It becomes even more time-consuming when the camera is also moving, i.e. when a cameraman is present.
Tip: When filming, always start filming a few seconds before the shot you actually need and add a few more seconds at the end. These extra seconds of footage make post-production much easier in many places.
The post-processing
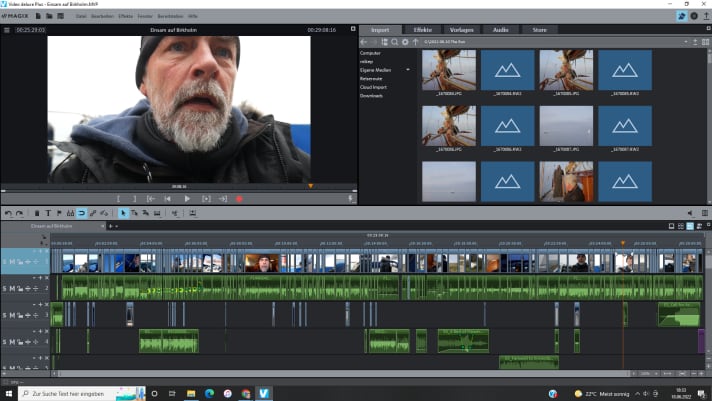
Filming alone is not enough. After all, we almost all remember the unbearably long holiday videos of days gone by, which often turned into torture for viewers with their many shaky sequences. This can now be done much better with a manageable amount of effort.
13. hardware and software
Essentially, you need a reasonably powerful computer, otherwise it's no fun. You can't have enough RAM, a fast processor and a fast graphics card. How fast the hardware really needs to be in the end depends on the resolution you are working with. Full HD is definitely enough for YouTube and the like - we're not producing for the cinema. The higher the resolution - 4K or even 8K - the higher the demands on storage media and computer speed, which is reflected one-to-one in the costs!
How good does the editing programme have to be? This much can be said: when you start editing, the programme will probably never be the limiting factor, but rather you yourself. In this respect, it's a bit like with cameras: operation, menu and user-friendliness are more important than the brand. Almost all manufacturers offer trial versions of their programmes. These are free and limited to a certain period of time. There is also completely free editing software. Simply try it out and start with the programme that you find the most intuitive to use.
14 The cut
It is best to proceed in a structured manner: The footage, i.e. the uncut film snippets on the memory cards of the cameras, is stored in different folders on the computer. For a travelogue, for example, these folders can be labelled with a title, location and date. Subfolders are then created. The recordings from the various cameras and any additional sound recordings that may have been made are stored in these folders. Don't forget to make a backup copy of all the material beforehand.
15. viewing and sorting
Once a story has been thought of, the first step is to look through the material. The aim is to find the best scenes. Criteria such as content, expressiveness, blurred or not, sharpness and more are taken into account. The corresponding clips from the main camera are first dragged chronologically onto a track in the editing programme. If there is footage of the same scenes from other perspectives, this is added to the corresponding places below. The B-roll material is arranged one track lower again. In other words, everything that is added to set the mood, explain or simply underline what is being said and shown. For example, if someone is explaining the principle of a wind steering system, there are not only pictures of the skipper with corresponding sound, but also pictures and sounds of the wind steering system.
16. no lengths at all
Once the rough cut has been made, the most important thing follows: shortening. The rule is: little but good material is much better than a lot of mediocre material. Only the best of the best stays in! Short, crisp cuts, tempo changes, slow motion - anything that brings variety is allowed. On the other hand, the different fades that most editing programmes provide are not at all acceptable. Images rotate, disappear into a blur, disintegrate into cubes. Who has ever seen something like this in a TV documentary? Nobody, because it looks unprofessional!
It's not wrong to only work with hard cuts: Scene ends, next one starts. When changing themes, you can leave a tenth of a second of black between two scenes as an exception. In melancholic, slow sections, you can also fade into the next scene. However, this should definitely remain the exception.
If there are passages that appear too static because they were filmed from a tripod, for example, you can digitally zoom into the image afterwards or even simulate a tracking shot. It is also possible to stabilise shaky clips within certain limits.
17 Acceptance
If you are sure that everything superfluous has been cut away, have someone who wasn't there look over it and ask for honest feedback. However, you should not choose relatives for this. They will look at the video with the family gaze and may wonder why this or that is not shown. You should therefore make a separate film for your loved ones, the director's cut.
18 The sound makes the music
Normally there are passages with original sound, i.e. voices and ambient noises. However, you can also use your own sound library. This is particularly useful if the original sound is unusable due to excessive wind noise, for example.
Passages that have no voiceover, i.e. no spoken commentary from the background or any other kind of speech, can and should be made more atmospheric with suitable music. This becomes professional when you cut to the beat: changes of mood or rhythm in the music can be used to set the cuts in the video sequence at exactly these points.
Make sure that the music used for videos that you want to publish is authorised for this purpose. YouTube and many other portals offer such sounds for free download. If you want to use more extensive music libraries, you can book subscription models with various providers.
In addition to the music, individual scenes can be enhanced with sound effects. Not everything you hear in a film really sounded like that in the original. Perhaps there was no thunder in the storm that could have been captured with the microphone. No problem! You can save the scene with sound effects. There are countless sound effects available for download on the Internet, some free, some for a fee.
After all, the original sound, voiceover, music and sound effects still have to undergo a volume adjustment. The music must not drown out the voices, everything must be harmonised. Nobody wants to be constantly adjusting the volume level during the film.
19. colourful and sharp
Finally, you check whether the colours, brightness and sharpness of the individual clips match. The keyword here is colour correction. If you like, you can even do colour grading. This gives the film a special colour look and thus its own mood. If you watch a thriller carefully, you will notice that the colours often do not correspond to reality. Warmer, colder, different colour temperatures - anything goes.
20 The advertising drum
A good teaser is very important. This is the image that a viewer sees first. If necessary, you can extract it from the finished film. But it is much better to produce an image exactly for its purpose.
A good title that arouses curiosity also helps. If you want to present your film to a wide audience, you should choose a title that can be found by Google or YouTube using a keyword search. The most precise description possible under the teaser image and the use of common hashtags will help. For a sailing video, these could be terms such as sailing, chartering, Danish South Seas, cruise, storm, distress at sea and similar. References on other social media platforms such as Facebook or Instagram can also do no harm in publicising your own cinematic work.
