Equipment Special: Oilskin Special Part II: Repair instructions

If you're not careful once, your oilskin will have a hole in it. Even if owners have taped all the edges on board, there is still a risk of damaging the watertight skin on the jetty at the latest. For example, when loosening the mooring lines if you catch your knee on a protruding screw. The small tear has an unpleasant effect: moisture will inevitably penetrate in the event of rain or overflowing water - and it will inevitably spread beyond the affected leak. Such a mishap is particularly annoying on a longer trip. Although the oilskin manufacturers all offer a repair service, it often takes several weeks to send them in and seal them. By the time the repaired gear comes back, you can expect the season to be well advanced.
It turns out that a kind of organ donation from your own oilskin offers the best prospects for a durable repair. - YACHT editor Michael Rinck
Do-it-yourself repairs undesirable
When asked by some well-known manufacturers of sailing clothing, they said that they were not particularly happy about repairs carried out by themselves - the amount of work involved in professional repairs would be greater. This is also the reason why manufacturers no longer offer repair kits: There were too many complaints when the repair didn't succeed due to overlaying glue, for example.
We therefore trialled the repair with on-board equipment. The patched oil trousers were then examined in the shower to check the tightness of the repair. The stability of the patch was then tested by kneeling on a teak deck.
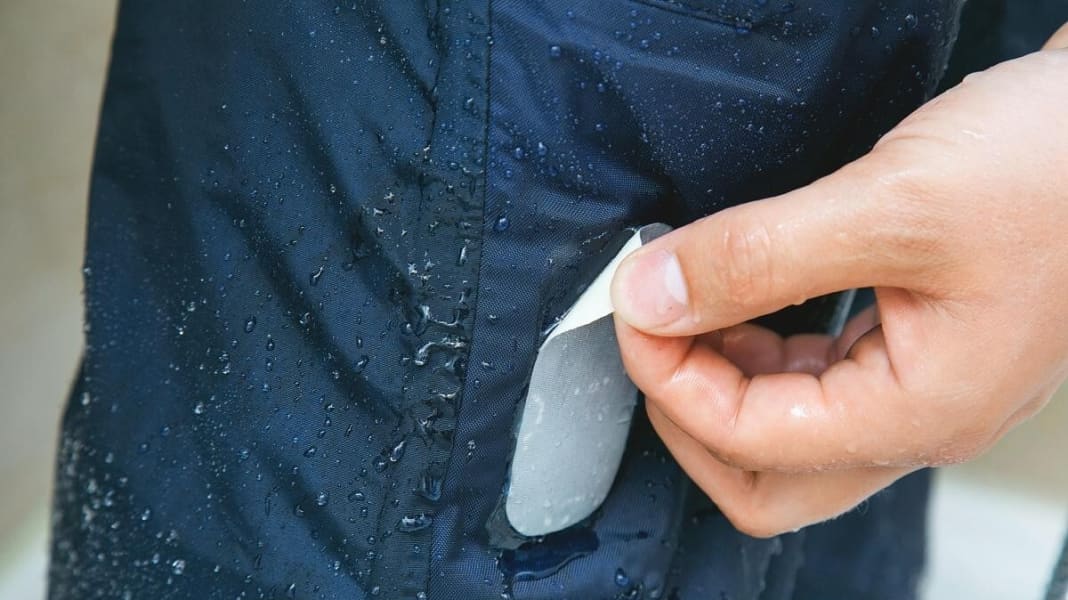
It is important to have a strong adhesive and suitable material for a patch. The first thought might be to simply apply tape to the tear in the oilskin. But this only lasts for a short time, especially in areas subject to high stress such as the knees. Large forces act here, whether due to stretching of the material during movement or even worse due to friction, for example if you slide across the deck on your knees when changing the headsail.


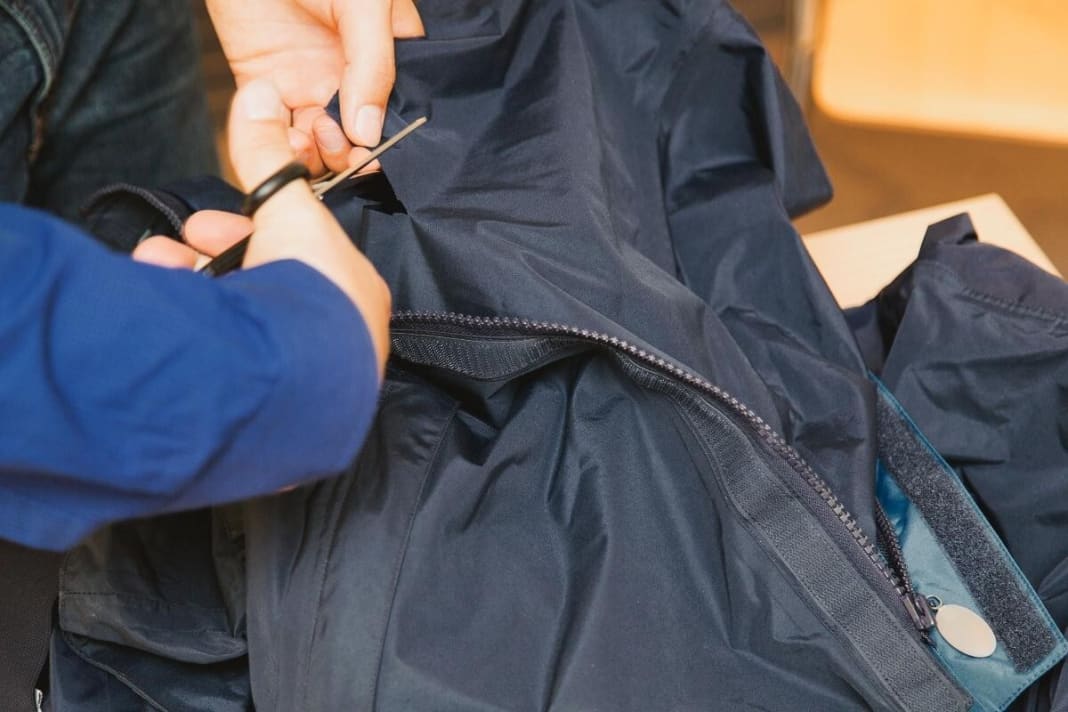
Self-adhesive canvas is more suitable than conventional adhesive tape. However, this is also only a makeshift solution as it peels off too easily. Important: The patch must be significantly larger than the hole in the oilskin; and the corners must be rounded off so that they don't get caught anywhere. Then stick on the sail tape and rub the removed film vigorously over it. This ensures that the patch is pressed on firmly and the adhesive is activated by the frictional heat. The repair looked promising at first and held tight during the test. Unfortunately, the tape came loose relatively quickly under stress. We therefore tried using silicone. Although this is not the most aesthetically pleasing method, it was still the one that held tight best in the long term.
What to do if the zip snags?
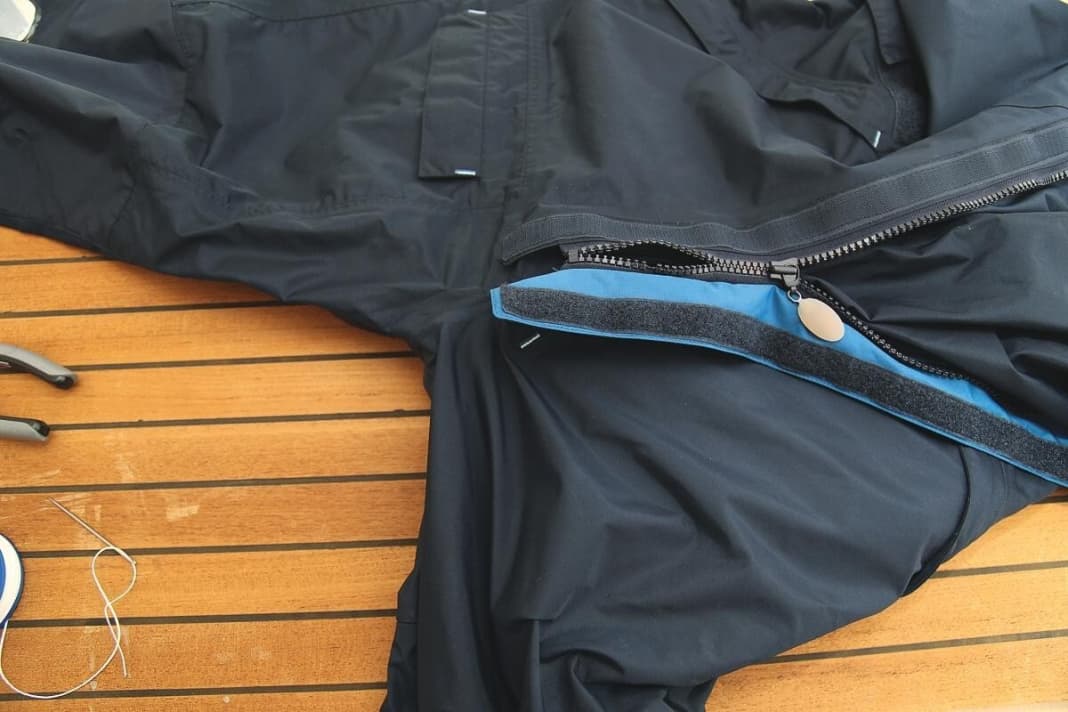
A patch cannot simply be glued onto a defective zip. It usually snags because a tooth is missing or displaced - the only long-term solution here is to have it replaced by the manufacturer. To continue using the jacket provisionally, the point where the zip is stuck must be shut down. This is usually where the zip opens unintentionally or gets caught.


The materials to solve the problem are available on most boats: Needle, rigging twine and pliers. First close the damaged part of the zip, using the pliers to help carefully. Then the affected area is sewn together with a needle and thread. If the area on the front zip is further down, the zip shortened by a few centimetres will hardly be a problem.
If the emergency repair doesn't turn out as beautiful and durable as you'd hoped, you can always send it back in the autumn. And with the right care, it will last for a few more summer cruises.
Epoxy as a miracle cure?
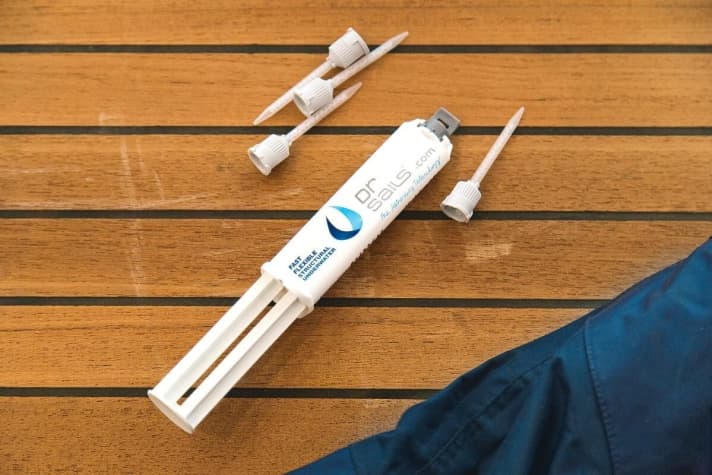
The Dr Sails epoxy adhesive worked even better than this method. According to the manufacturer, this is especially suitable for repairing textile materials such as sails and oilskins. It is very easy to use: a dosing tip is attached, in which the two components are mixed in the correct ratio. Application during bonding is child's play and is more precise than with the sealant. And the flexible epoxy is transparent, so the patched area makes a very good impression. But the biggest advantage is the fast drying time. After around 20 minutes, the synthetic resin has already reached 80 per cent of its holding power (at 22 degrees Celsius). Unfortunately, the special adhesive is not cheap: the smallest container of 10 millilitres costs around 20 euros.

If you have some canvas in your toolbox for repair purposes, the obvious idea is to make patches from it rather than cutting them out of your own oilskins. Unfortunately, our attempts with Dacron fabric were not crowned with success, as the patches quickly peeled off again. This is probably due less to the high-grade adhesive than to the unsuitable material.

