Sail repair: First aid for expensive cloths - how to save laminate and membrane sails
Michael Rinck
· 22.10.2024
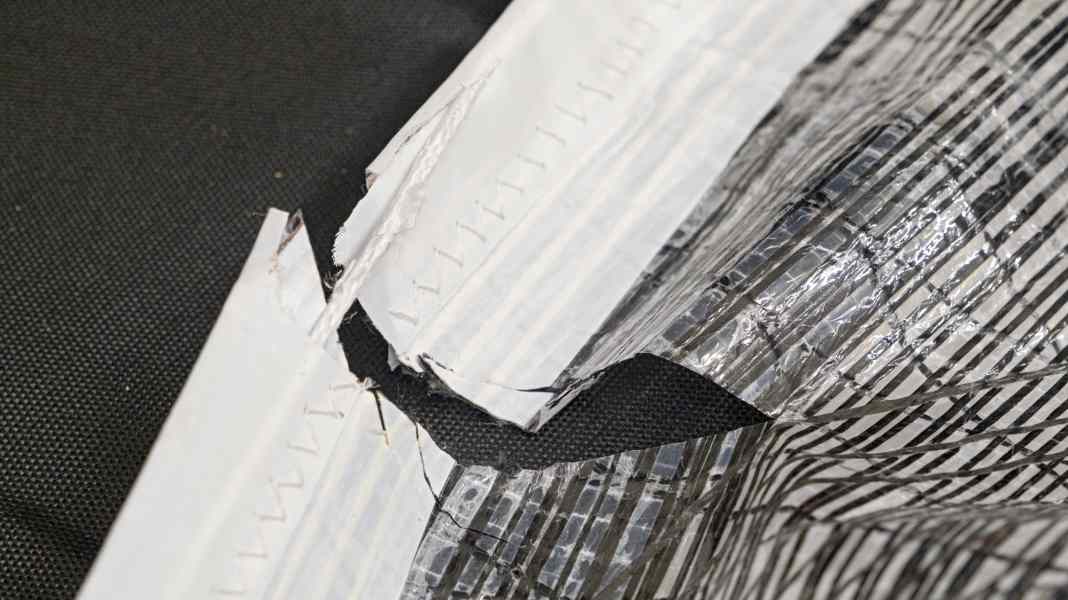
The sails are the main drive of the yacht, and many cruising sailors are now also spending more money on higher-quality cloth. If laminates or membranes are used instead of polyester fabric, a mainsail for a 34-foot boat can quickly cost well over 10,000 euros. Damage to the expensive cloths is then particularly annoying; quick repairs are urgently needed to prevent further tearing.
On longer trips, however, there may not be a sailmaker available on site, so you will have to repair it yourself to get back safely to your home harbour. Unlike with Dacron fabric, sewing is often not an option. Particularly with film-film laminates, also known as foil sails, the foil or taffeta coating cannot absorb the forces and the thread may tear the foil to the nearest fibre.
Preventing damage instead of repairing it
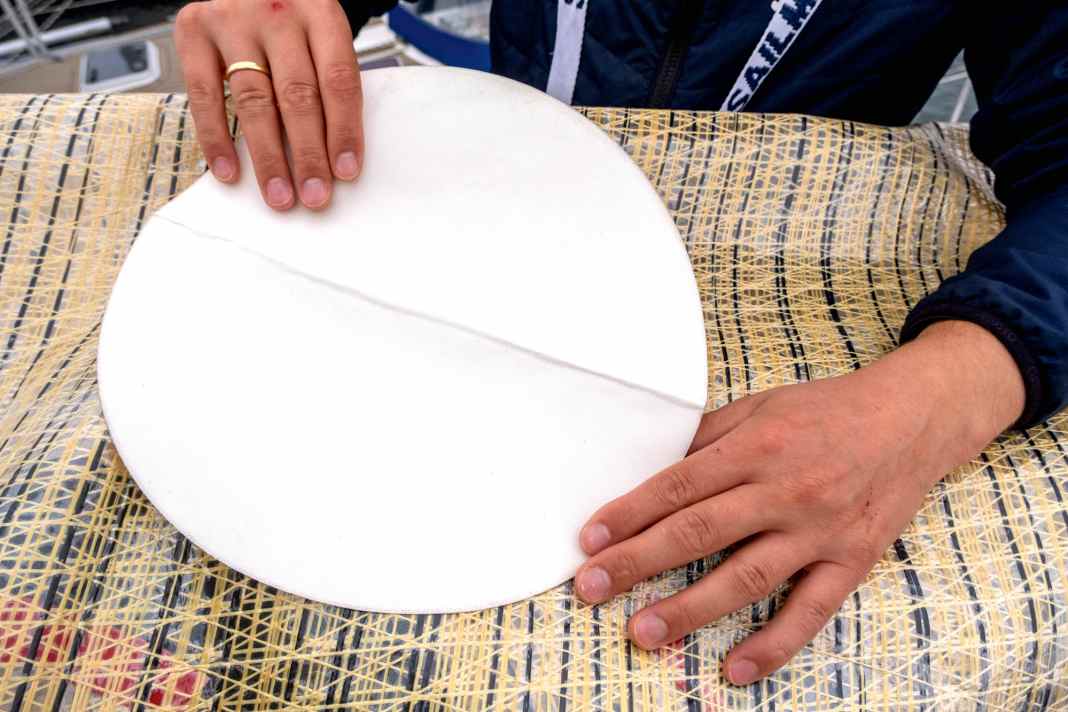


This is why gluing is the method of choice. Adhesive patches should be applied as a preventative measure to particularly stressed areas, such as the areas of the sail that may come into contact with the spreader jib. This applies to both the mainsail and the leech of an overlapping genoa. Large reinforced areas prevent damage here. It is best to set the sails in the harbour when there is little wind and place markings in the mast from the bosun's chair. In addition to reinforcements in the sail, sharp-edged corners on the pulpit and railing can also be taped as a preventive measure. The cotter pins of the railings are particularly dangerous here. The recommended material here is also tape made from polyester fabric, also known as number cloth. It doesn't matter whether it's from a roll or a larger piece, just cut a suitable strip and apply it. The fabric is more UV-stable than insulating tape and sticks better.
The main thing is that the crack doesn't get any bigger
If the accident has happened despite thorough precautions and the sail is torn, anything goes when it comes to repairs: The main thing is that the tear doesn't get any bigger. Bertil Balser from North Sails says that he has also received sails for repair that have been patched up with duck tape. This is basically okay if there is no suitable repair kit on board. However, the tape leaves behind adhesive residue that is difficult to remove. A little precaution is therefore helpful here too.
If the right repair material is on board, damage can be repaired more easily in an emergency. Self-adhesive number cloth is the most versatile; stronger fabric patches made of Kevlar can be more stable in the event of damage to areas subject to heavy loads, such as near the leech or corners of the sail.
It is helpful to ask the sailmaker what the best repair material is for your sail and to pick up the appropriate patches directly. For example, there are also suitable repair patches for the 3DI membrane from North Sails. These offer more stability and are also available in the right colour. The eye also repairs.
In addition to the right patching material, thorough preparation of the adhesive surface is important, which is not easy on board. If the mainsail is affected, it cannot always be removed and there is no space to spread it out below deck. Therefore: desalinate, degrease and dry as well as possible. A clean cloth in a ziplock bag can be very helpful for this and should be included in the sail repair kit.
Sail repair of a North Sails membrane by a professional
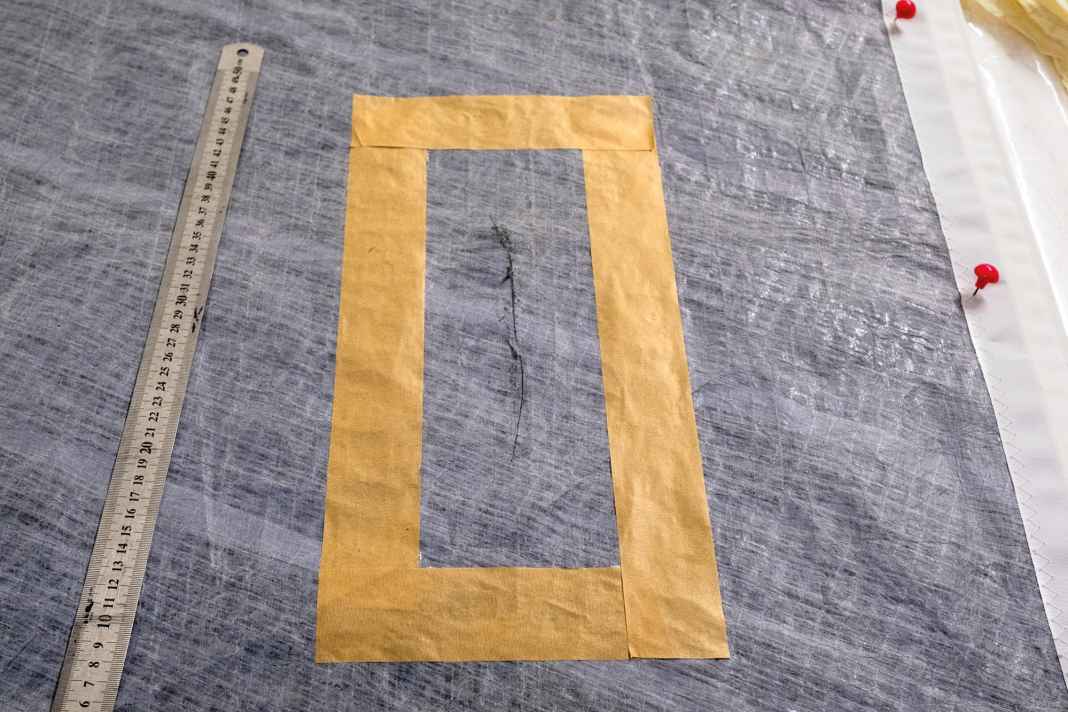


White spirit is a suitable solvent for degreasing the adhesive surface. Spray adhesive can also strengthen the adhesion, even if the patch is already sticking by itself. But even with high-quality sail materials, stitching with a classic needle and thread can be useful. For example, in the event of damage to the leech. The edges of high-tech materials are also edged with polyester fabric (Dacron). This strip provides sufficient support for the thread. It is therefore possible to sew a piece of webbing into a torn leech. In this particular case, this may even work better than a self-adhesive patch. An edging seam can also help with large patches. Tammo Baldszun from North Sails goes through the various repair options with us as an example. The seam doesn't make the patch stronger, it just prevents the adhesive from coming loose at the edges, for example due to friction when setting and retrieving the sail.
Sail repair with on-board equipment
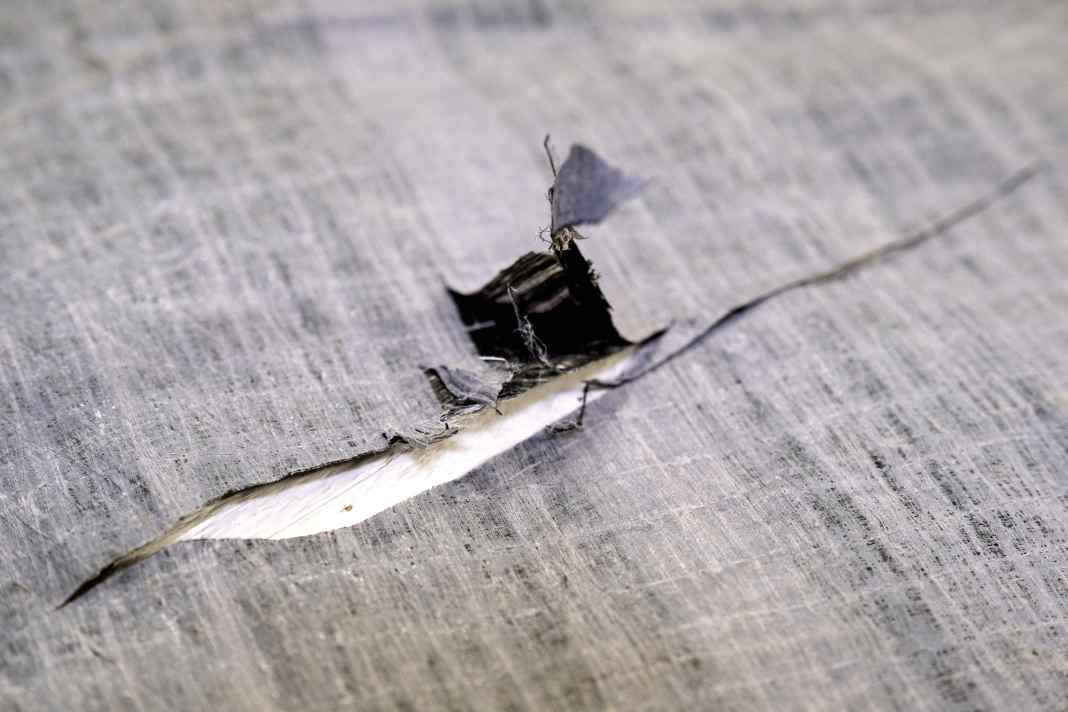


The difference between emergency and professional repairs is essentially the space required to properly spread and prepare the sail. A two-component PU adhesive is also used. This remains flexible even when cured, epoxy is too brittle and would break quickly. At the sailmaker's, the patch can also be weighted down and left to dry, which is hardly possible on board. Nevertheless, most damage can be repaired by yourself until you get back to your trusted sailmaker.
Patching and sewing laminate sails
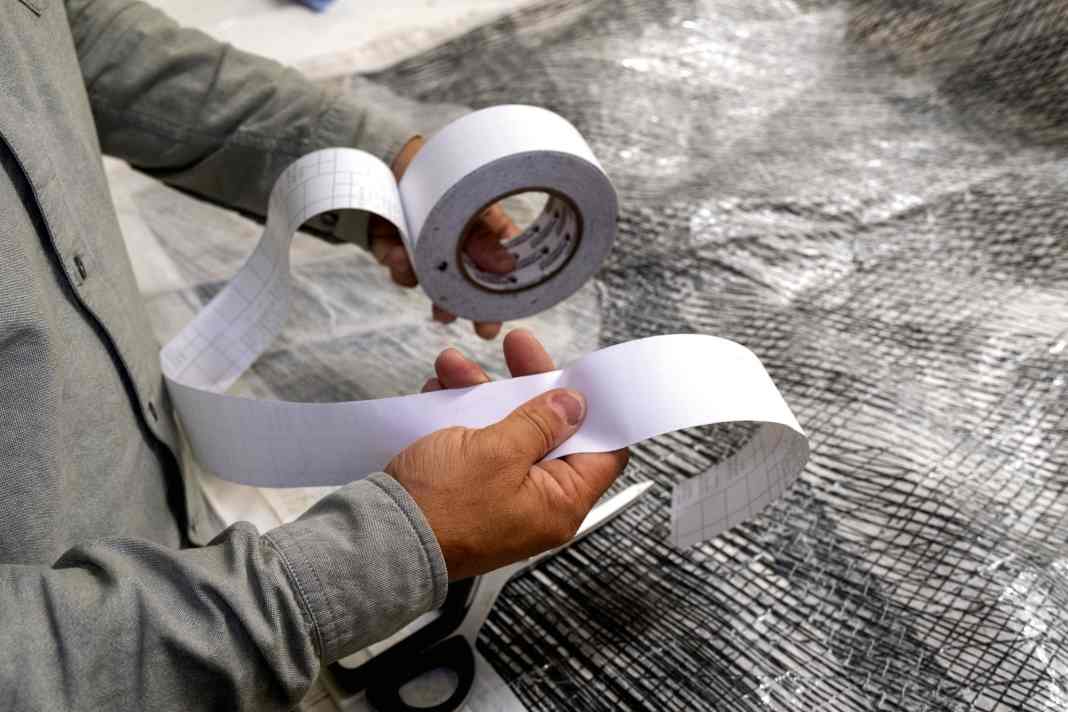


Having is better than needing: the sail repair kit
What should be in the sail repair kit?
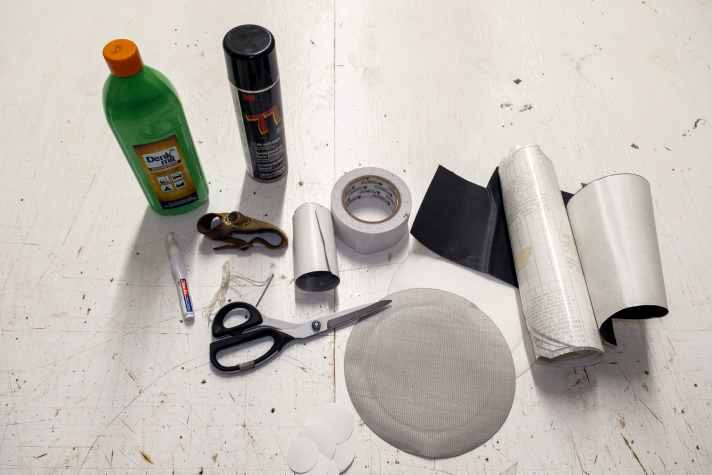
Self-adhesive number cloth from the roll and in larger lengths is the most versatile. However, patching material suitable for the sail material is also available from sailmakers. In addition, a cloth, spirit for degreasing, sharp scissors, needle and thread and a pencil for marking. A sailmaker's glove also helps. Don't forget patches to prevent chafing - prevention is better than repair.
Spinnaker tape in large sheets
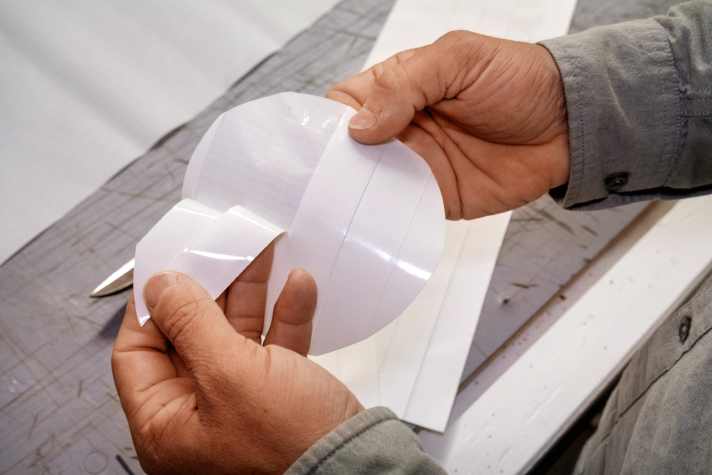
A special case is the repair of lightweight room windscreens. There is also material from the roll, but this is usually not wide enough. Tammo Baldszun from North Sails has a good tip: Have your sailmaker stick several strips of double-sided adhesive tape on a larger piece of spinnaker cloth, just in case. This can be used to cut a patch of any shape and even larger tears can be easily repaired

