

Bonding and sealing 1: Ready-mix epoxy levelling compound at home

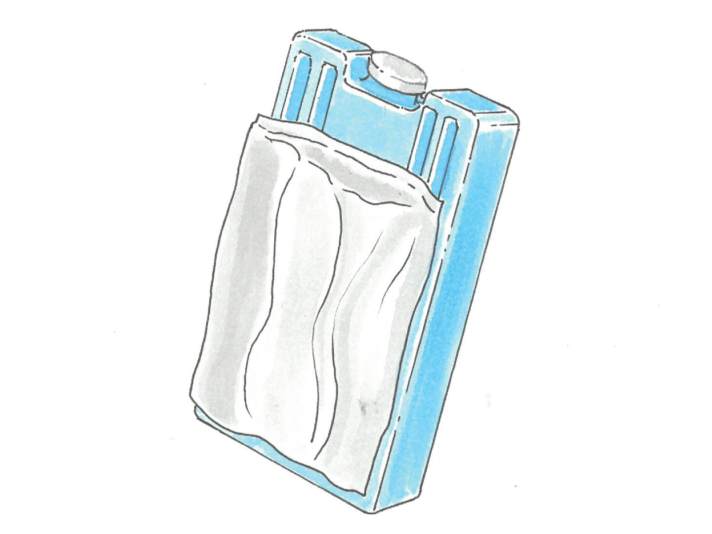
Instead of mixing my epoxy filler in the cold winter warehouse, I prepare it at home. I mix the epoxy resin and hardener and add microballoons to achieve the desired consistency. This method is much cheaper than buying ready-made levelling compound. I fill the finished filler - or even just the epoxy mixture for gluing - into a freezer bag, which I then carefully seal with adhesive tape. To ensure that the mixture does not harden prematurely, I pack the bag together with a cold pack and take it with me into winter storage.
Cooling delays the reaction between the resin and hardener so that the epoxy only starts to react when it has warmed up to room temperature again during use. On site, the bag can then simply be used like a disposable syringe: By cutting off a small corner of the bag, the levelling compound or epoxy can be applied precisely and cleanly. This method is not only practical, but also saves time and money.
Tobias Beckmann, 22301 Hamburg
Bonding and sealing 2: Bag the sealant

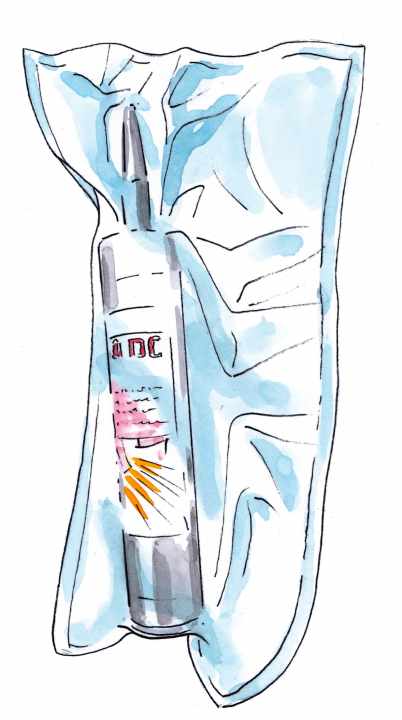
There is often a lot of sealant left in the cartridge after grouting, which dries out. Tips such as screwing screws into the spout, putting disposable gloves over fingers or tapping usually don't help. We have now found a method that works very reliably. We wrap some aluminium foil around the spout and vacuum seal the entire cartridge. This prevents moisture from getting into the cylinder (which causes the mixture to react) and the contents stay fresh for a long time. We have the vacuum sealer on board anyway to preserve food.
Dietrich Bucsenez, by e-mail
Bonding and sealing 3: Long line for the spray cartridge

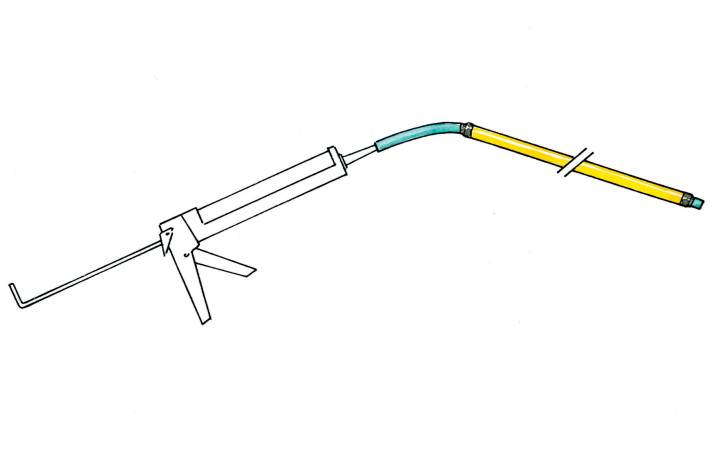
Sometimes you have to apply sealant in places that are difficult to reach. Or the space in the back box, for example, is simply too small to be able to work properly with the bulky cartridge. That's why we came up with an extension: a hose that is attached to the spout and secured with some tape. Push a tube over it for better handling - and you're done. The whole thing should not be longer than one metre, otherwise the friction would make squeezing out the sealant too strenuous.
Uwe Dohmen, 51469 Bergisch Gladbach
Bonding and sealing 4: Measuring and mixing

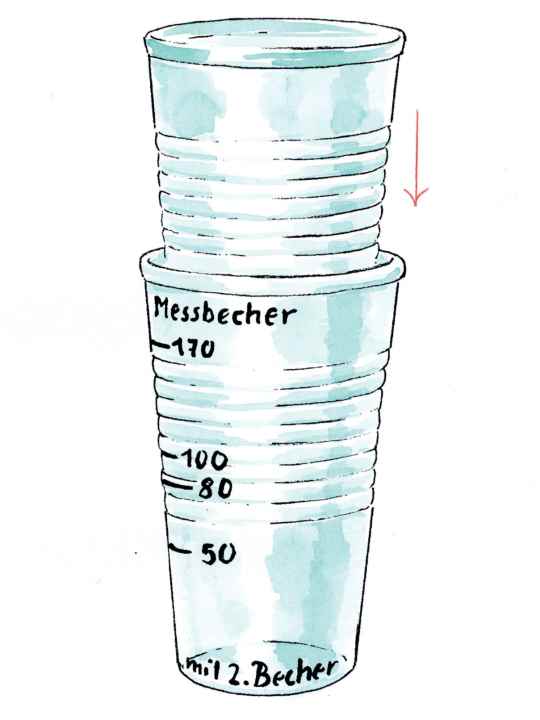
For repairs on small cruisers, we like to use epoxy resin instead of polyester, as it is easier to mix and can also be used at lower temperatures. For precise dosing, we place one transparent plastic cup inside another, fill the inner cup with water and mark the divisions on the outer cup. This allows the resin and hardener in the inner cup to be precisely measured. Before mixing, the cups are separated and a new disposable cup is simply used for the next batch.
Bodo Trombach, 44805 Bochum
Do you have any advice for other sailors?
We will honour the publication of your lifehack with 50 euros. Please add photos or sketches. We also need your address so that we can send you a crossed cheque.
Submissions to: Editorial office YACHT, Gänsemarkt 24, 20354 Hamburg or: mail@yacht.de
