Rudder maintenance: Check the rudder system and maintain the rudder bearings
YACHT-Redaktion
· 22.10.2025
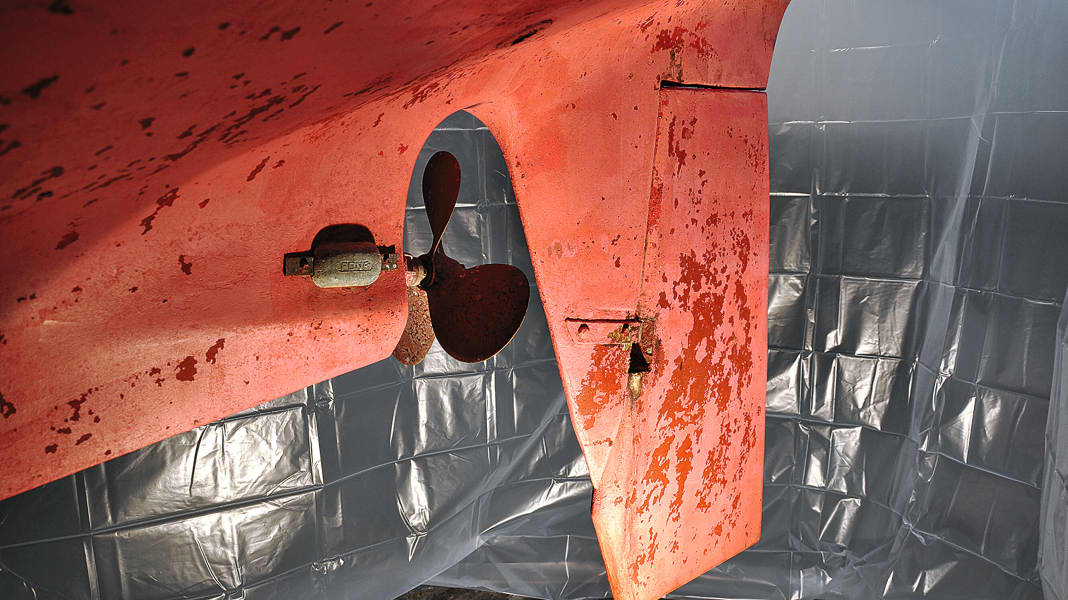
The rudder should be serviced once a season. It doesn't matter when you do this - whether in autumn or spring - and it usually only takes one day.
However, it is sometimes not so easy to pull a rudder, you usually can't do it alone. In addition, there must be sufficient space below if the rudder has to be pulled completely, for example to carry out major repairs. If this is to be done in a shipyard, the shipyard has to plan in its time management that the boat will be hanging in the crane, often for a few hours. Even in spring, when the rudder has to be reinstalled. But time is particularly tight then. So: plan in good time with the boatyard!
If there is not enough space to the hall floor, partial removal is sufficient to clean everything. First scrape off the pocks and clean the shaft with a fine abrasive wool or abrasive pads. The oxide layer can remain on the shaft as it provides corrosion protection. In the case of needle bearings, clean the bearing needles and check that all needles and the small plastic discs are intact. Small shells tend to get stuck in the bearings and are ground up when the rudder is moved. The fine shell limestone can then damage the bearings, and this also applies to plain bearings. First remove the limescale with a hoover, then clean the needles with a cleaning cloth and some warm water. After cleaning, do not lubricate the bearings with grease, this is unnecessary and harmful to the environment, the bearings are lubricated by the water alone.
Machining the top edge of the rudder
Check the top edge of the rudder blade in particular and remove any pockmarks; remove the small scars left by the pockmarks with sanding fleece or sandpaper. If necessary, reseal the top edge of the rudder and the transition to the rudder shaft with epoxy primer and apply antifouling to the top edge now, otherwise it is often very difficult to reach it after reinstallation.
Water in the rudder blade
If a damp spot or even a puddle has formed under the rudder blade during winter storage, this may be due to frost damage to the rudder. The aluminium shaft works strongly with temperature fluctuations, it contracts and expands. This can lead to cracks forming at the top of the connection to the blade, allowing water to penetrate. If this water freezes in winter, the ice can crack the rudder, which can lead to total damage. In this case, you should definitely consult a specialist. To minimise such damage, some shipyards mill a notch between the rudder stock and the blade and fill it with sealing compound. This should also be checked for brittleness in older blades and then replaced.
Reinstallation with release agent
When reinstalling, unscrew all screws, including the small grub screws, clean them and apply Tikal TefGel, which is a good Teflon lubricant and release agent. This prevents corrosion and ensures that everything can be dismantled again later. It is also ideal for shroud tensioners and many other things that need to be lubricated.
Check bearing play
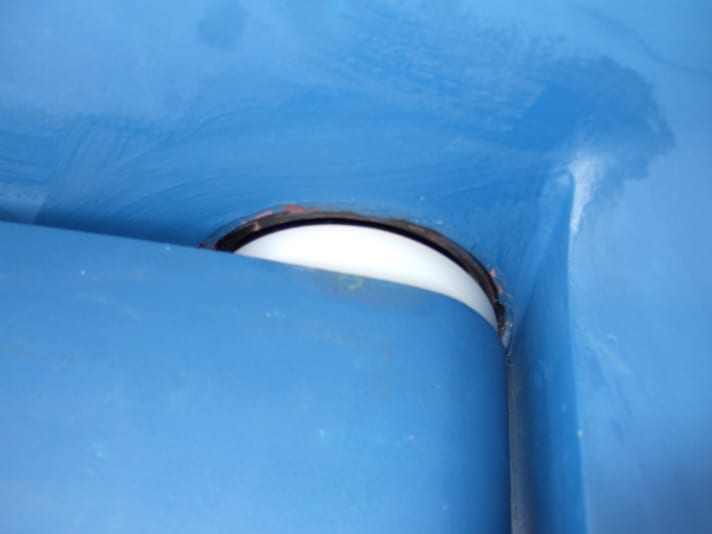
Plain bearings have the disadvantage that they are either too tight or too loose. If they are so tight that the rudder has no play, they turn too hard. It would be desirable to have no noticeable play. Some blades have a little play in winter storage if you wiggle the blade at the bottom, but this is only a few hundredths of a millimetre in the bearing, which feels like many tenths of a millimetre at the top of the tiller. Everyone has to choose the best compromise for themselves.
If needle bearings have play after ten or 15 years, this indicates damaged needles or a worn rudder shaft. This is usually noticeable when the engine is running, when the rudder vibrates more than it used to. In order to be able to supply new needle bearings or rudder shaft bushes, specialists such as Kohlhoff need a photo of the needle bearing and the diameter of the rudder shaft; then the appropriate maintenance set can be selected, which all major manufacturers such as Jefa offer. However, you can also fit the new needles yourself.
Wheel steering: Check control system parts
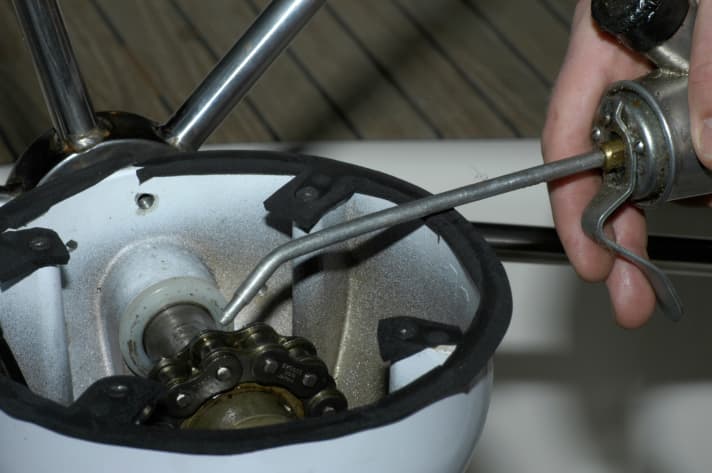
Only the disc and bevel gear in the head of the column must be sufficiently greased. The grease can liquefy over time and run downwards if the column has often been heated by the sun. The gear wheels are located under the steering compass. The owner must remove this in order to access the gear parts. Winch grease can be used here. If the push rod joints have too much play, the balls can usually be readjusted by tightening the nut behind them slightly. The ball joints are usually made of plastic and do not need to be lubricated. If you wish, you can also apply a little winch grease.
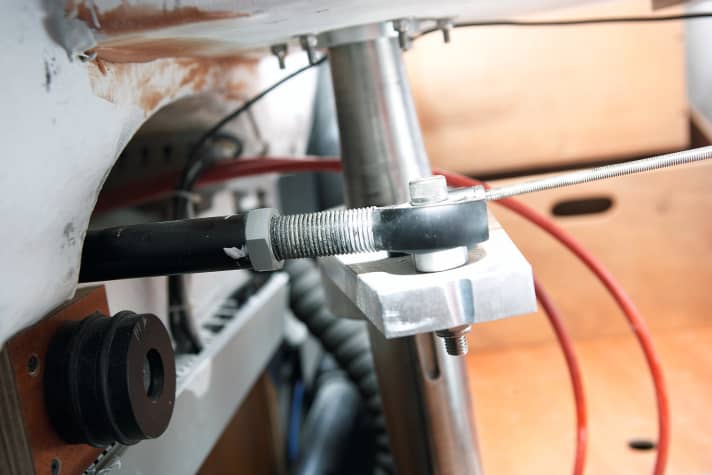
Wire ropes and chains in rope systems should be checked for damage and actually replaced every ten years. If this is not done, it can lead to control system failures. Wire in particular, which constantly runs over pulleys, often with strong deflections, suffers from this. Although it does not corrode from the inside out like 1x19 shroud wire, the constant back-and-forth movements cause micro-fractures to form, which can eventually lead to tearing. Of course, this always happens in strong winds and high waves, i.e. at the most unfavourable moment.
For regular maintenance and checks, you often have to crawl under the cockpit like a contortionist because access is very obstructed. Abrasion or chips on the control discs indicate wear and should be a warning signal. A good tip for recognising damage is to check the wires with gloves to see if any wires are sticking out.
For cost reasons, the deflection pulleys today usually have plain bearings instead of ball bearings. You can apply a little Teflon spray to lubricate them.
Checking the spokes on the wheel

The spokes of the steering wheel can be checked to ensure that they are firmly seated; with some manufacturers these can become loose due to changing loads. If the wheel is leather-covered, the leather should be intact, otherwise it is more likely to cause problems. The best way to re-leather it is to take it to a local sailmaker, which costs around 350 to 400 euros.
The wheel parking brake is a sensitive issue because it is often misused. Many people use it to lock the rudder even when sailing because they have to go below deck quickly or trim the sails. Or they forget to release the brake before casting off and then choke on the wheel at the first rudder deflection. However, the brakes are not designed for this, the braking effect is only created by two simple plastic discs, which then break. But the repair is very time-consuming, the discs are built into the hub, so you have to take the whole column apart. Such repairs annoy experts like Kohlhoff because they are unnecessary when carried out correctly.
"I find it incomprehensible that many people only ever do something to the steering gear when something is broken. But that shouldn't be the case, because the rudder is vital for the safety of the crew and we all have to bear the consequences, such as the insurance costs," says Kohlhoff.
Rudder checklist
- Clean the rudder bearing
- Rudder blade (water ingress)
- Check control cables
- Adjust and grease push rods
- Check/grease the mechanics in the column
- Check deflection pulleys
Download free of charge: Checklist for the start of the season PDF

