On modern yachts, the teak deck is often the only area with solid wood; the beautiful, natural and traditional boat building material ensures a ship-like appearance even on plastic boats. And the expensive deck not only enhances the appearance of the boat, it also has practical benefits: It provides a secure hold, especially in wet conditions. However, although tropical wood is very weather-resistant, it ages faster than plastic, and at some point owners will no longer be able to avoid a refit. Depending on the wear and tear, the work can range from simple maintenance to selective repair work to extensive restoration. In the case of used boats, the question quickly arises as to whether a repair is still possible at all.
Repair or lay a new one?
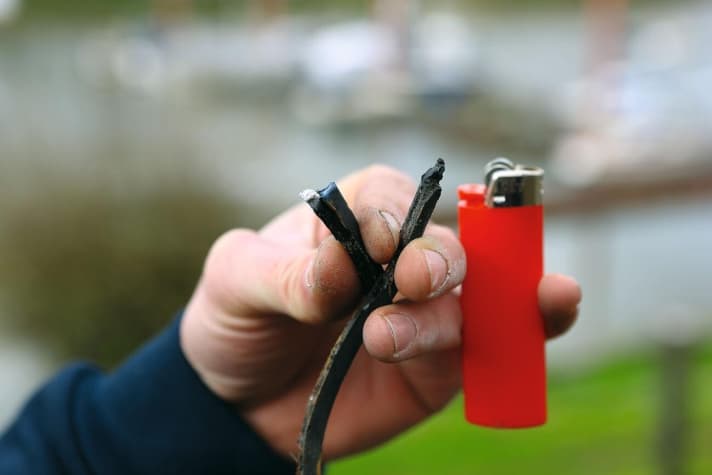
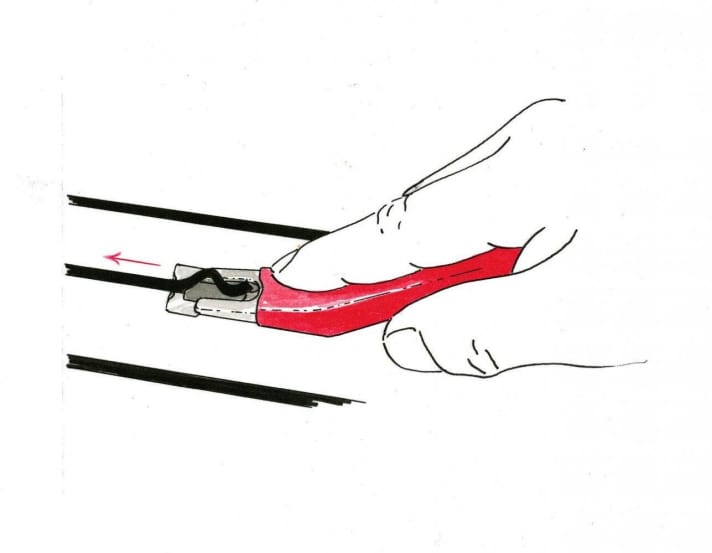
Two points are decisive here. One is the thickness of the teak: the material becomes thinner over the years due to normal wear and sanding. However, if the wooden strips are thinner than three millimetres, there is insufficient adhesion for the sealant in the joints. To find this out, the following tip may help:
Secondly, moisture penetration plays an important role: if the joints are no longer tight and water has seeped under the teak strips, new grouting is not enough. When grouting, it is important to take a close look at what is happening between the strips in order to draw conclusions about the substrate. For example, if the teak is screwed onto a plywood substructure, as was often the case in the past, the plywood may be rotten in the worst case. In this case, new joints will no longer help.
For this assessment, it is important to know how the deck was laid. Two main installation methods can be distinguished: Most shipyards opt for full-surface bonding of the bar deck. If a joint then leaks, this is not so dramatic. With older teak decks, it is quite common for the teak rods to be screwed on dry and the joints then grouted. With this type of construction, it is much more important to react immediately to leaks or, ideally, to prevent them from occurring in the first place. Because as soon as a joint is open, penetrating water can spread under the teak deck.
Vacuum cleaning first after the grouting
Before the joints are filled with sealant, they must be cleaned of dust with a hoover and degreased with acetone. A cloth on a spatula or thin board is suitable for this, which is then pulled through the joints. The cloth should be changed frequently and enough acetone should be used for degreasing. Then apply a so-called joint tape to all joints. A small brush can be useful for this. The joint tape prevents the joint sealant from sticking to the base of the joint, also known as three-sided adhesion. This is because if the joint sealant only sticks to the sides of the teak boards, it can move better when the wood contracts or expands due to temperature fluctuations, for example. This significantly increases the service life of the joint sealant.
However, if the joints are only porous and torn in some places, a repair is possible. This was the case with the plywood deck of a Naja, which we refitted together with boat builders Kai Arendholz and Sven Walter from M. u. H. von der Linden in Wesel.
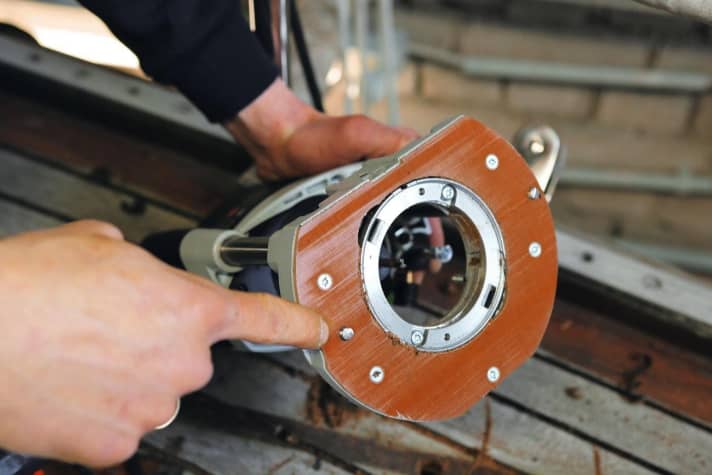
This work required patience and dexterity, as the old grout must first be completely removed. To do this, the joint is cut on both sides with a cutter knife. The sealant is then removed with a so-called gouging hook. Neither the knife nor the hook should be used to chop into the teak or fray the joint. Residues on the flanks of the teak strips must be scraped off with a sharp chisel in a subsequent step. Sanding attachments for oscillating sanders can also be used. If the joint is deepened with a milling machine, the flanks can also be carefully cleaned with the milling head.
Before re-grouting, it is still necessary to clarify which sealing material to use. To do this, it is important to know what was previously in the joint. If silicone was previously used, then a silicone-based product should be used again. This is because the silicones are absorbed into the wood to such an extent that they make it difficult for other products to adhere.
New grouting: Once it is clear which sealing material needs to be used and the old material has been removed cleanly, the joints can finally be filled. As even a nine-metre-long boat, as in our case, has many metres of joint, a good caulking gun is very helpful.
The joint sealant must be applied generously with plenty of overhang. Work evenly from the bottom of the joint to the top so that there are no air bubbles. The sealant is then smoothed out with a spatula. Hardly any pressure needs to be exerted on the spatula during this process, as the sealant should still protrude about two millimetres beyond the teak bars. The sealant then needs time to polymerise, i.e. harden.
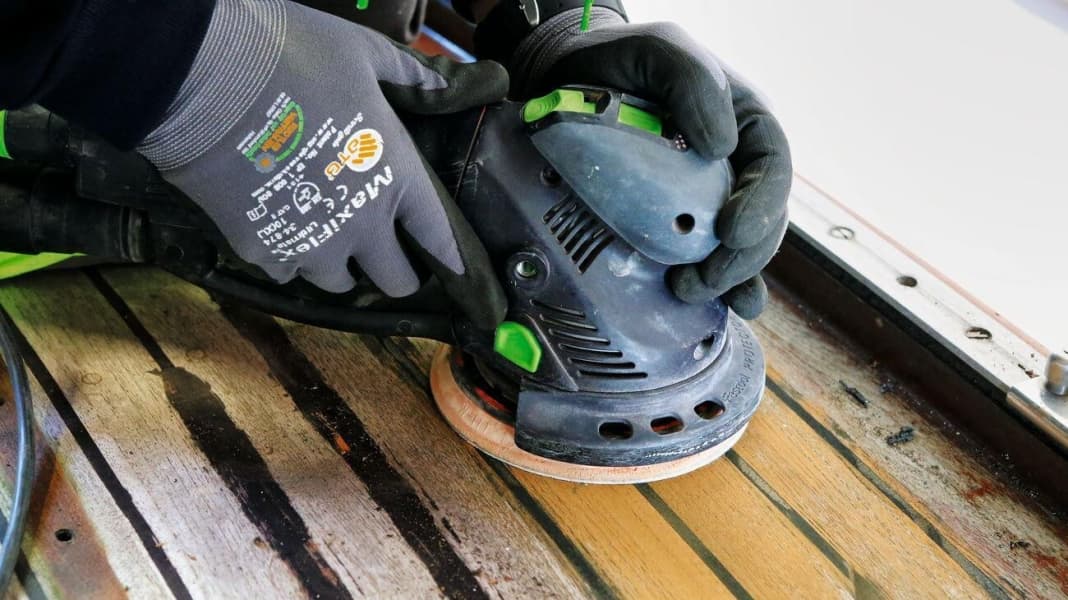
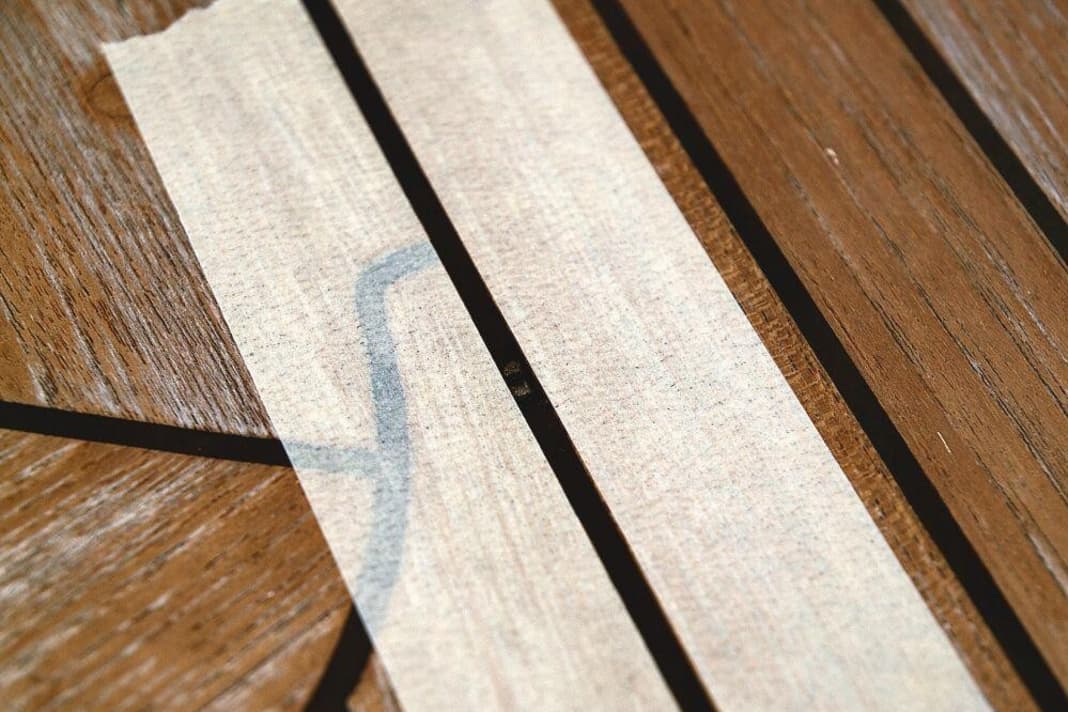
The thicker the layer, the more time this process takes. At around 2 millimetres in 24 hours, it therefore takes three and a half days for a 5 millimetre deep joint plus a 2 millimetre overhang. To find out when this is the case, a sausage of joint sealant can be placed on a strip of adhesive tape to test whether it has already hardened. If this is the case, cut off the excess sealant with a chisel. The residue on the deck is then carefully removed with the random orbital sander. Only remove as much material as necessary. This is the last and most satisfying step, as the new joints and the light brown wood colour are revealed beneath the traces of sealant. The old deck then looks like new again.


The following instructions explain the order in which you should proceed when grouting:
Costs and benefits
But getting there is a painstaking process. Professional Arendholz estimates four to five working hours per square metre for all the work steps. For the nine-metre-long boat with a deck measuring around eight square metres, that's around 40 working hours or four weekends in the hall. A lot of time, but the costs remain manageable: 27 cartridges of TDS Deck Caulk cost around 570 euros, a good caulking gun around 75 euros, the caulking hook 45 euros and the joint tape 10 euros. This adds up to around 700 euros for a beautiful and healthy teak deck. This does not include tools and sandpaper. A new teak deck laid by a professional costs from 1000 euros per square metre, i.e. from 8000 euros for a boat of this size.
The greatest danger when re-cutting the joints is accidentally cutting into the wood. For anyone who is unsure about using a blade, there is the Mozart push-off knife. The special blade is rounded on the sides so that it glides better over the wood and can also be replaced. The handle of the knife also enables a precise approach. It is available from specialist tool retailers for 50 euros
The minimum tools required are a knife, gouging hook, chisel and sanding block. However, this makes the already tedious work even longer. A sander and hoover should at least be used as a backup. Of course, you should not do without appropriate protective clothing. At the very least, a breathing mask is recommended when sanding and gloves when handling the sealant. As the work must all be carried out kneeling on deck, knee pads are also a sensible piece of equipment.
Minor repairs
It is not always necessary to re-grout the entire length of the deck; a deck can also be refitted in sections or at specific points. This preserves the teak deck for longer and is worth the effort for the appearance. Afterwards, it will be fit again for many years. We present three methods that can be used to repair partial deck damage.
Selective renewal
Not every deck requires so much effort to restore its beautiful appearance. After a few years, the joints often protrude over the wood in particularly heavily used areas. This is simply due to the fact that the wood wears faster than the plastic in the joints. However, if the grout still adheres firmly between the teak bars and is not porous, it is not necessary to replace the entire grout, as described above.
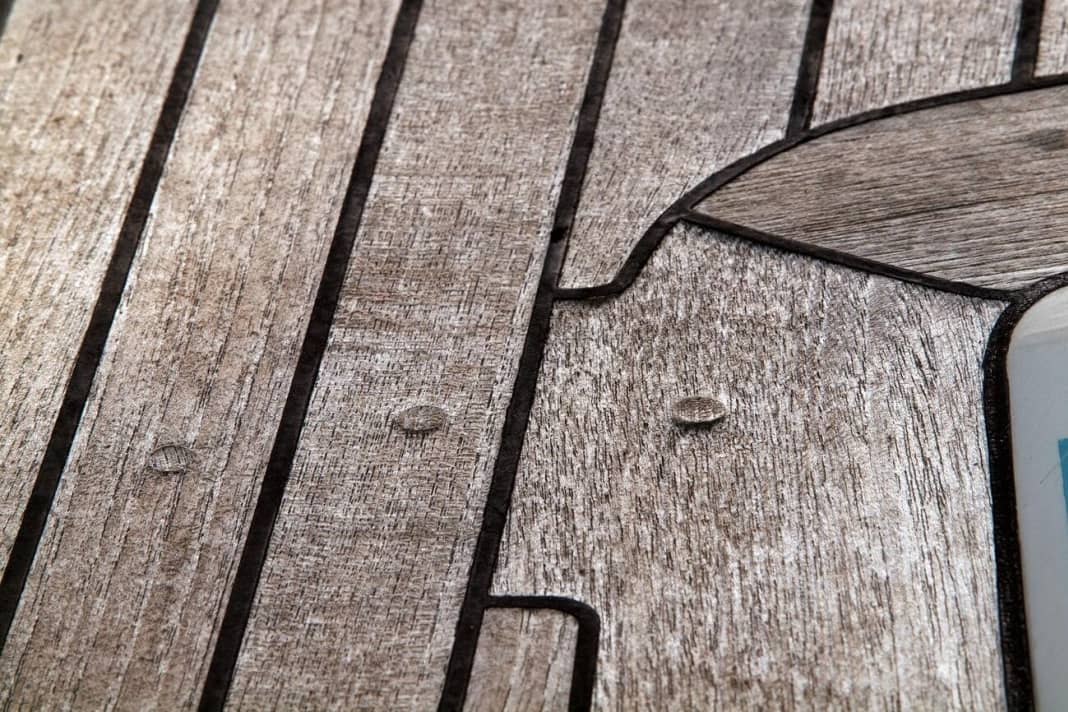
In this case, it is sufficient to cut the joints down to deck level. This should also be done because the protruding sealant prevents water from running off. This then stands on the deck, which can result in growth and rot in the wood. The protruding joints also provide a lateral contact surface, which puts a lot of strain on the sealant's flank adhesion and, in the worst case, leads to the joint tearing off and thus to leaks in the deck. After cutting, the joint can be carefully sanded.


Cosmetic procedures
When sanding the deck, other small construction sites can quickly appear. Small air pockets often appear in the joint sealant. To prevent water from penetrating, the air bubbles should be filled. To do this, they are completely opened with a knife or chisel, cleaned and degreased before being filled with fresh sealant. During this process, it is important to ensure that the new sealant is compatible with the sealant already in the joint.


Renewing the plug
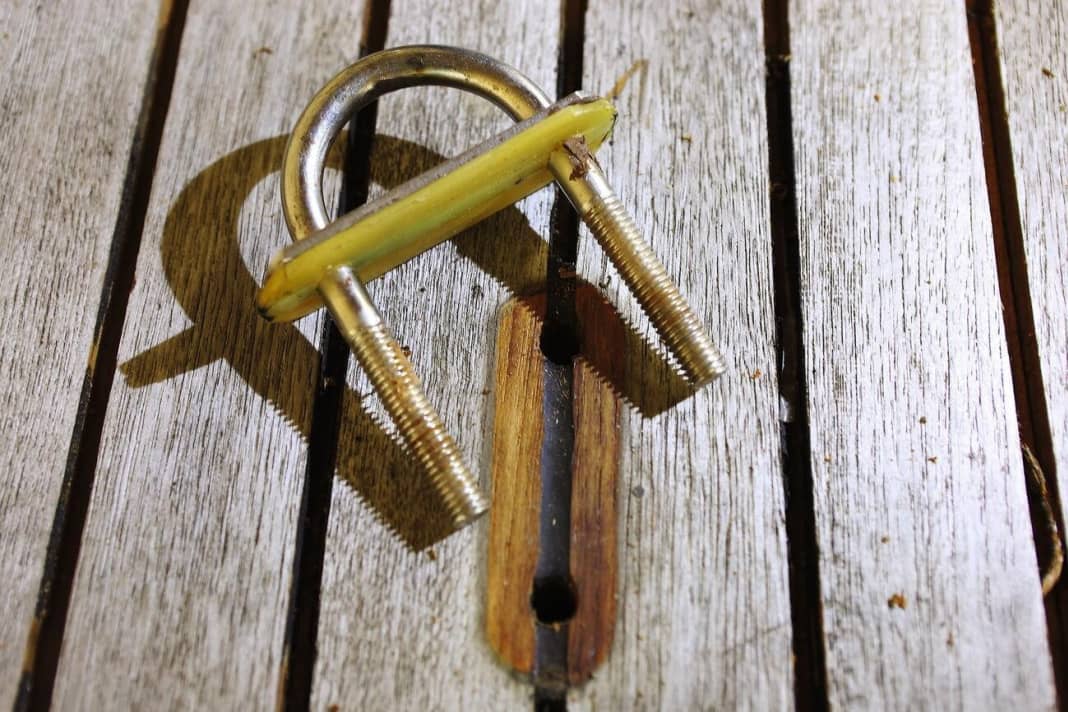
The effort involved is somewhat greater when plugs need to be replaced. If these have not been driven in particularly deeply by the shipyard, only a thin wooden disc often remains due to wear and sanding. If this is brittle, water penetrates the deck right at the screw connection. This means that the moisture can not only get under the teak deck, but along the screw even into the GRP sandwich underneath. This must be avoided at all costs. The remains of the old plug must be removed, the screw deepened and replaced and a new wooden plug inserted.
- Damaged plugs lead to leaks. The remains are removed with a chisel. The screw is removed, ...
- ... a deeper countersink is prepared and the screw is replaced. The new plugs are glued into the bars with epoxy in the direction of the grain
- Once the resin is solid, the protruding part of the plug is sawn off (in this case with a multimaster), which also works with a chisel
The reward of labour
The hours spent on maintenance work on the teak deck are well invested, because once everything is tight again, the tropical wood plays its trump card: It is weather-resistant and durable. What's more, once the work is done in winter storage, it will provide a secure hold for many seasons to come when stepping onto the foredeck.
All work steps are also available in moving pictures. The two-part YACHT TV report on the correct treatment of the teak deck patient:
Boat builders' seminar on the right adhesives and sealants
A teak deck is being overhauled: Remove grout and re-grout the deck

