Do it yourself: Avoid trouble: maintain the diesel engine during the season
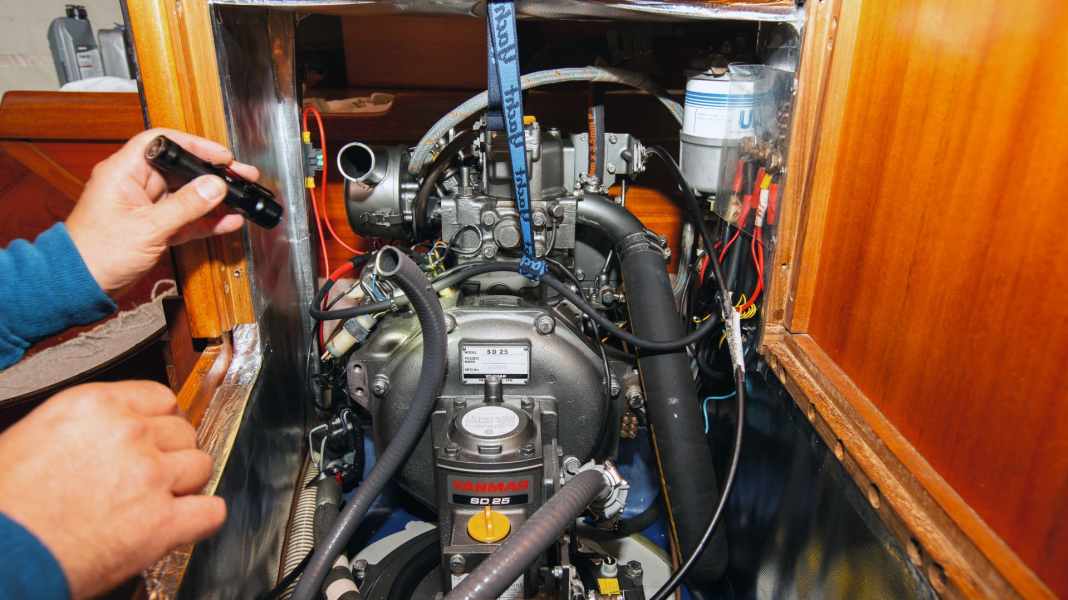
If the engine breaks down on a summer cruise, it is usually not easy to find an engine service in unfamiliar harbours. This could become even more difficult or even impossible this summer. While the coronavirus pandemic had already severely disrupted supply chains, spare parts have become even more difficult to obtain since Russia's war in Ukraine. What's more, many companies have full order books, so even if the spare part is available, they don't have time for unscheduled repairs. To make matters worse, the boom in the used boat market means that there are many more boats on the road that may be in need of repair. This makes the deadlines even tighter.
The solution sounds simple: be kind to your diesel so that it doesn't need any repairs. It is best to have it checked before the summer cruise and clear the maintenance backlog. Even if it is well maintained, it doesn't hurt to take a look at the right places to recognise problems at an early stage. Hopefully, you will then be able to fix them yourself. But what does the machine need to be happy? The short answer is: fuel, oil, cooling water and air. In more detail: clean fuel, enough and not too old oil, sufficient cooling water and air. If there is a lack of fuel because a filter is leaking, for example, the engine will go on strike. The same applies if there is not enough air. Here too, a poor fuel/air mixture can have a detrimental effect on combustion and produce an excessive amount of soot. In case of doubt, the engine will quit or not even start. This is annoying, but does not cause any major damage.



It's a different story with oil and coolant. Engine oil has two important properties: it lubricates and thus reduces wear, and it binds abrasion. No engine runs completely wear-free; the smallest particles in the wrong place would act like an abrasive paste and quickly destroy bearings. This can also happen if the oil is too old. Too little or too old oil can therefore cause serious engine damage. Many sailing boats may not even get the engine hours per season that make an annual oil change absolutely necessary. However, fresh oil cannot harm the engine, and the money for two bottles of 10 W 40 is well invested compared to the repair costs for a seized piston.
The cooling water protects the machine from overheating, so if there is not enough, there is also a risk of expensive trouble. If temperatures are too high, the oil does not lubricate as intended and moving parts become sluggish due to temperature-related expansion, which leads to increased wear. Gaskets in particular, especially the cylinder-head gasket, can be damaged.
Without sufficient oil and cooling, there is a risk of extreme wear and even engine damage. It is therefore always advisable to check whether enough cooling water is coming out of the exhaust and to be informed by a warning tone if the oil pressure is too low or too high.
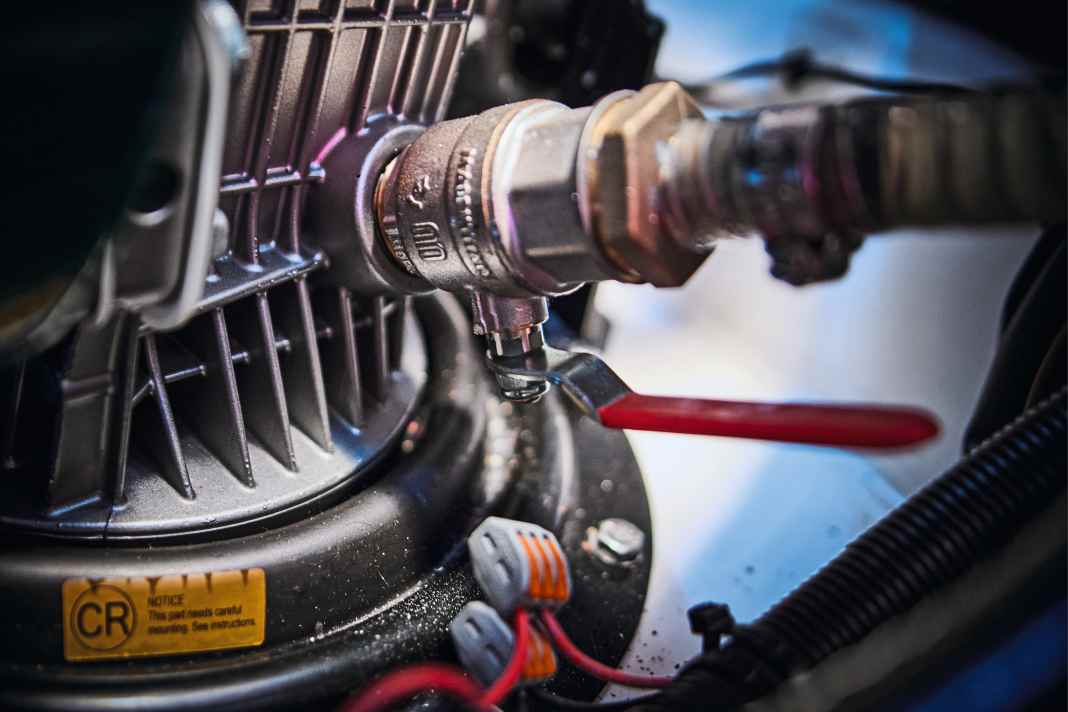


However, as a lack of cooling water and deviating oil pressure are the worst-case scenario, regular minor maintenance work can prevent this. In the case of cooling water, this means checking the filter for algae before every long engine run. With a transparent cover, all you need to do is take a look in the engine compartment. The hose connections and the pump should be checked for leaks during operation.
The hose between the seacock and the pump should also be inspected after starting the machine. This is where the water is sucked in, so there is a vacuum. Reinforcement is required to prevent the hose from compressing. This can fail after years of use. In this case, the hose is still tight, but the reduced diameter means that not enough cooling water flows into the engine. Replacement is not expensive, but can prevent serious damage.
Then, following the path of the cooling water, the impeller must be checked. If the blades are bent slightly to one side and small cracks are already visible, a replacement is needed. After installation, a new one should be stored in the toolbox as a matter of urgency. The impeller can also be damaged if it runs for a few minutes without water, for example if the cooling water filter is clogged. In this case, a replacement must also be kept in stock at sea. If there is a second cooling circuit, there must be enough coolant there, and if in doubt, it must be topped up. The thermostat and heat exchanger must then also be checked to ensure that they are working properly. There are also anodes in the external cooling circuit that prevent corrosion in the engine. They must be checked at the start of the season. As soon as half of them are worn down: replace them.
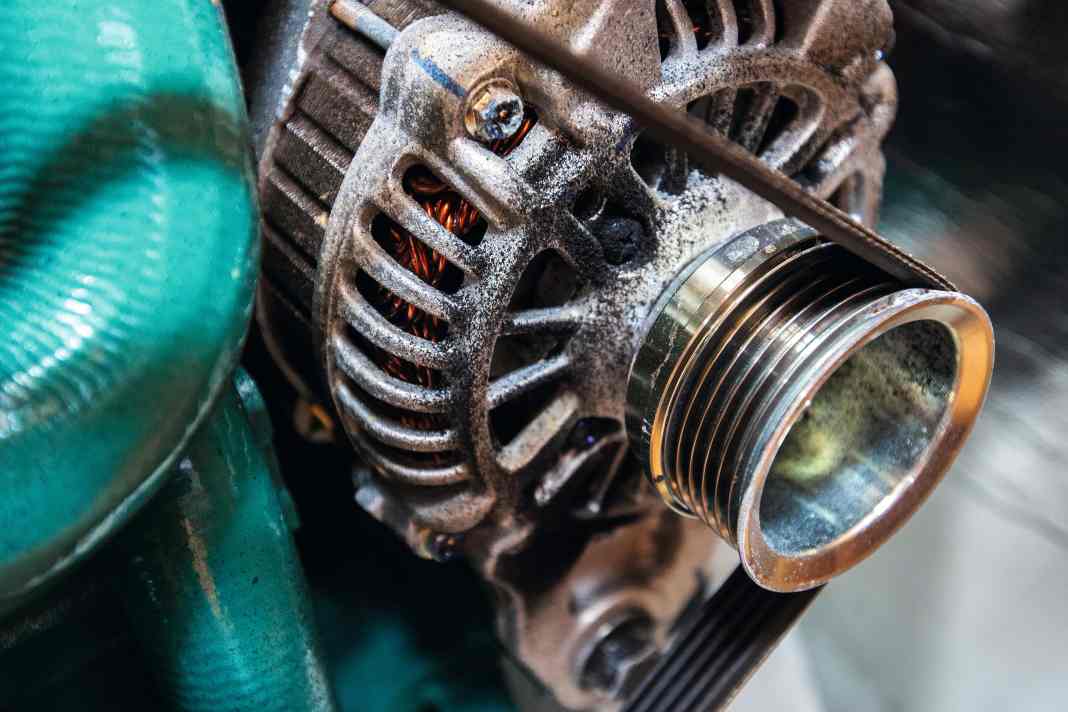


In many engines, the water pump is driven by a belt, as is the alternator. If the belt breaks, there is no cooling water and no power. It is therefore also important to ensure that the pulleys are correctly aligned, the belt has the correct tension and the material is not yet fatigued. A replacement should be on board.
Even if an interrupted fuel supply does not usually cause any major damage, an unreliably running propulsion engine is still a safety risk or can at least disrupt your summer cruise. For this reason, thorough maintenance is also recommended here and at least a check before the summer cruise.
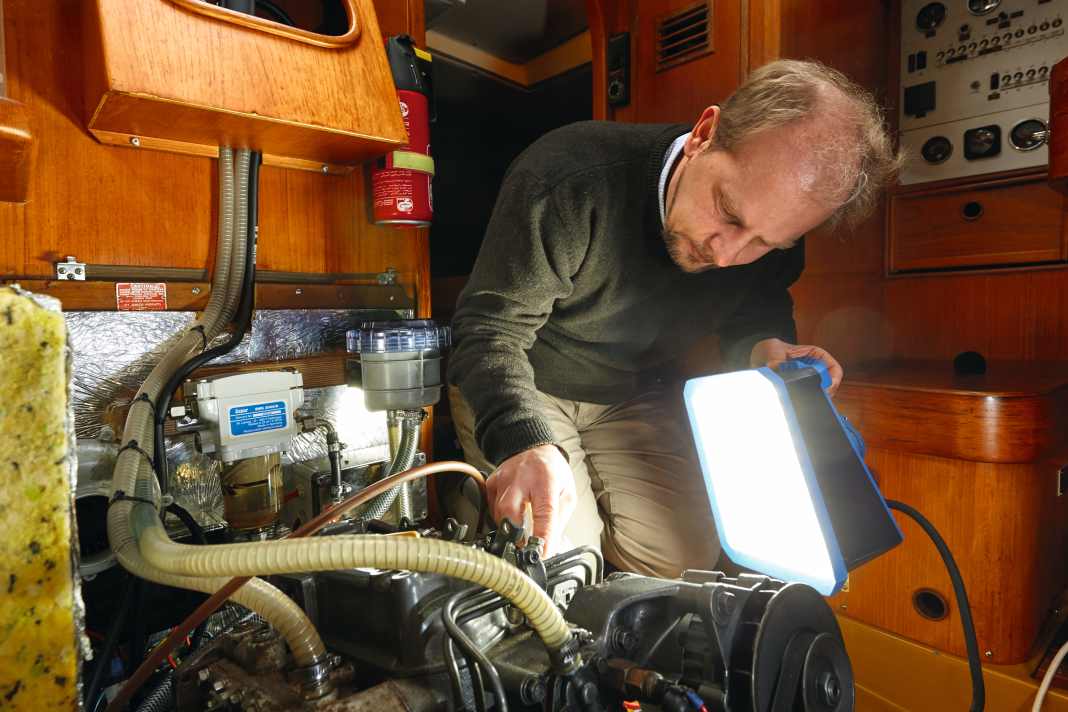


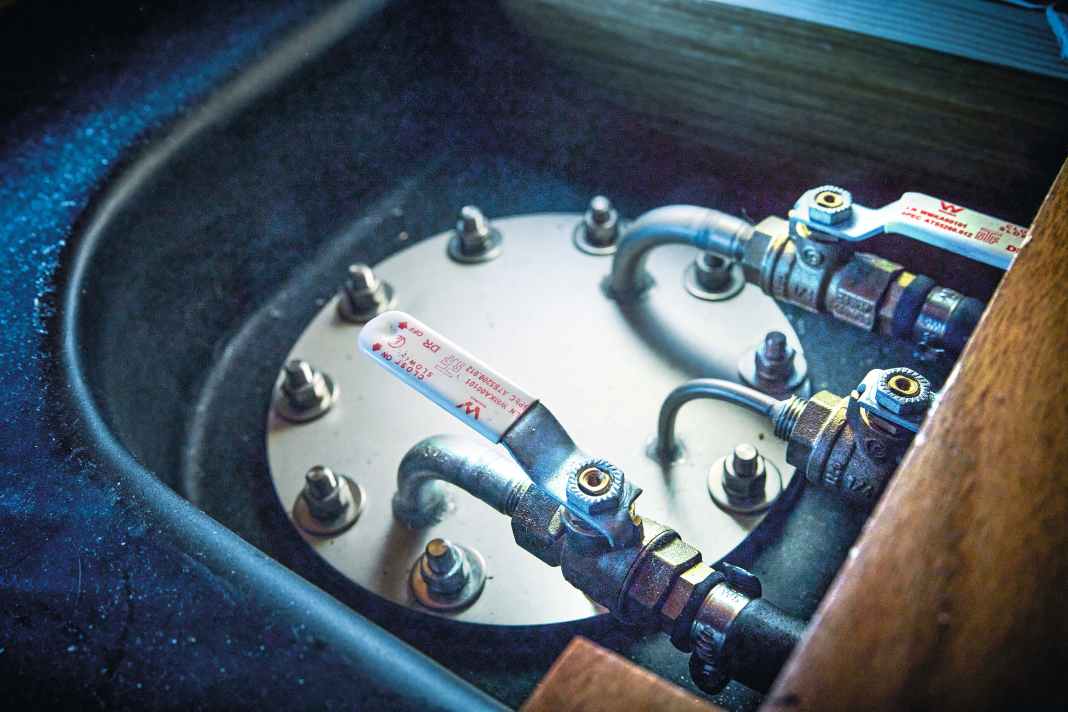
If the filters were not replaced at the start of the season, they should be replaced now. A filter is usually located between the tank and the fuel feed pump. This is also where the water separator is located at the bottom of the filter housing. If the small screw is opened, diesel should flow out. If water or a brownish sludge is visible, urgent action is required. Water can enter the tank in the form of condensate. This can occur particularly with steel tanks if they are not completely full during winter storage and water vapour condenses on the cold inner wall of the tank. The water collects at the bottom of the tank and organisms, also known as diesel pest, colonise the boundary layer between the fuel and the condensation water. In rough seas, the brownish slime can slosh up to the diesel intake and clog the filter. This is particularly treacherous as it can occur in choppy seas when the engine is started just outside the harbour. Even if the inspection of the water separator is inconspicuous, a look should be taken through the maintenance hatch into the tank. Search the bottom of the tank with a powerful torch. If access is difficult, a smartphone can be very helpful; photos or a video can then provide insights.
Smaller impurities can be removed by suction, but if this is no longer possible, the entire tank must be cleaned. Under no circumstances should this lengthy and time-consuming task be postponed until after the summer cruise. Deposits in the tank pose a major risk to the reliable operation of the machine.
There are usually two filters to replace in the fuel system: the pre-filter (usually combined with the water separator) and the fine filter between the fuel feed pump and the injection pump. An annual change is recommended. If an infestation of the tank contents with diesel pest has been detected and eliminated, the filters should also be replaced. After this, older machines should be bled. This is because fuel will inevitably have leaked out of the pipes when the filter is replaced. The air bubbles then cause the engine to stutter or stall completely. To prevent this, open a screw on the injection pump and then manually feed diesel into the line at the fuel feed pump. The air flows out of the open connection. As soon as diesel runs out and no more bubbles form, the line is completely full again. The machine should still be run for a test before being put away.


When changing the filter and bleeding the air, a container such as a cut-open canister or a discarded Tupperware can be useful for catching dripping fuel and limiting the mess. Nevertheless, everything should be wiped off thoroughly after the work is done. Firstly, diesel splashes can cause very unpleasant odours below deck that are difficult to get rid of, and secondly, it is important to detect leaks in the fuel line in good time. If it is then not certain whether it is a leak or the residue of the previous filter change, this is unfavourable.
To prevent problems in the fuel system, it helps to choose the right fuel: if possible, only fill up with diesel without organic content (e.g. Shell V-Power or Aral Ultimate), use a funnel with a filter and add additives to prevent diesel pest.
The air filter should also be checked. There is usually no problem here. However, if the V-belt has produced extreme wear, then the air filter should also be checked. In the simplest case, it can be cleaned.
A frequently neglected item on the list of maintenance work is the transmission oil. On many models, the dipstick is integrated into the cap of the filler opening. On Yanmar machines, however, it is important to know that the cap should first be unscrewed and then simply put on for measuring. So if oil can be seen on the dipstick after opening, there may still be too little in the gearbox. Also important: Engine oil has no place in the gearbox. A special transmission oil must be used here.
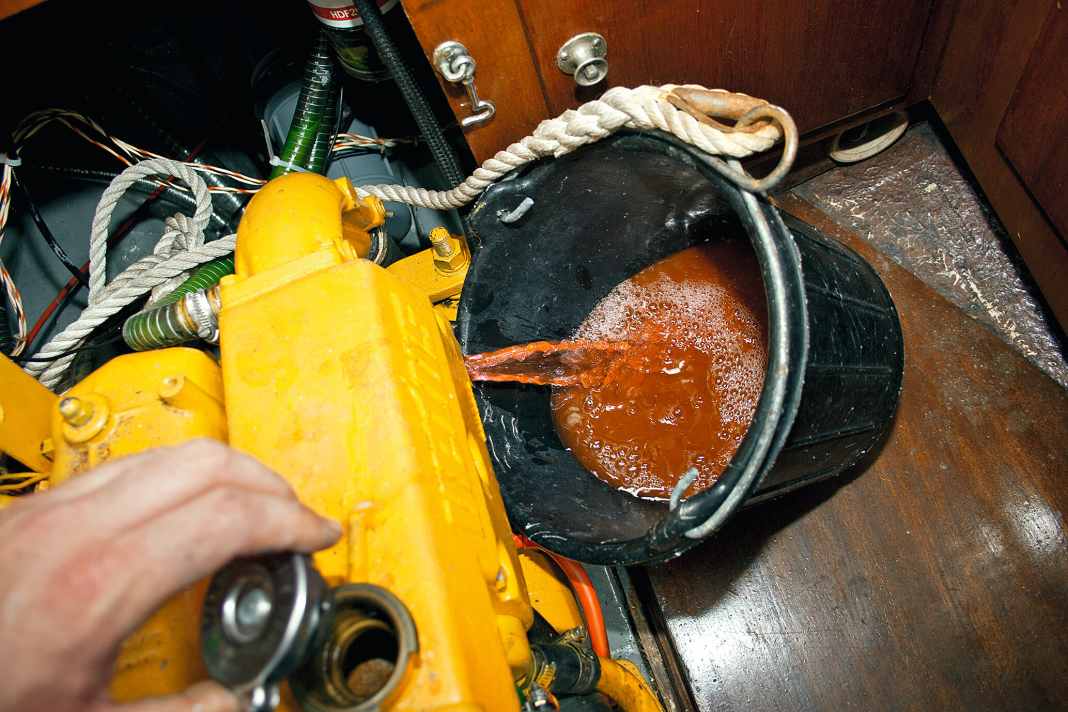


It is helpful to keep the machine clean for early detection of damage. Glass cleaner and a paper towel are very suitable for removing the lubricating film after maintenance work. Problems can be recognised early on a clean engine. Whether abrasion from the V-belt, fuel, oil or coolant leaks, these indications should be followed up immediately and the problem rectified.
After longer engine stages, a check in the engine compartment can help to recognise such problems at an early stage. Certain leaks may only become apparent when the machine is really warm. It can also be useful to take a look while the machine is running, for example to identify loose screw connections. If the engine jerks visibly during operation, this may be an indication of a broken oscillating element on the engine mount or a loosened nut. The increased vibrations can cause further damage, such as chafe marks on the wiring harness or Bowden cable. Recognising the problem at an early stage can therefore help avoid nasty surprises and contribute to a wonderfully stress-free summer cruise.

